CnMatrix quick configuration guide using cnMaestro
- Megan
- Latest News
- 0 likes
- 3418 views
- 0 comments
Cambium’s cnMatrix switches allow for an additional layer to complete your end-to-end Cambium network. These switches can be onboarded, managed and monitored through the cnMaestro management platform.
Follow our quick and easy guide on how to connect your cnMatrix switch and onboard the unit onto your cnMaestro cloud account.
To start off, ensure that your switch is connected to the internet. Secondly, navigate to cloud.cambiumnetworks.com. If you are an existing user, you can simply sign in to your existing account, but if you are a new user, you will have to register an account and then proceed to create a company account. It is important that you take note of the various account types that are available on cnMaestro and whether the chosen account type supports the onboarding of the cnMatrix switches.

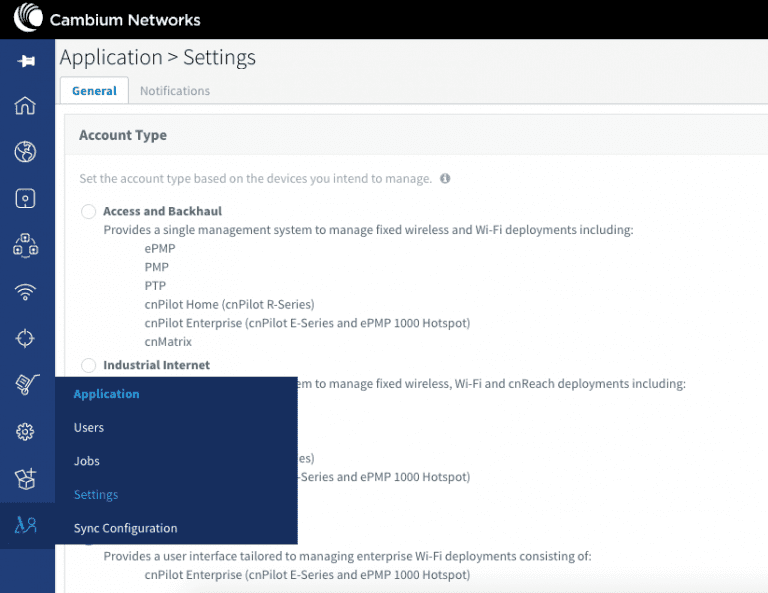
Should you have an existing account that does not support the onboarding of the cnMatrix switches, you can change your existing account type to an ‘’Industrial Internet’’ or ‘’Access and Backhaul’’ by navigating to Application > Settings and selecting ‘’Industrial Internet’’ and save your changes.
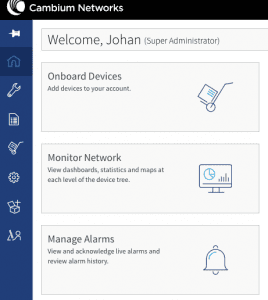
The next step is to navigate to the cnMaestro Home screen and simply select ‘’onboard device’’ to start the onboarding of your cnMatrix switches.
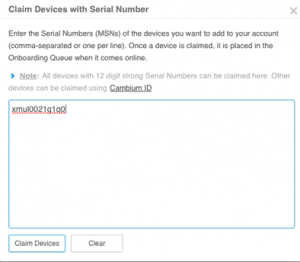
Once you are on the onboard page, click on the ‘’claim device’’ tab and enter the switch serial number. The serial number can be found on the box of your CnMatrix switch (S/N option).

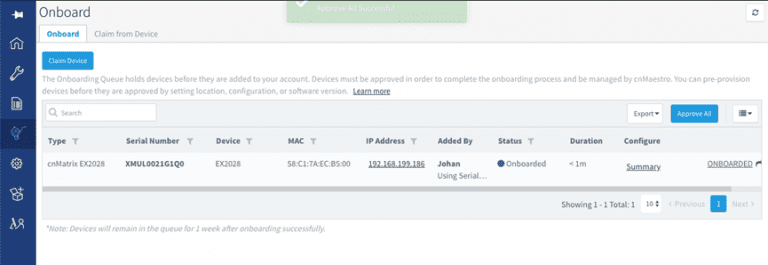
Once you have successfully claimed your device, click on approve all and wait for the device to be successfully loaded onto your cnMaestro account.
Navigate back to the cnMaestro home screen and select the Monitor Network option. On this screen, you can drill into the different device nodes under the Networks dropdown list to view your newly onboarded network switch.
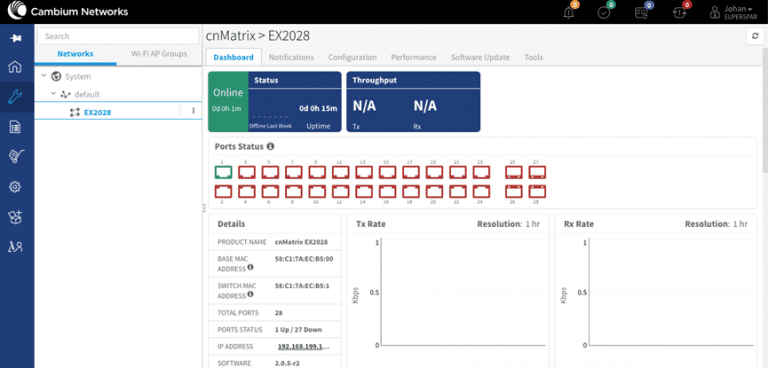
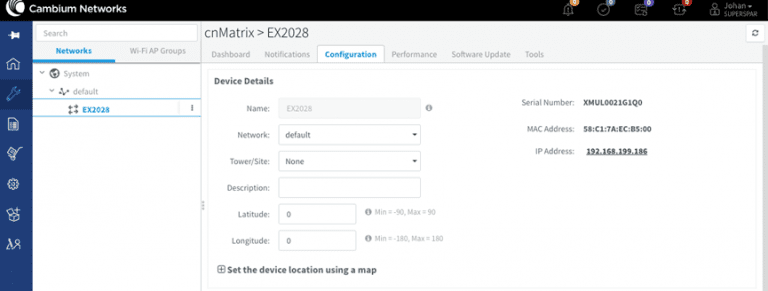
By clicking on the configuration tab allows you to make the following changes:
- Network and tower site
- Add a description to the name of the unit
- Change the latitude and longitude of the unit to place the unit on a map
Lastly, you can download the device configuration, view various templates, such as how to change the IP address range, DHCP range and exclusions, update the changes in the text file and upload all changes in terms of configuration to cnMaestro and run the software job.


Comments
View Comments