cnMaestro Guest Access: How to configure and manage access
- Johan Koekemoer
- Technical Tips & Guides
- 4 likes
- 4454 views
- 0 comments
Cambium Networks' cnMaestro makes guest access control on Wi-Fi Networks easy to configure and manage.
In this Tech Tuesday, we will go through the various options for configuring a Guest WLAN, setting access options i.e., free and voucher-based authentication and we tested with Cambium’s CB-CNP-XV2-21X Access Point.
Let's get started!
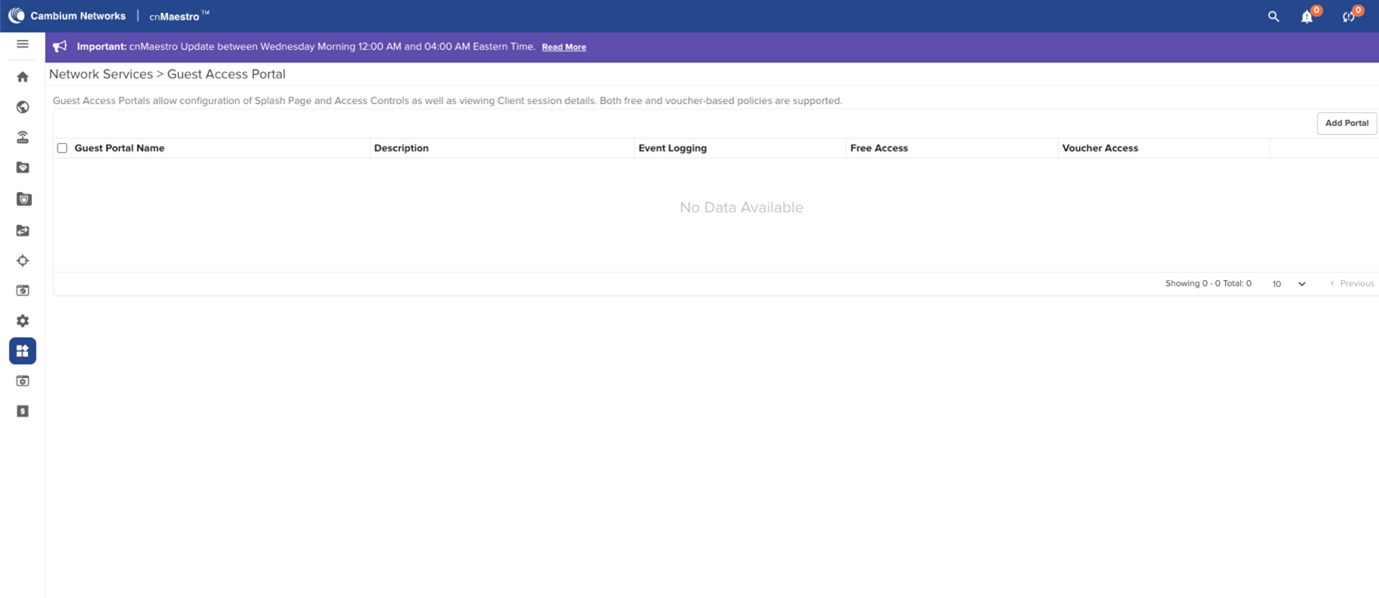
On your cnMaestro account, click on Network Services > Guest Access Portal and click on Add Portal.
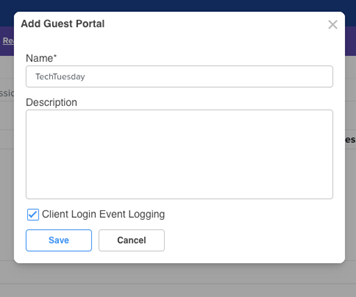
Add your portal Name, Description (optional) and Client Login Event Logging. Click on Save.
Once the Portal has been created, click on the edit button.

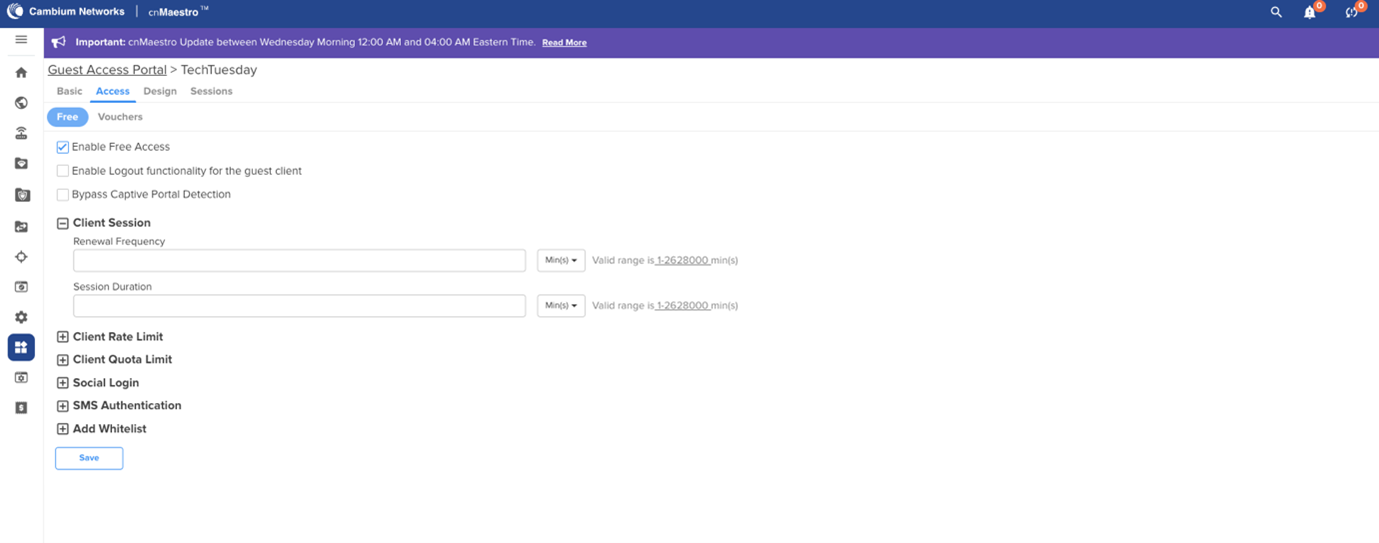
Under the Access tab, you can enable Free and/or Voucher based login.
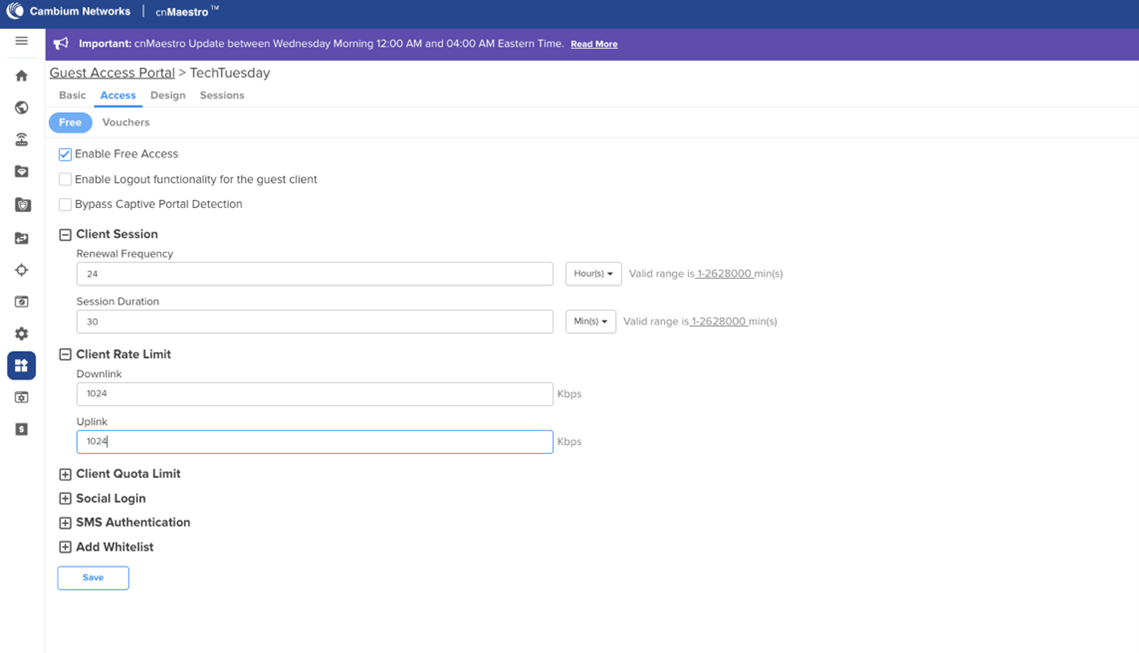
Under the free option, you can limit the client session to either minutes, days or hours as well as set the renewal frequency. You can also set the client rate limit in terms of download and upload speed.
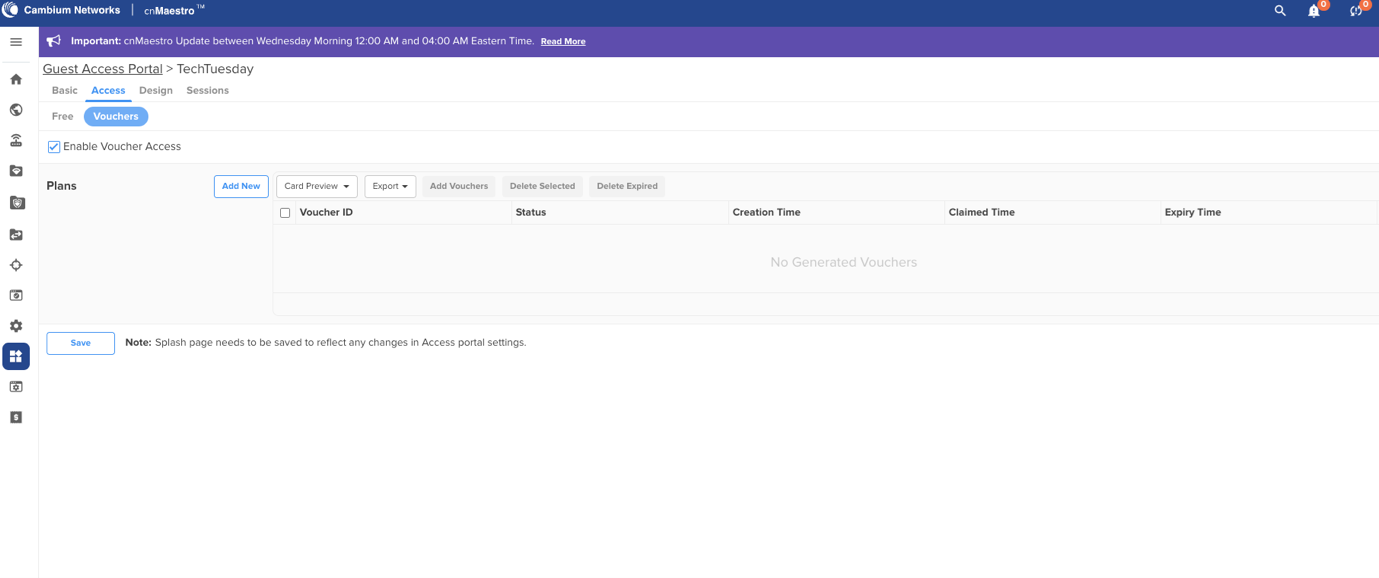
Under Voucher Authentication, please tick the box Enable Voucher Access and click New to create a new ‘Plan’.
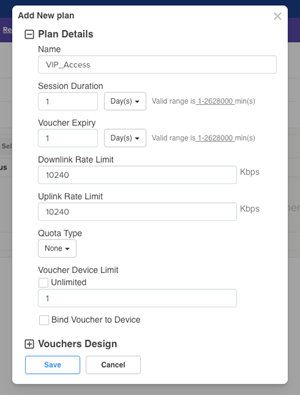
Here you can add your Plan Name, the session duration, voucher expiry, downlink rate limit and uplink rate limit. You can also set the quota type, meaning limit how much data can be used i.e. 1GB. You can also decide if you want to limit this voucher to only one device or allow multiple devices to authenticate with this voucher.
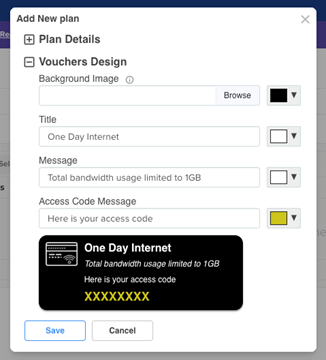
Under Voucher Design, you can customise the design of your vouchers. Once the changes have been made, simply click on Save.
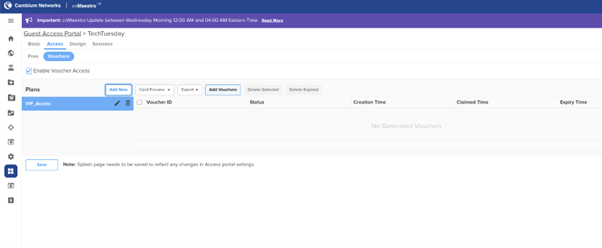
Now that the plan has been created, you need to add vouchers. Simply click on Add Vouchers.
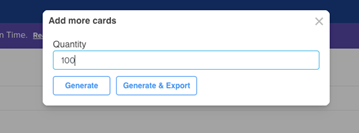
Simply enter the number of Vouchers required and click on Generate or Generate and Export (this will export the vouchers to PDF format). You can also come back and add more when needed.
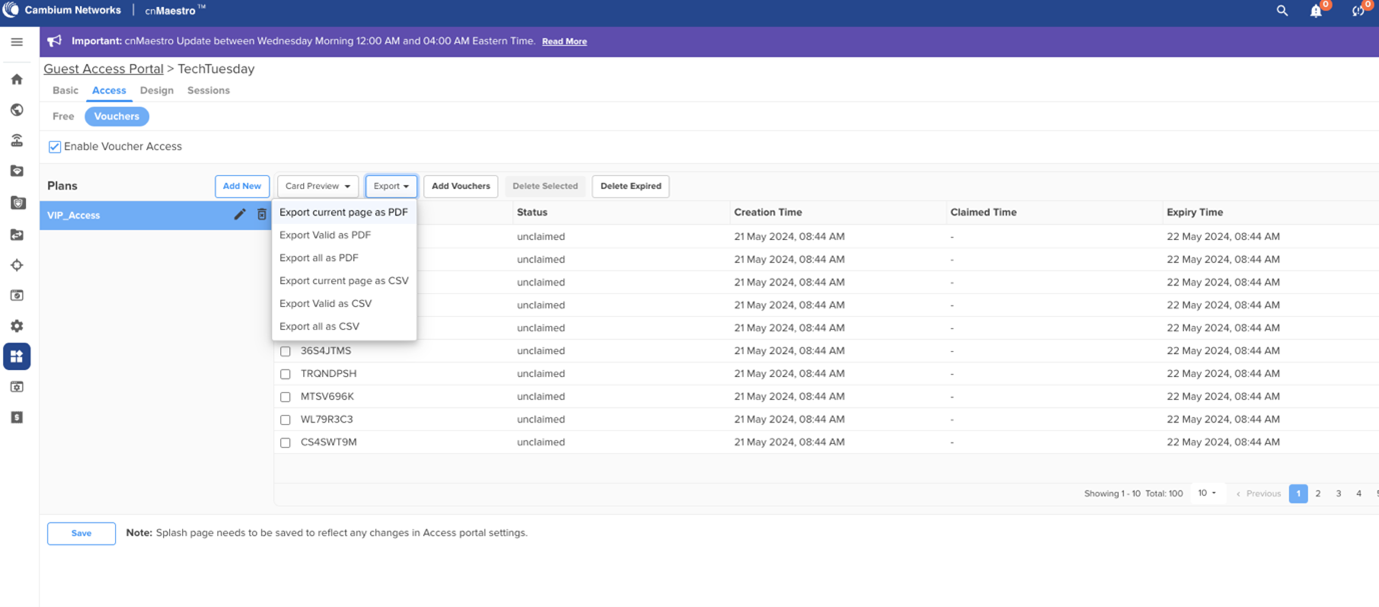
Once the vouchers have been created, you can click on Export for more options.
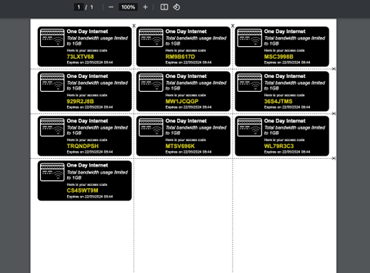
This is what the exported Vouchers look like in PDF format – ready for printing.
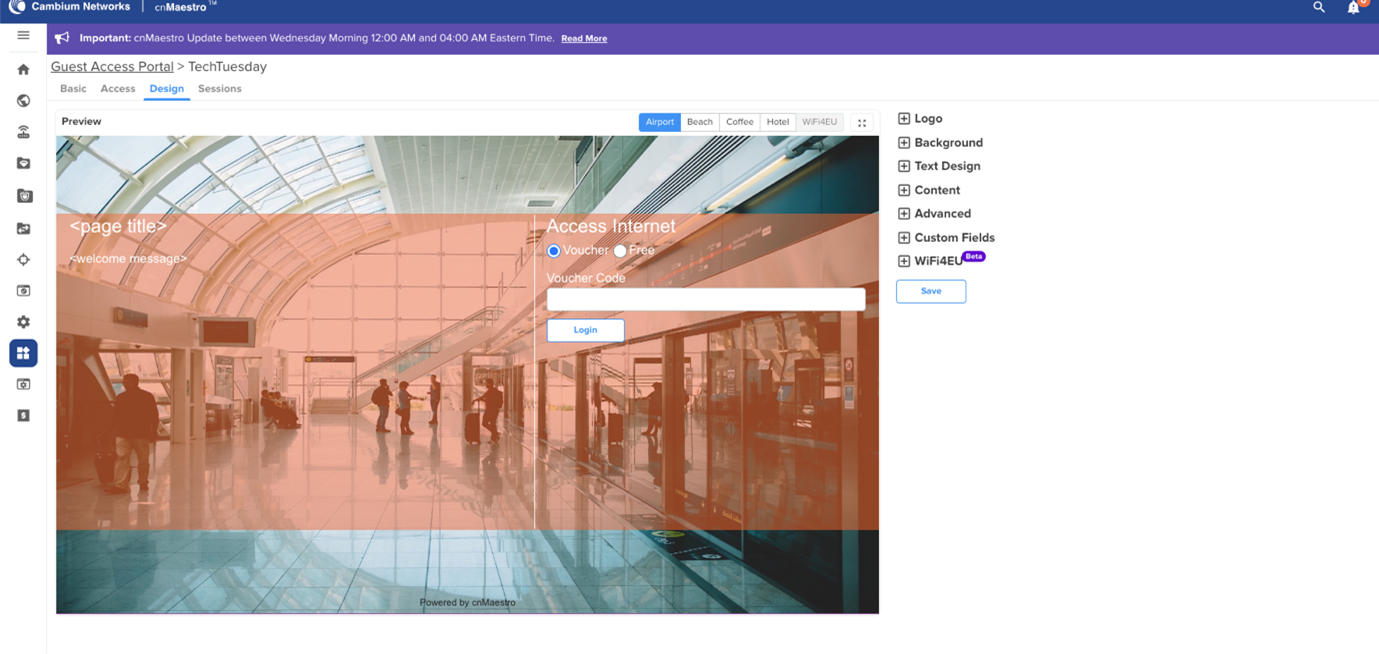
Under the Design Tab, you can make changes to the captive portal’s look and feel.
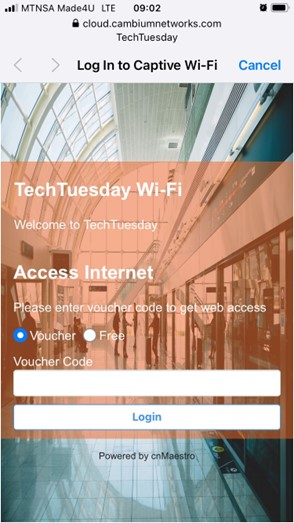
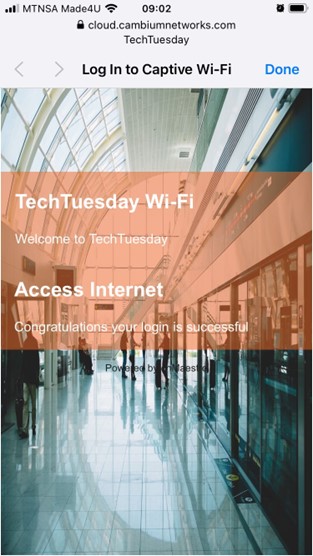
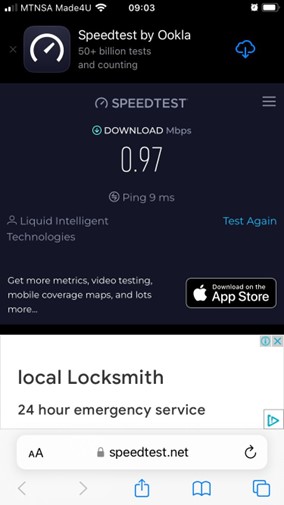
Once the setup was completed and the onboarded XV2-21X unit was back in sync, we connected to the Guest Wi-Fi to see if our captive portal is working.
Here is some information on the XV2-21X access point used in this Tech Tuesday.
The XV2-21X access point is a Wi-Fi 6, indoor access point operating on the latest 802.11ax standard, making it an ideal application for large indoor events, hospitality, retail and more. This unit supports up to 128 clients per radio to easily manage up to 256 connections.
You can order yours online by clicking here or simply reach out to us at sales@miro.co.za or 012 657 0960.

Comments
View Comments