Design your security system with precision: reduce costs and installation time with IP video system design
- Jonathan Osborne
- Technical Tips & Guides
- 0 likes
- 1494 views
- 0 comments

This Tech Tuesday we will show you how you can use UNV’s IP Video Design tool to plan and optimise your IP CCTV system to cover all angles.
Uniview JVSG planner
How To Get Started?
After downloading the installer, launch IPDesignToolSetup.exe and start the installation.
You can find the download the program from Uniview’s website here.
Launch the program. Please press the “OK” button to get the trial version started.
The trial version is valid for 30 days from the date of installation. This will give you more than enough time to try out the various features and functionalities before purchasing the full version from JVSG directly.
Given below is a Quick Start Guide to help you run the software in a smooth manner.
Quick Start Guide
A typical scenario is created and outlined below to help you get an idea how to go about using the software.
1. Launch the program and choose Site Plan tab.
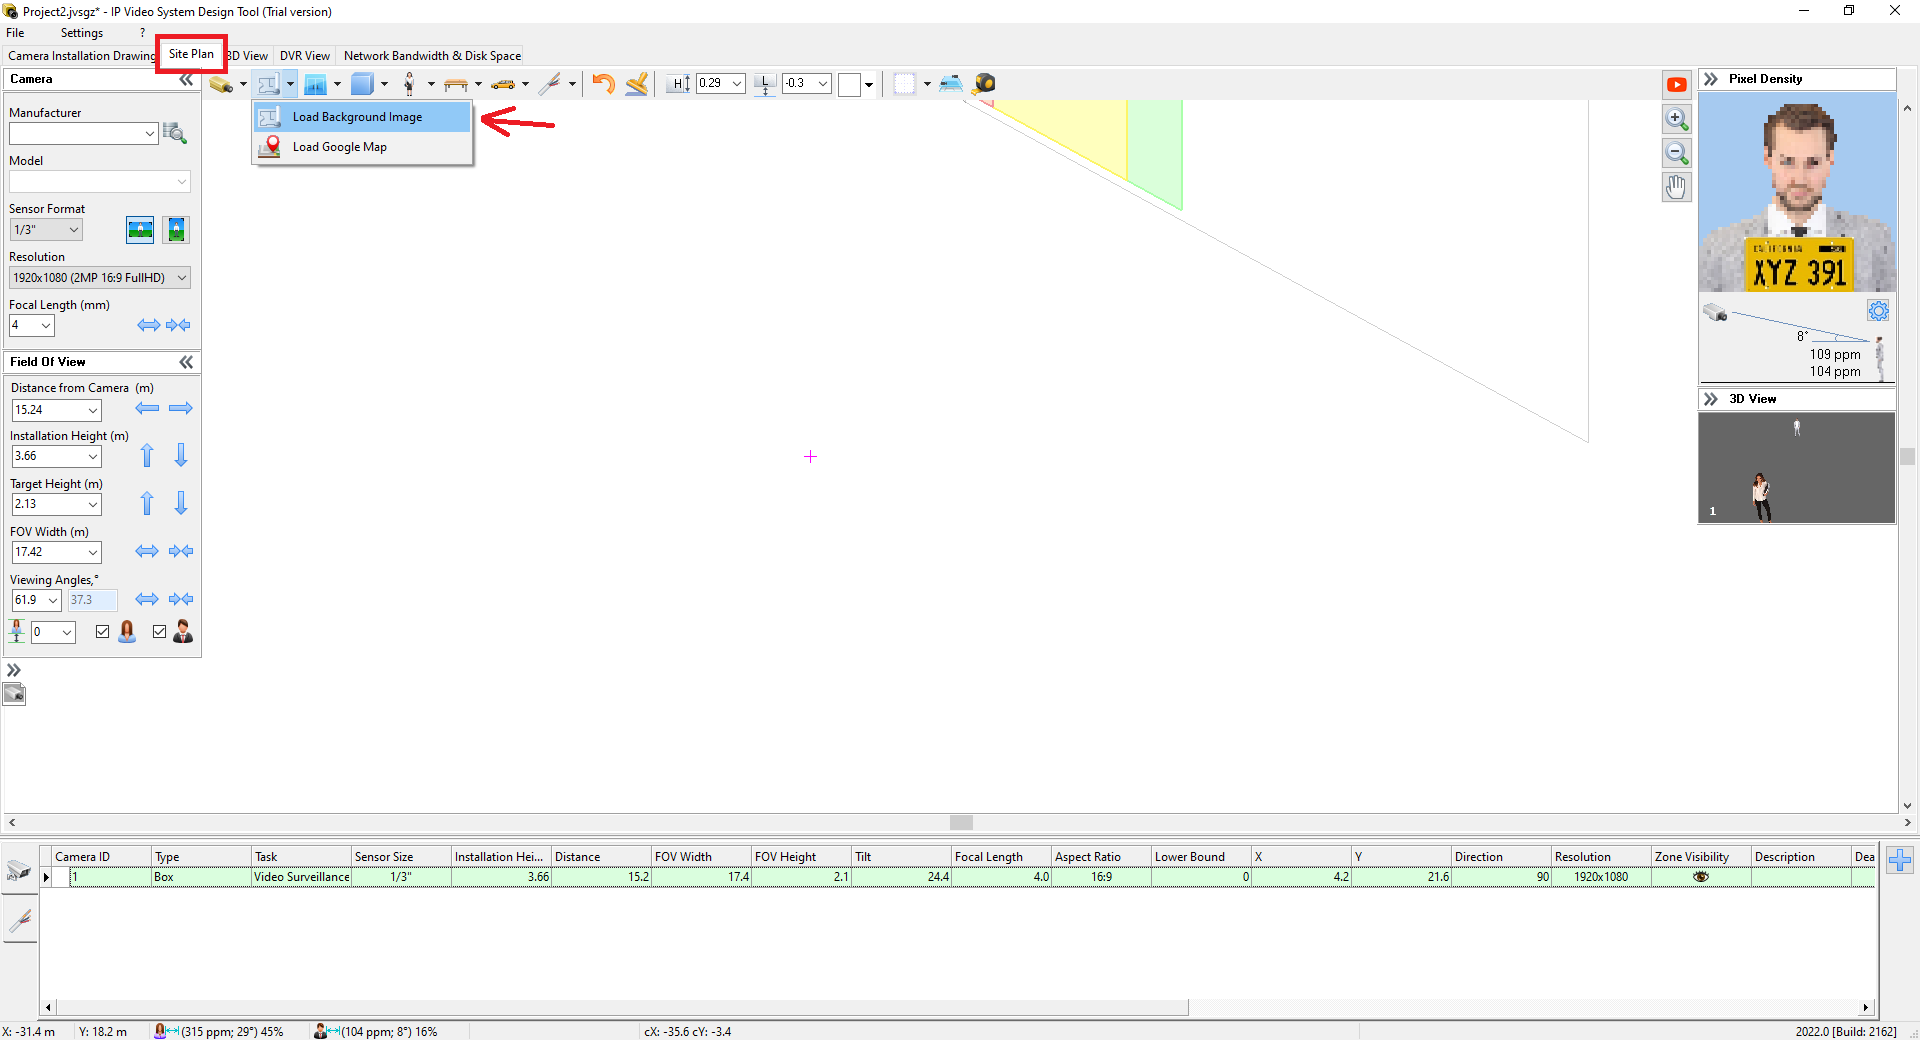
2. Here is a 7 minute Youtube video on how to load your site plan or floor plan
You can load site plans in JPEG/BMP/PDF format or DWG format in the full version.
When the site plan is loaded, you will need to scale the background image by specifying a distance between any 2 points of your site plan.
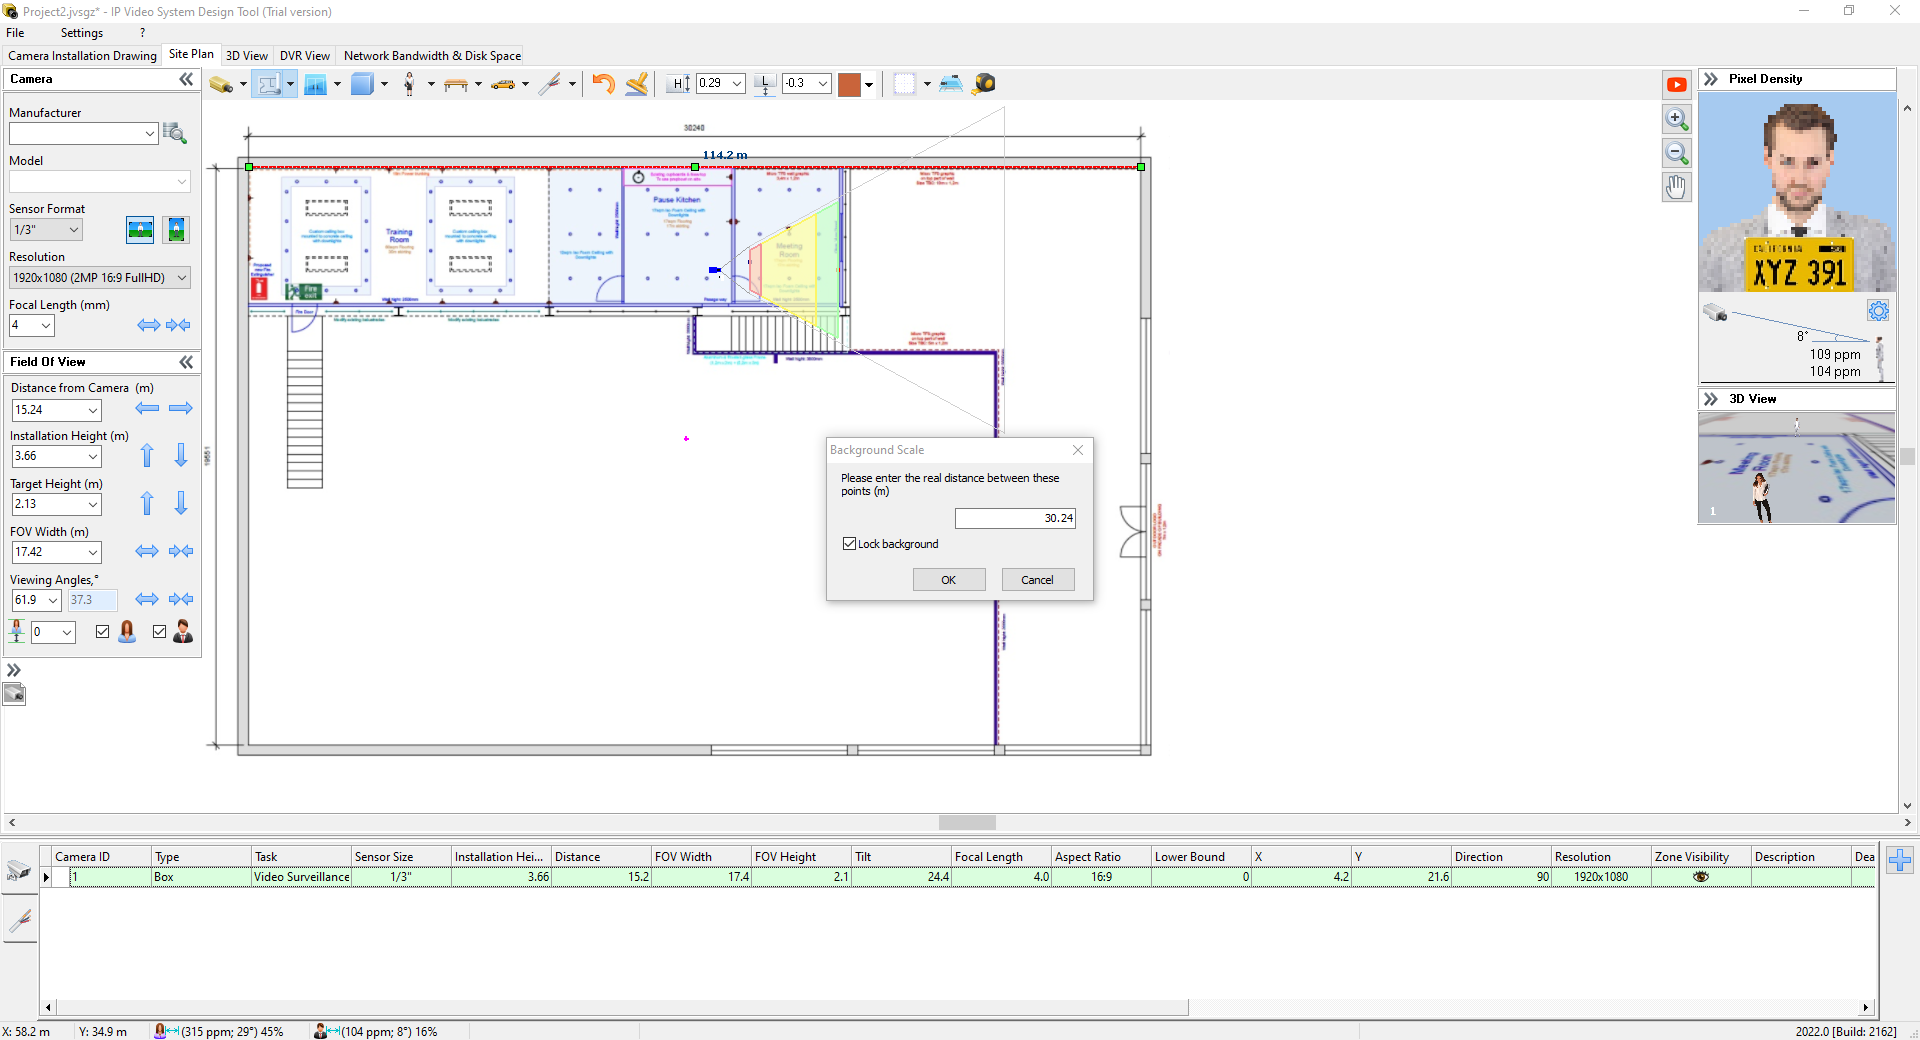
Be sure to choose the lock background option – the floor plan will be able to move otherwise!

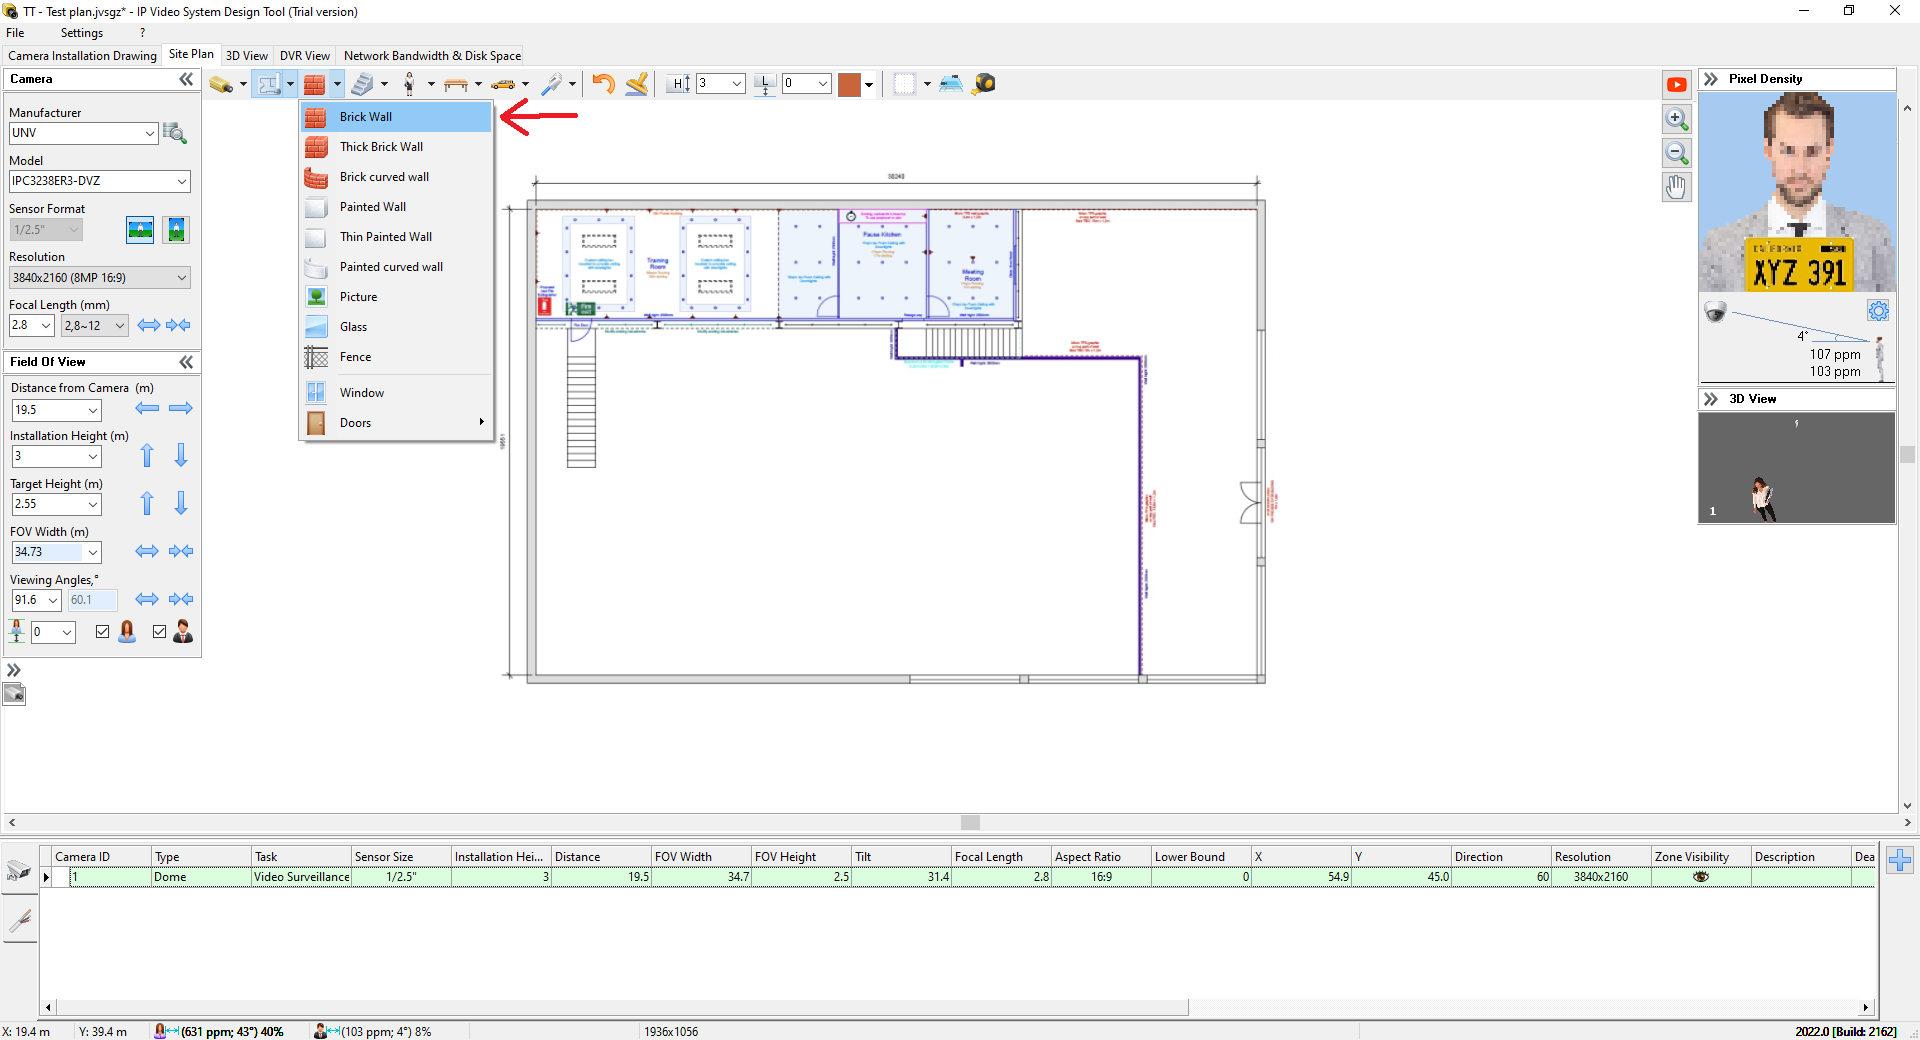
3. Add walls and other obstacles (trees, cars, etc.) on Site Plan tab to see how walls and other obstacles affect camera view zone. You can adjust wall height by changing “H” parameter in the toolbar.
Brick walls:
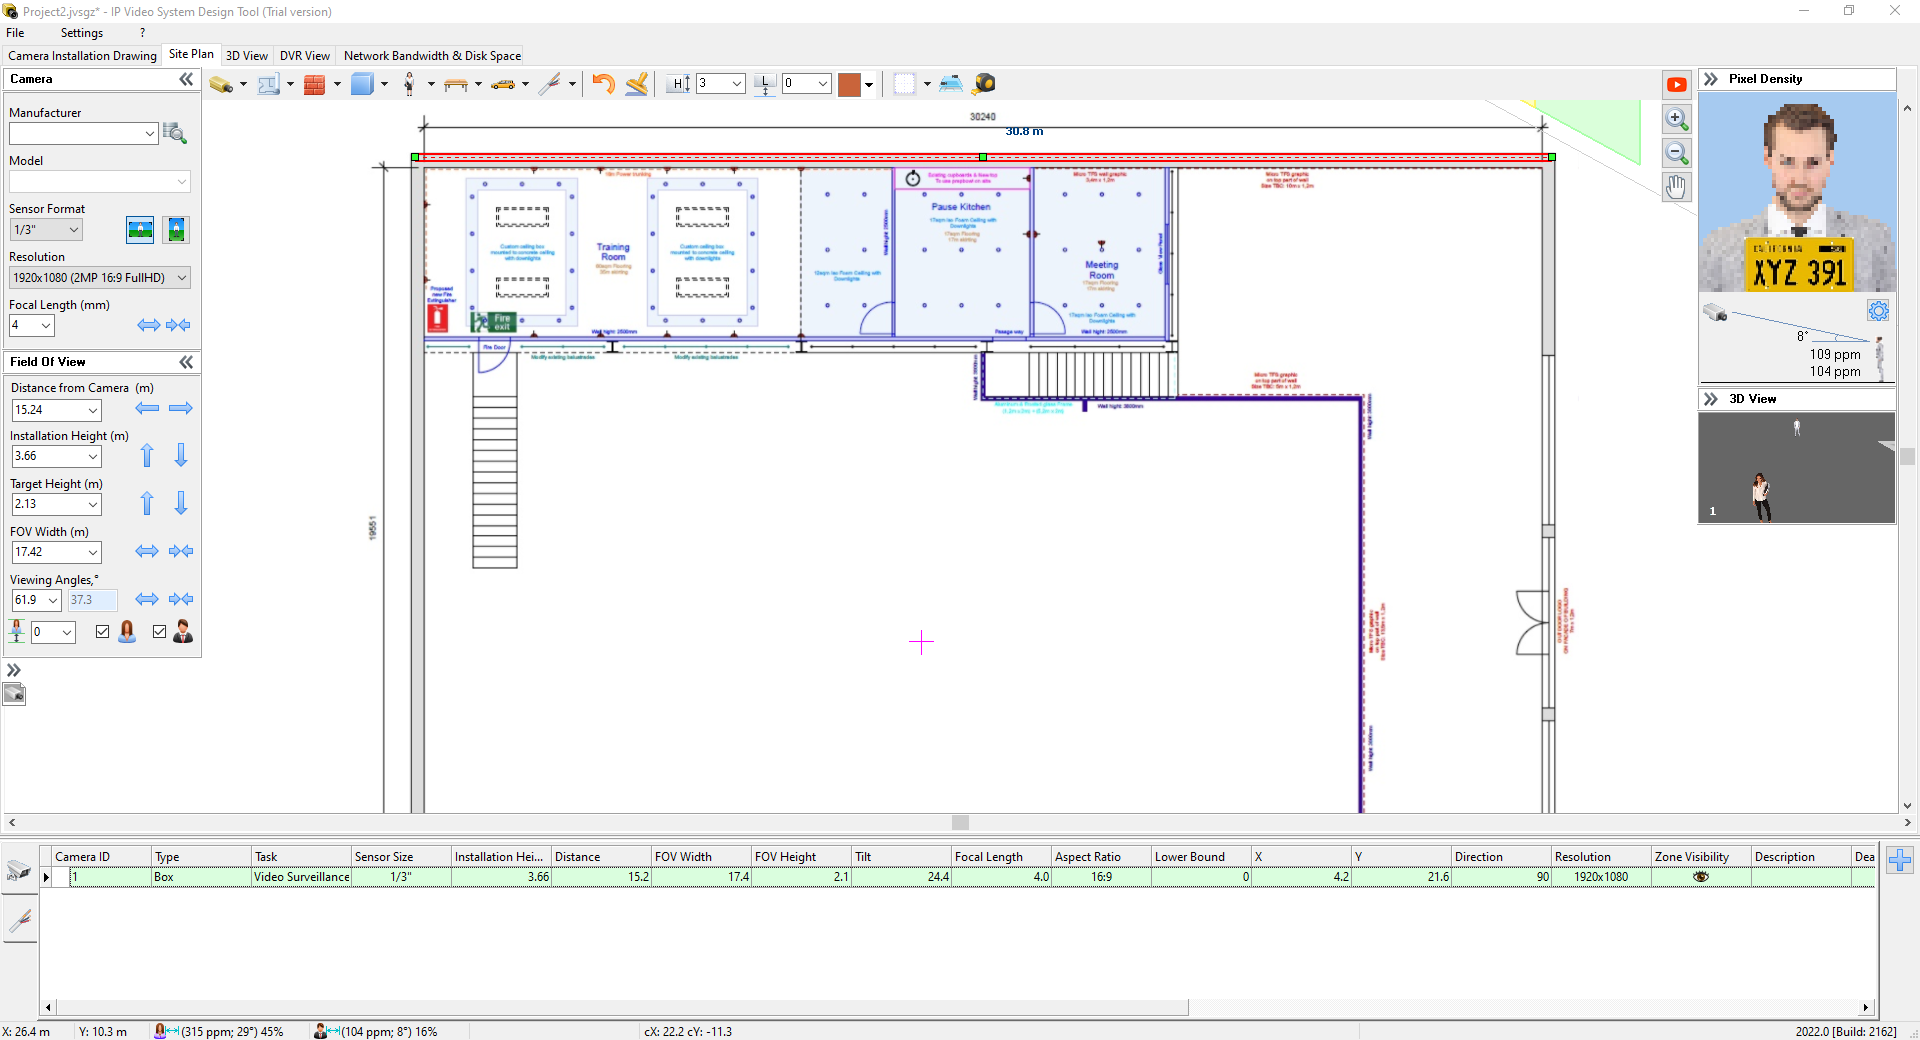
The software allows copying and pasting of walls and other features:
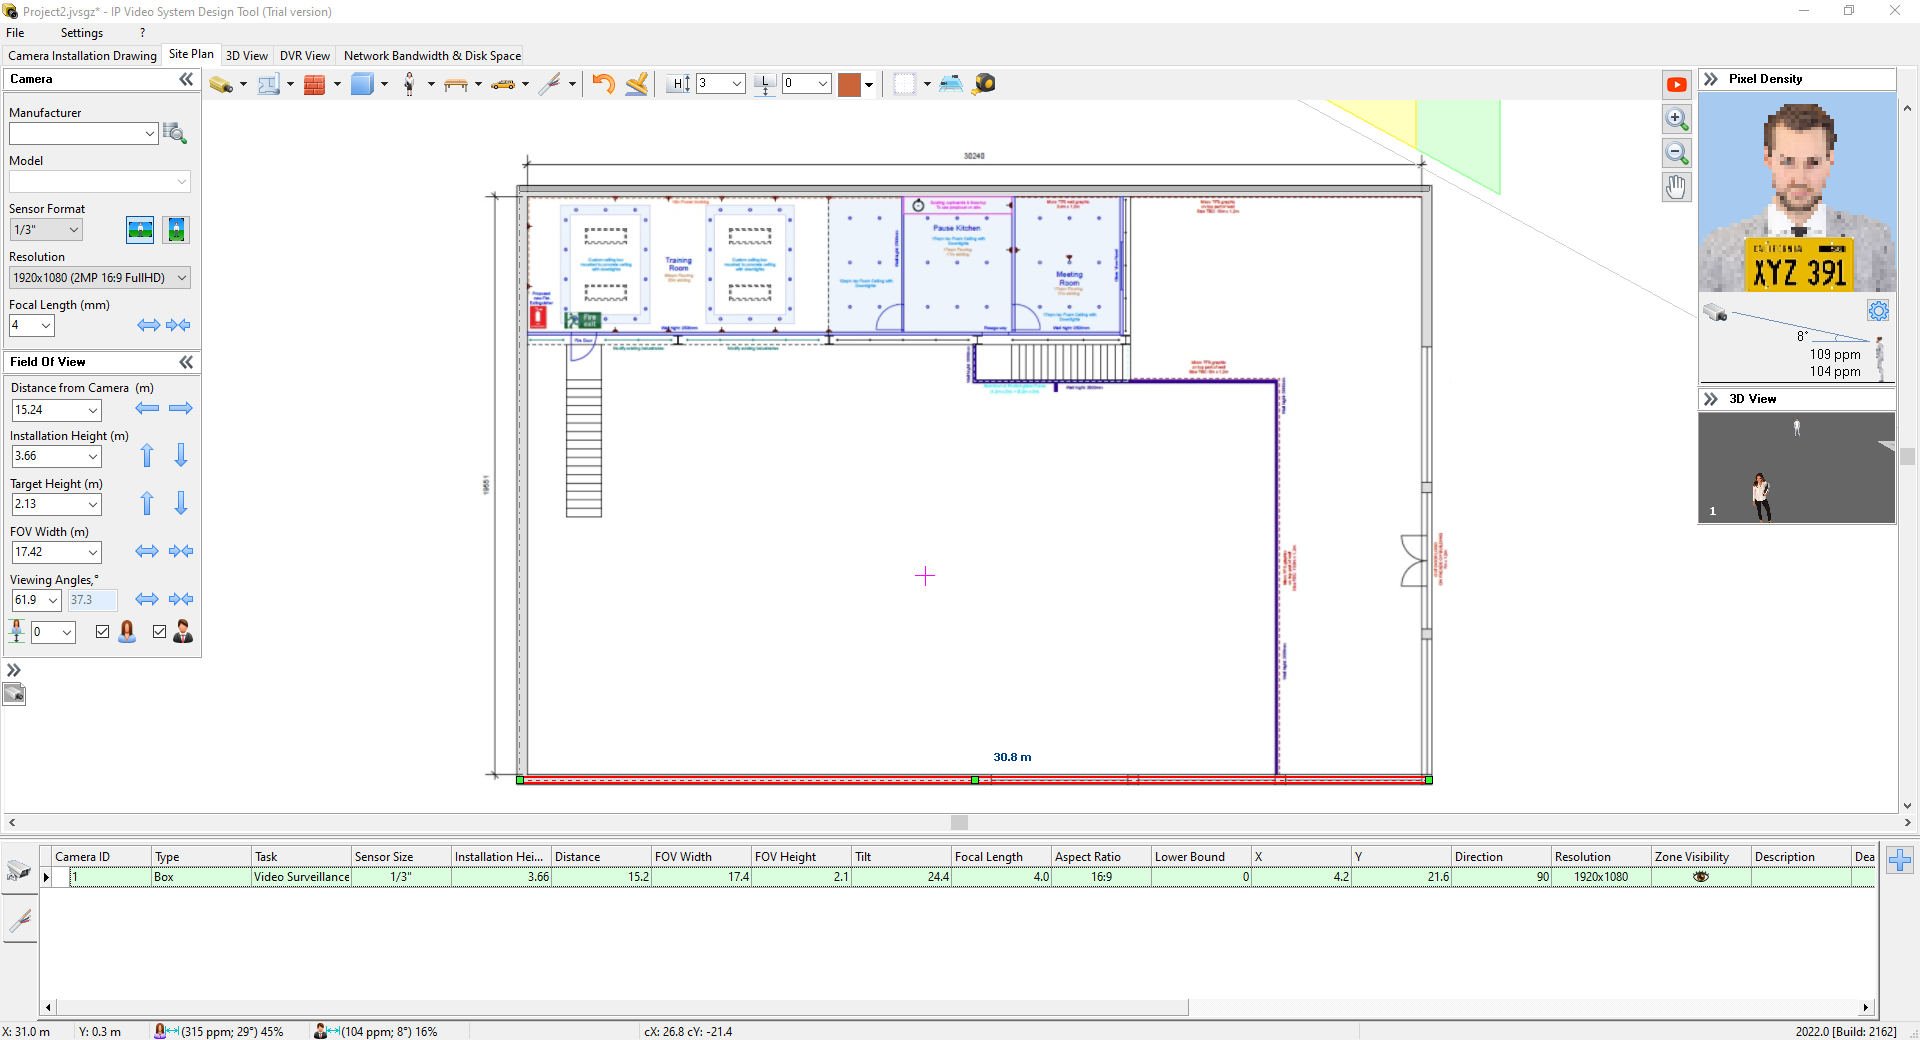
Add other features like drywalling, glass windows, doors, etc. to match your floorplan
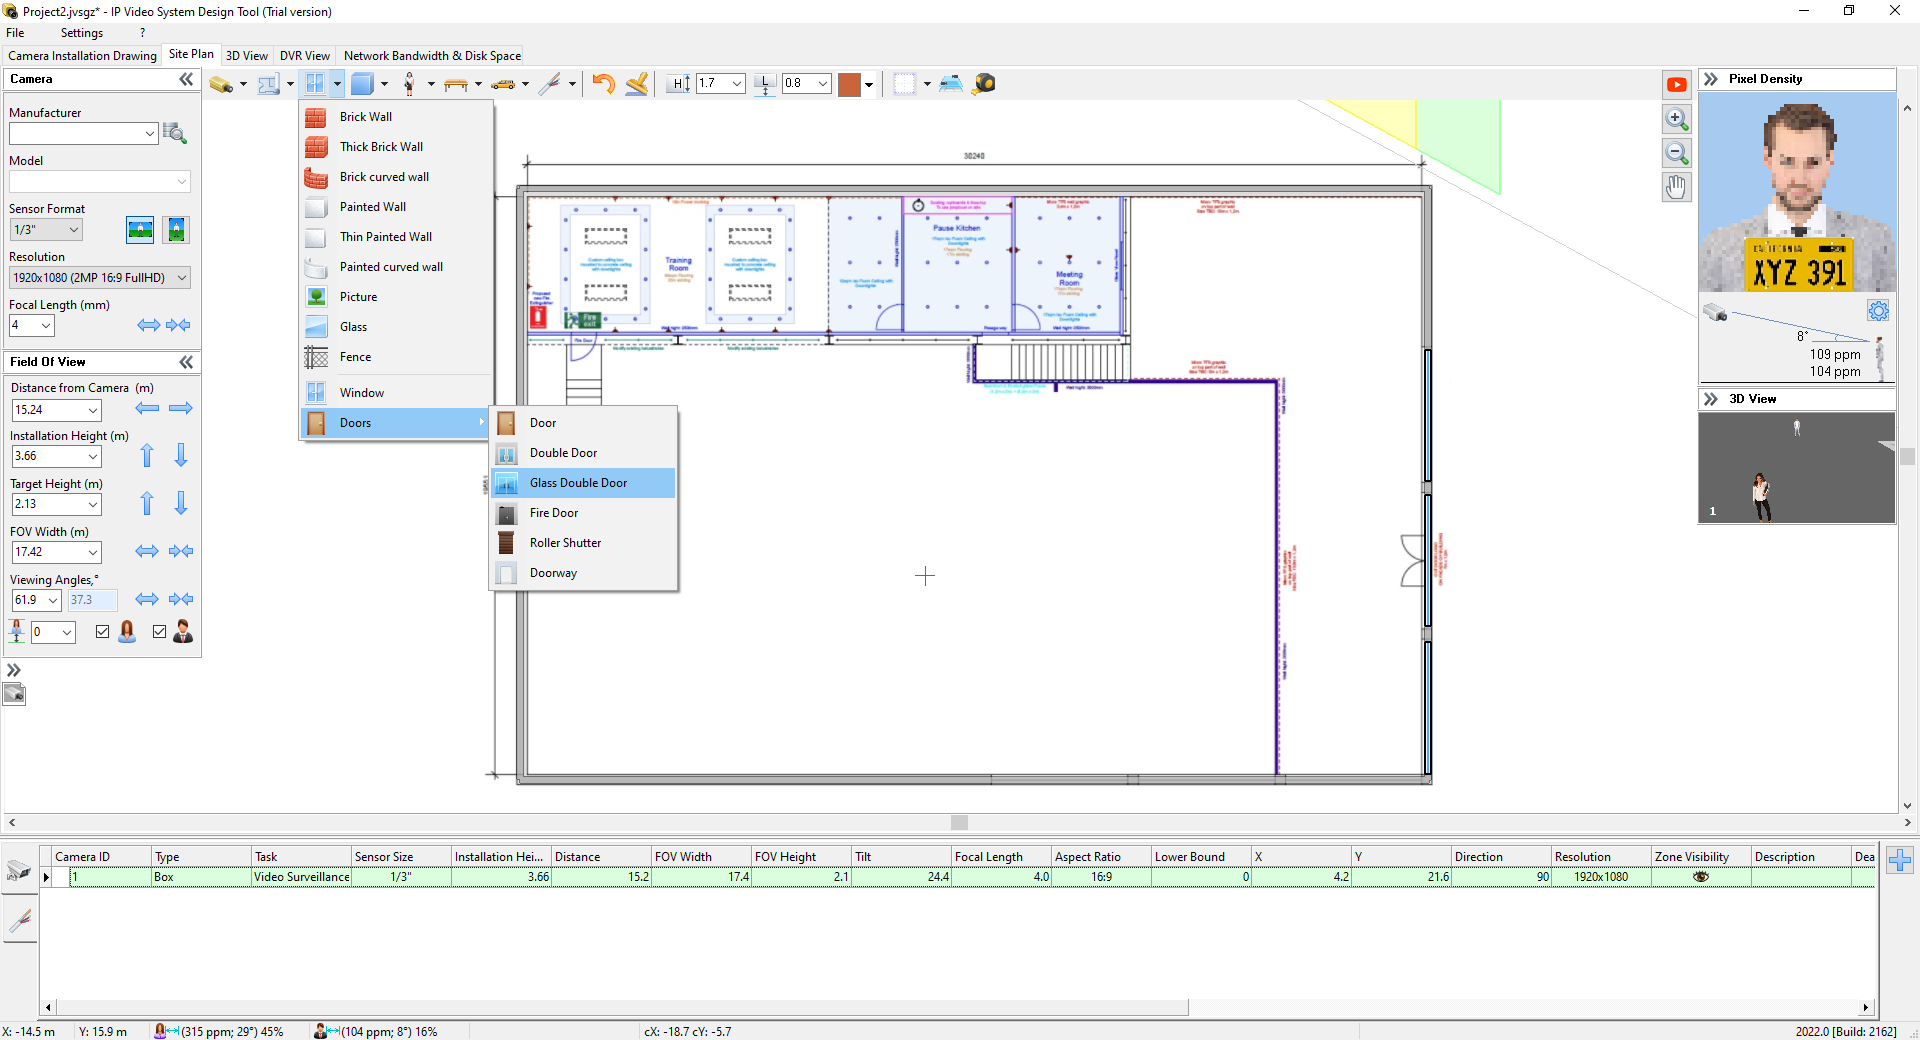
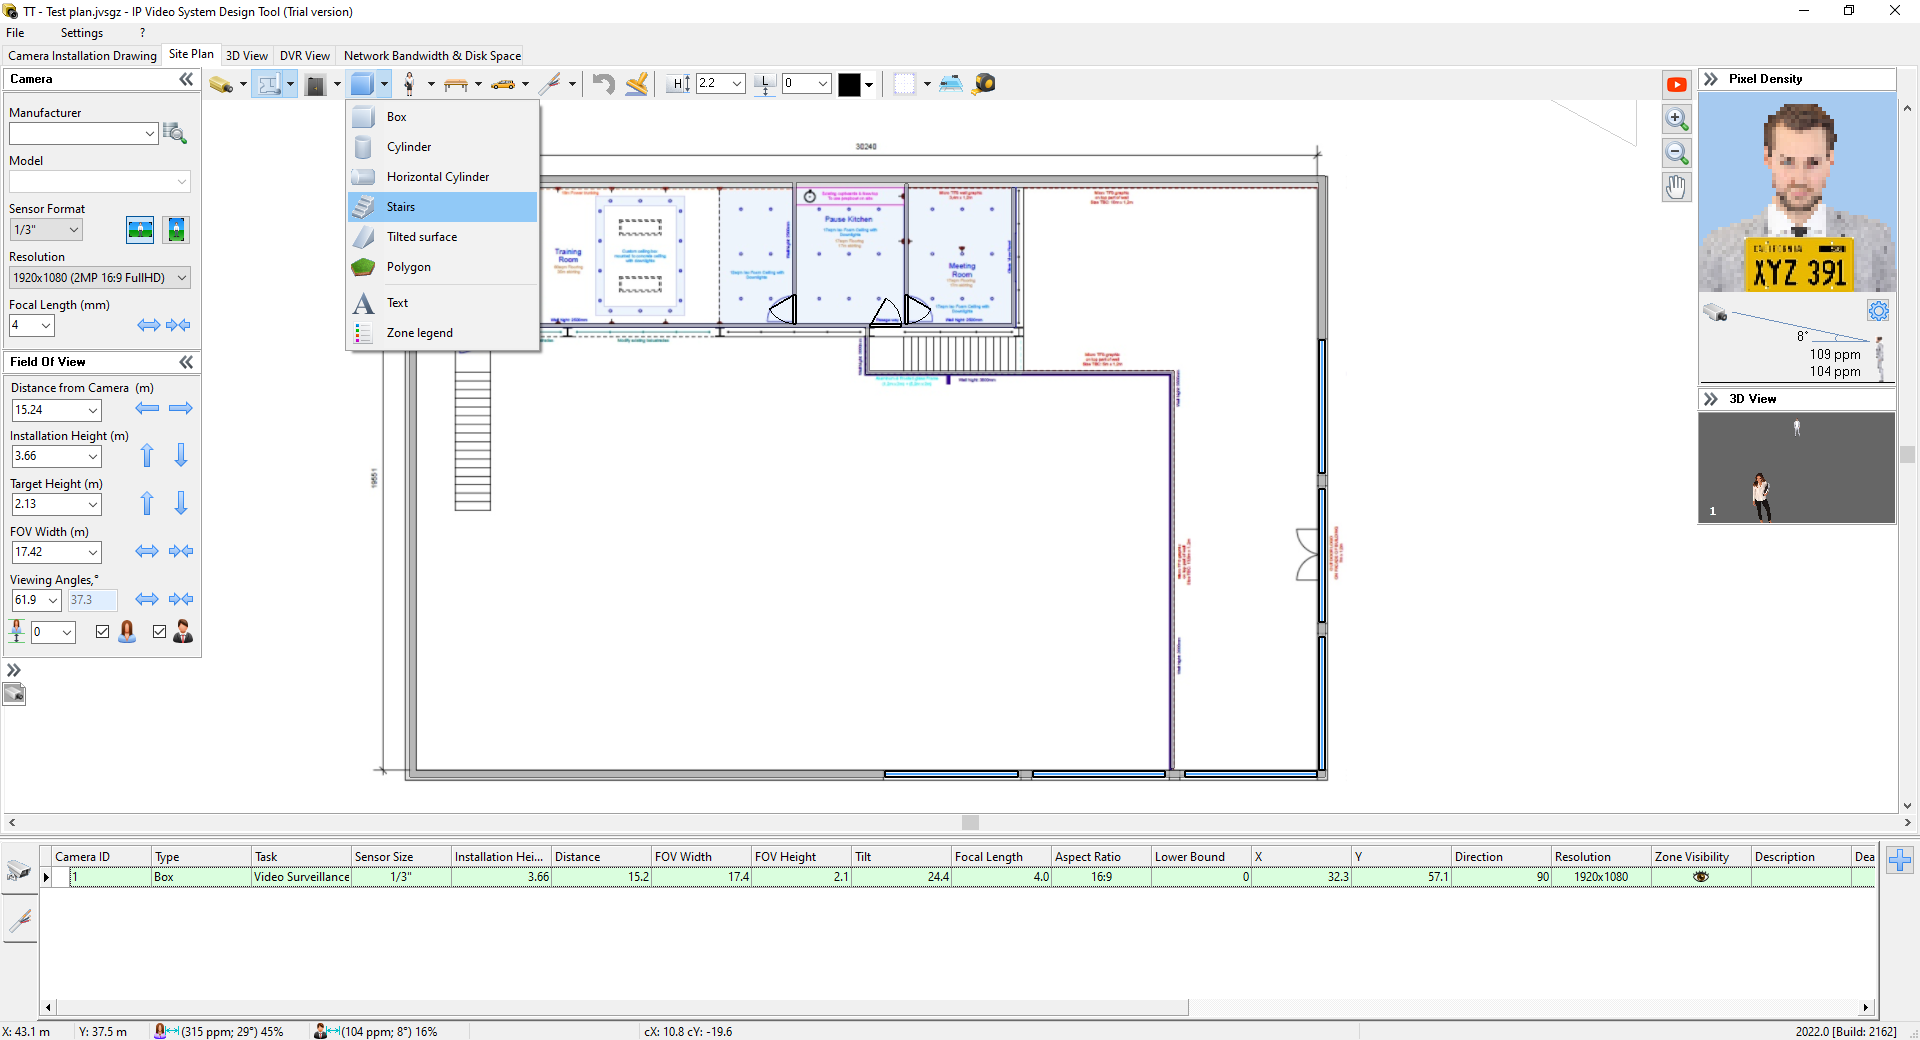
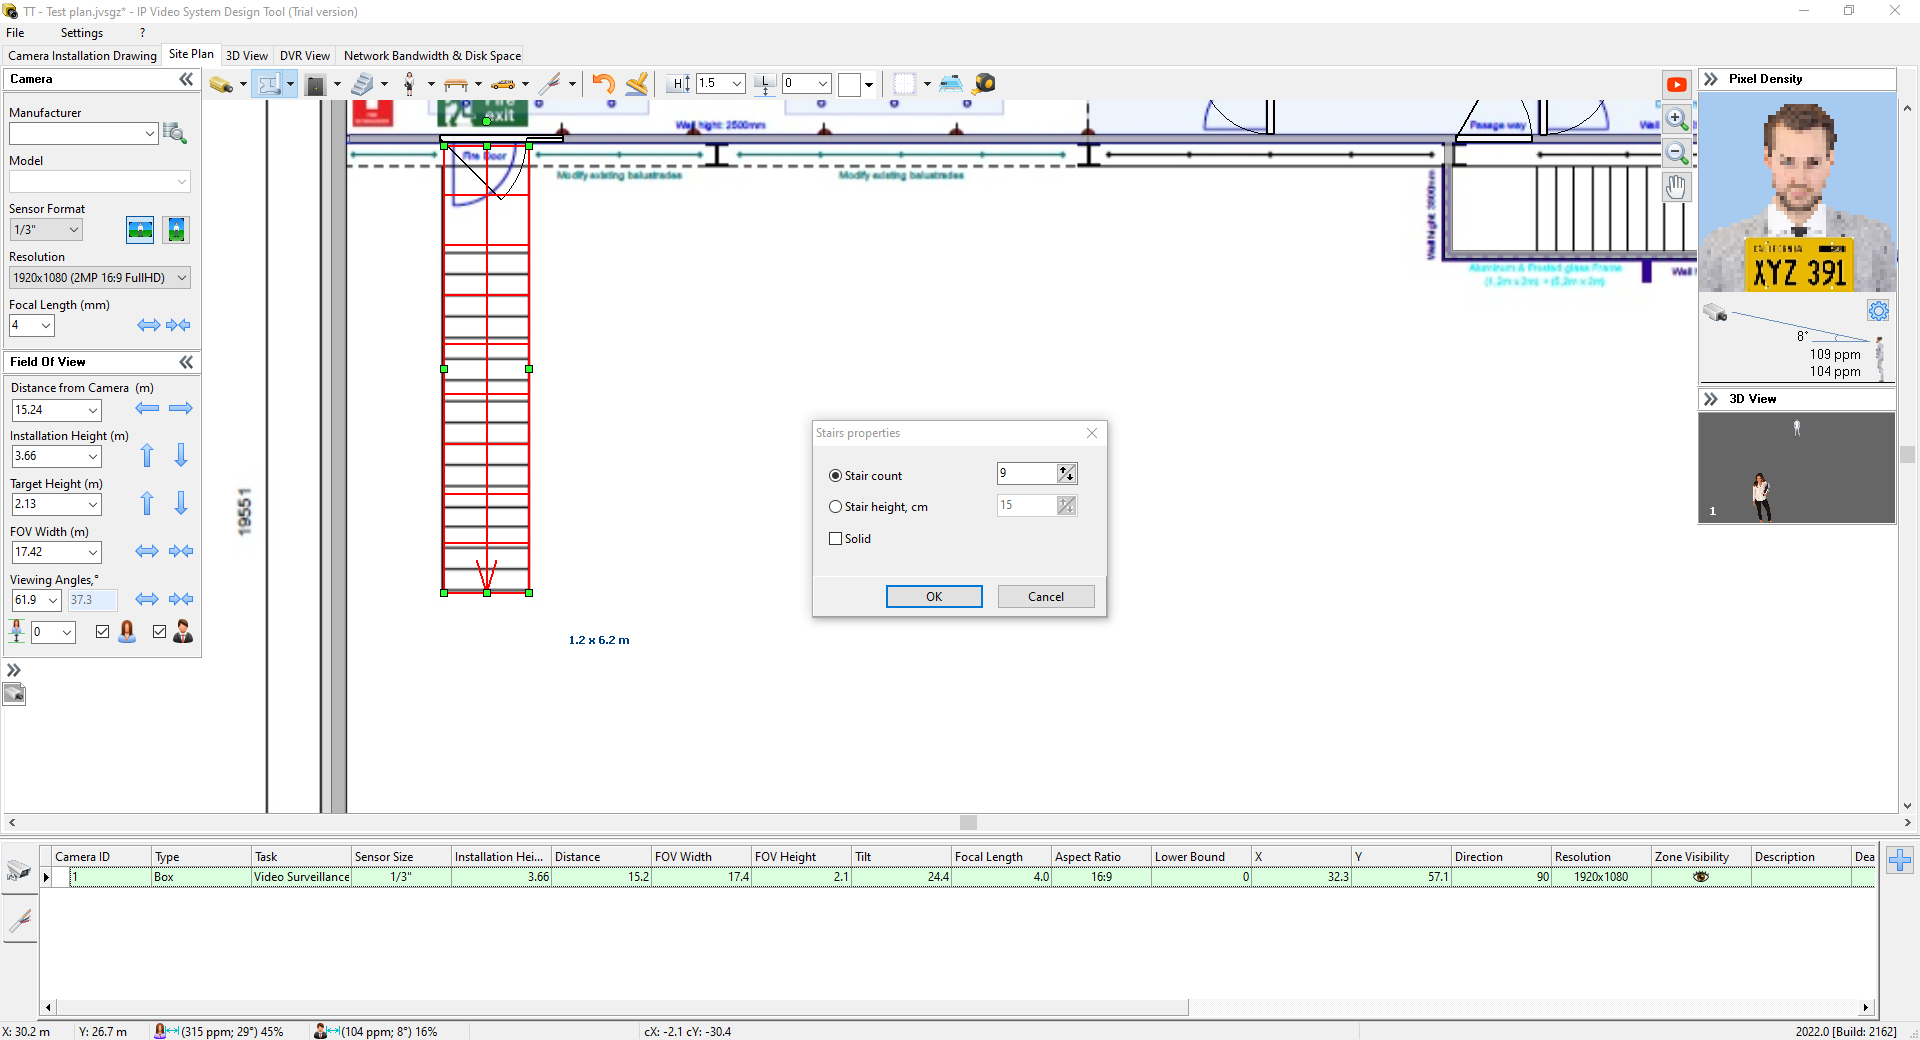
This software also allows the user to add building features like stairs and various building features:

Configure and place stairs
4. Add video surveillance cameras and specify initial camera parameters that you know, like
- Camera to be proposed for the installation
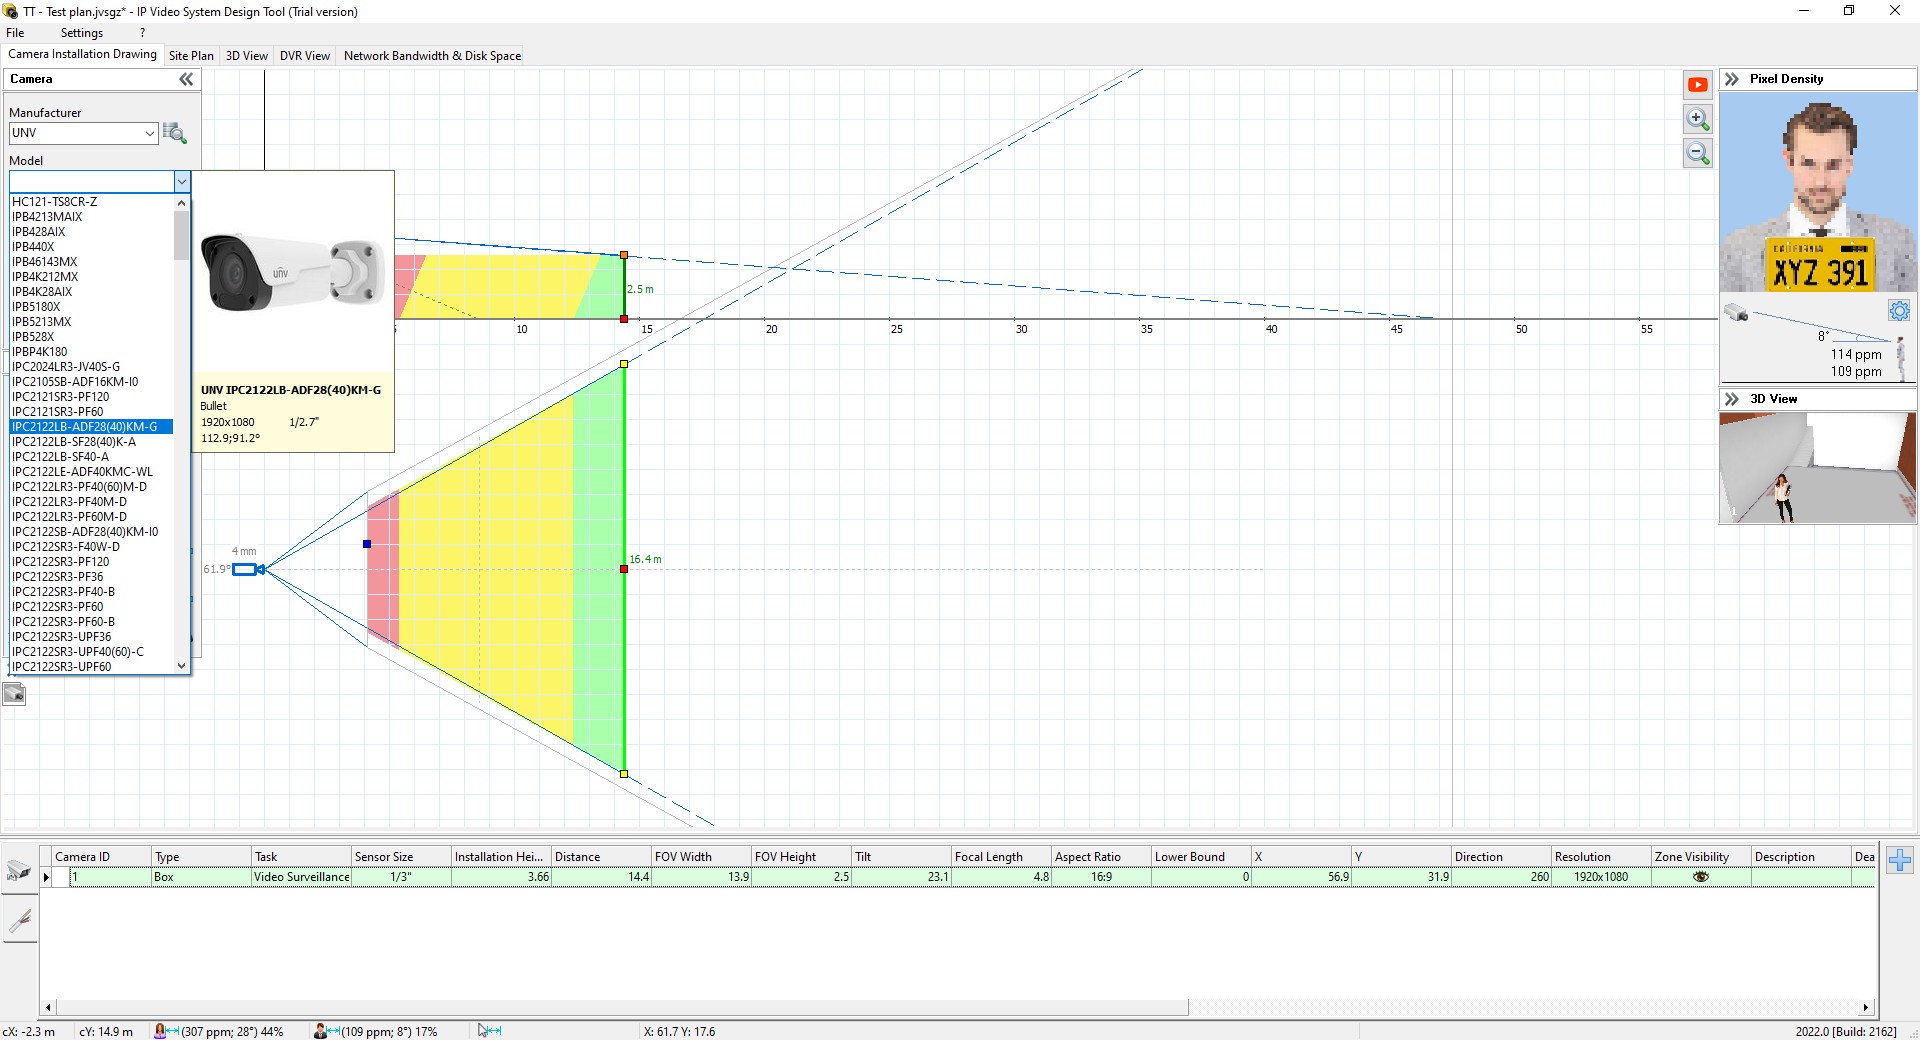
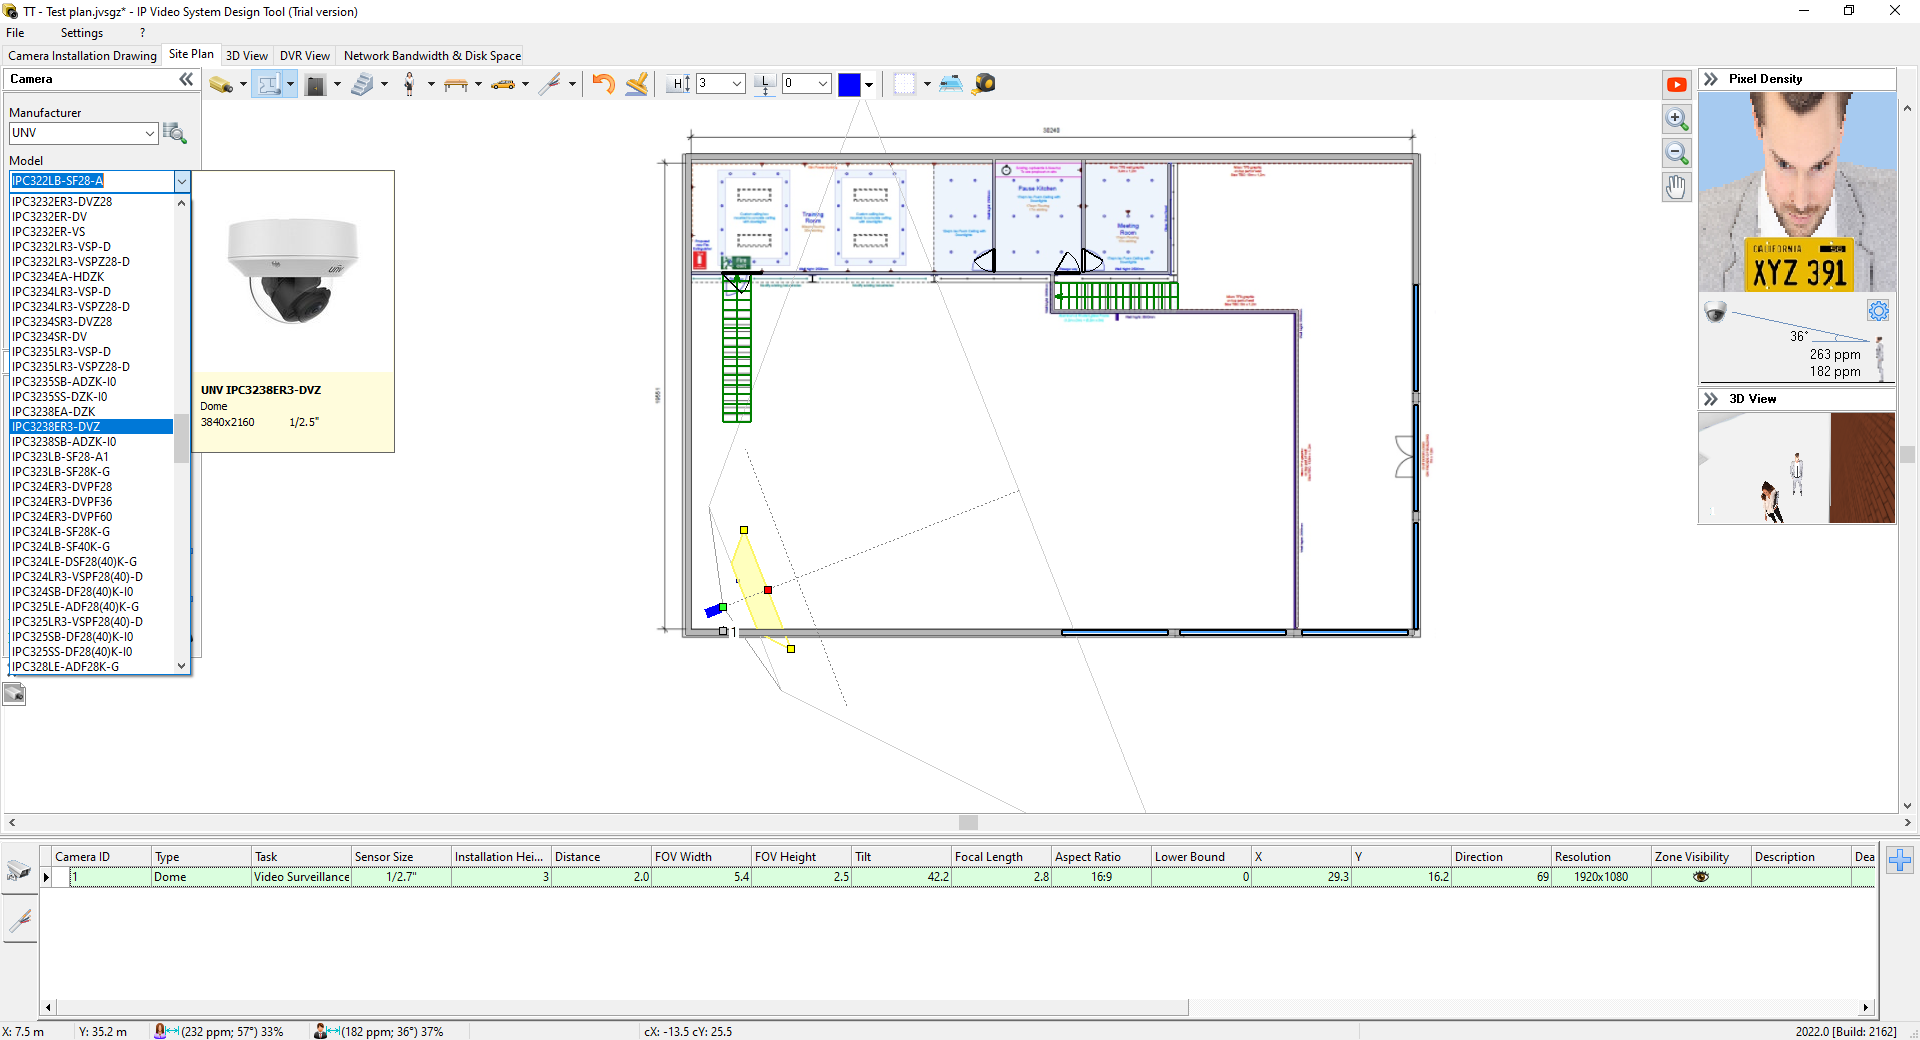
- If the exact camera is not known, you can select options like Camera Resolution, Sensor Format, Lens Focal Length, and Field of View (FOV) Width to help you make the correct camera choices for the installation.
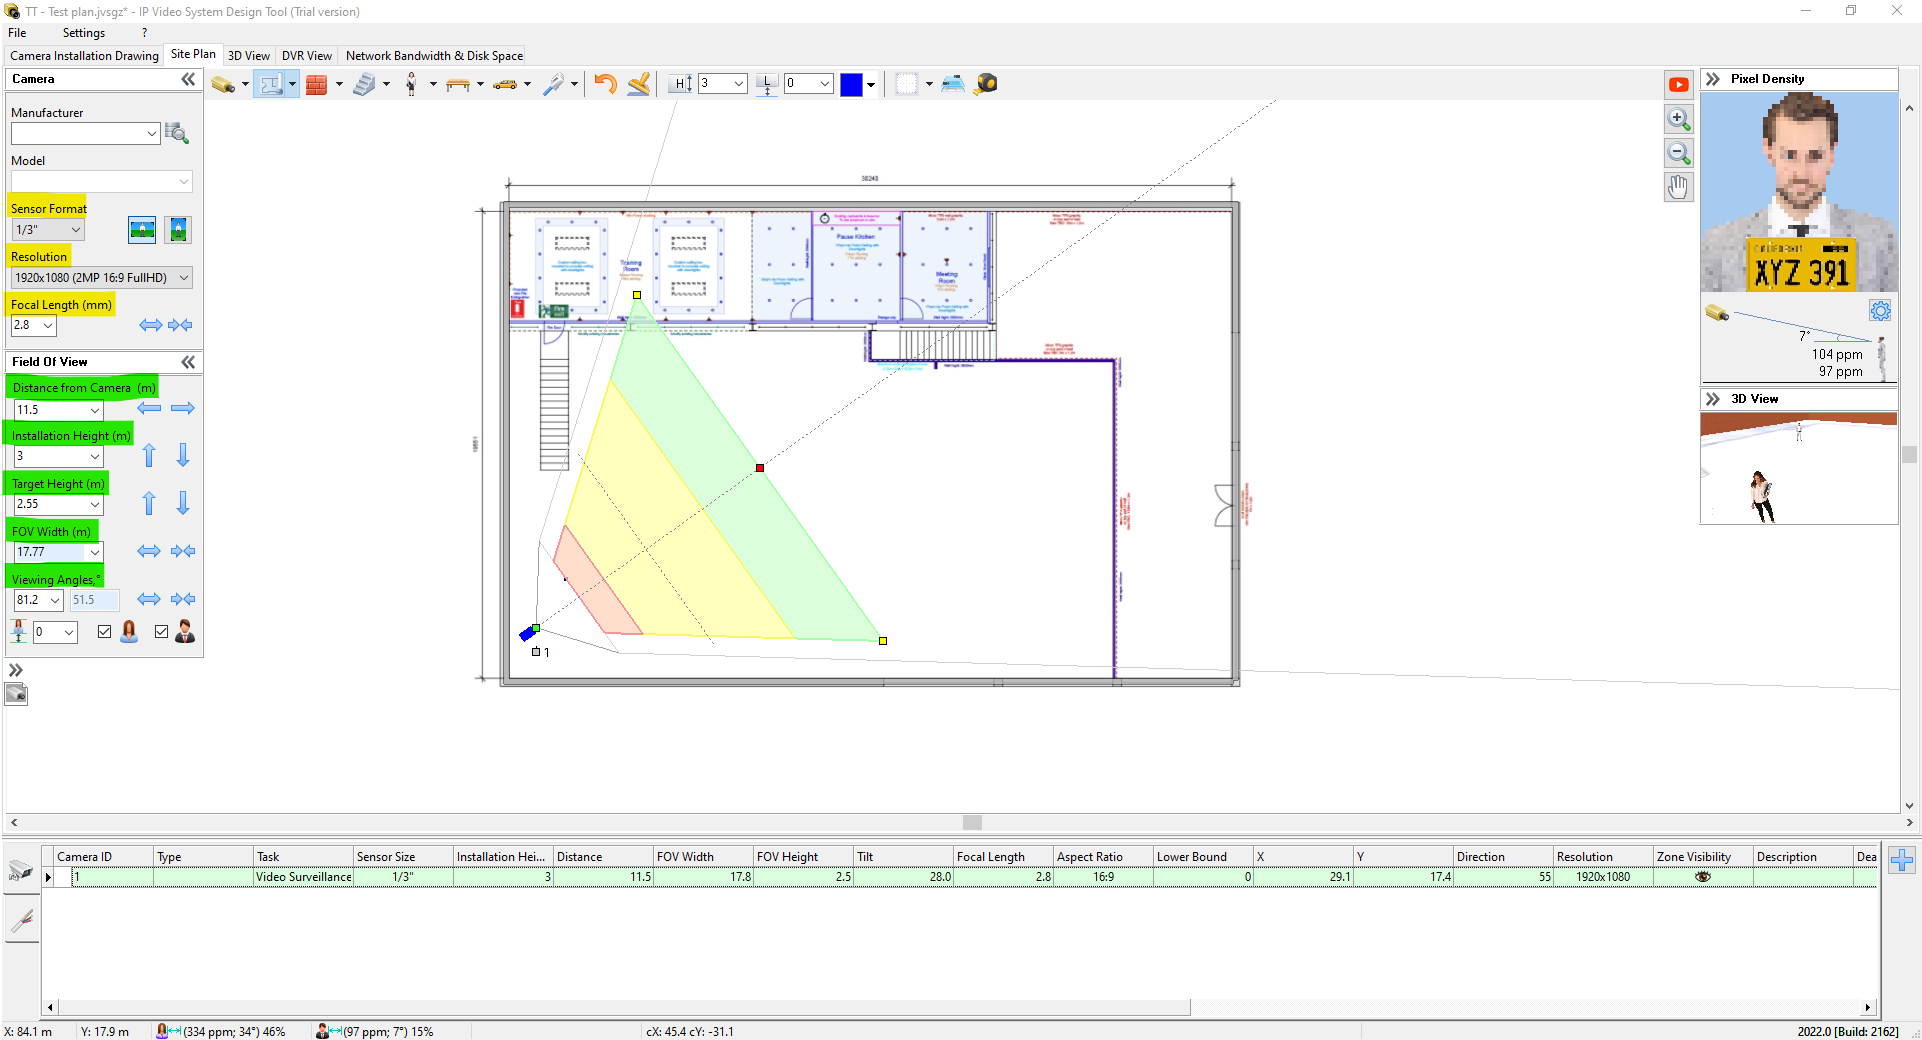
o Camera Installation Height
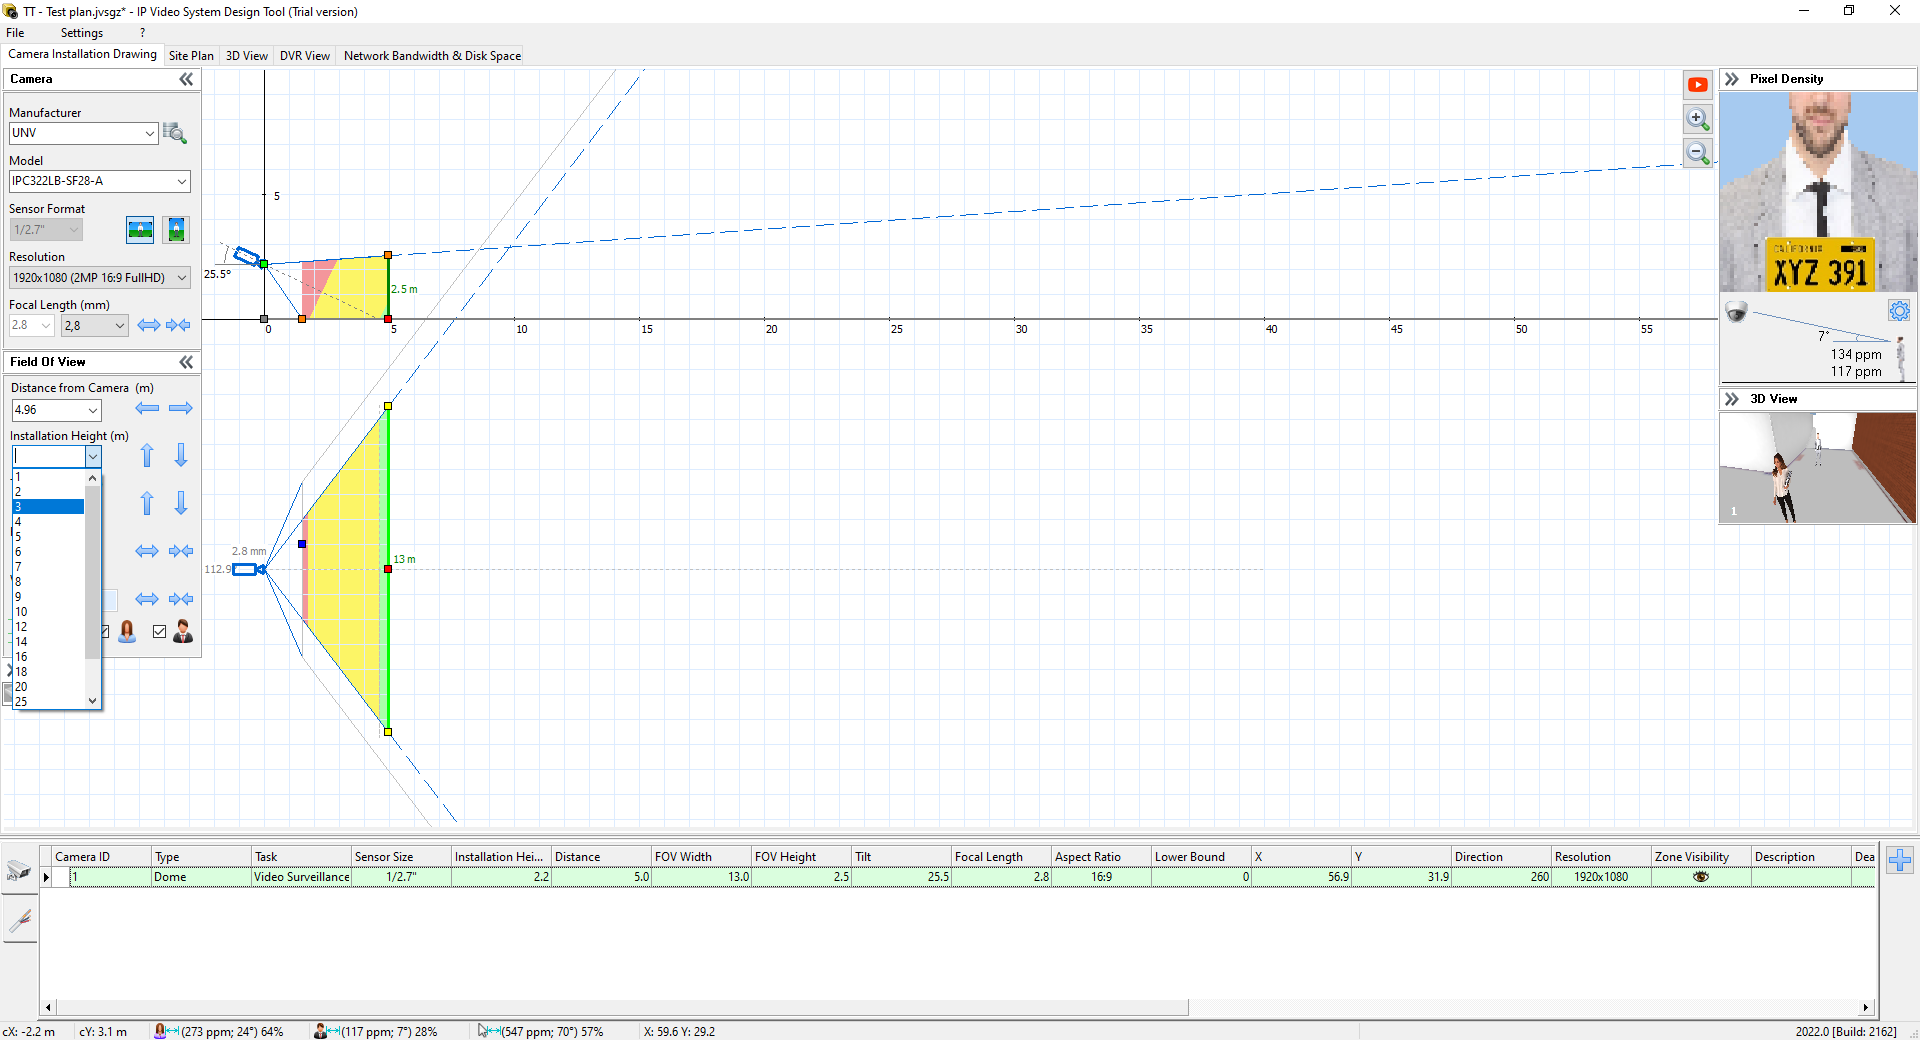
5. You can specify the Distance from Camera to the target.
For example, when the CCTV camera is located in the room, you can specify the distance till the point where people/intruders could walk. You can specify this distance by changing Distance from Camera parameter or by dragging red endpoint for selected camera on the site plan.
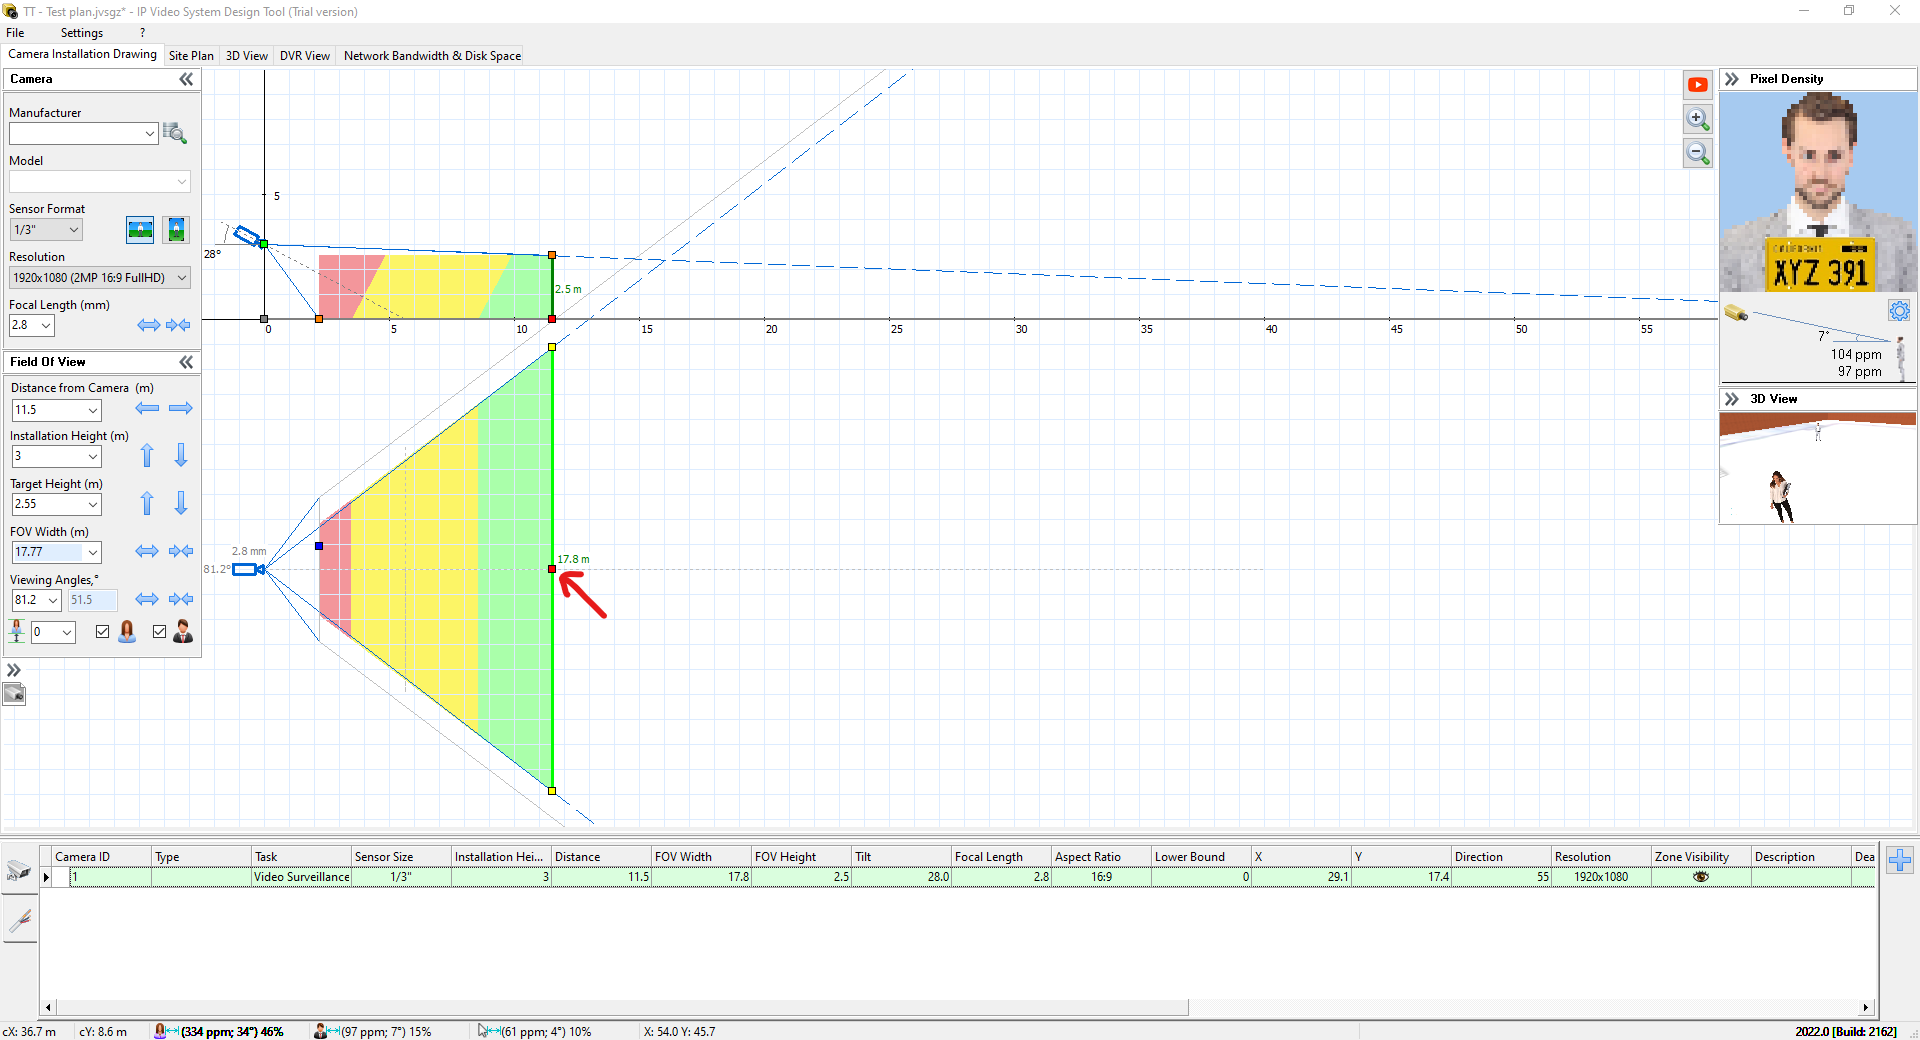
6. Check the camera zones. Different colours are used in the program to display different resolutions as follows.
o Red colour for resolution sufficient to identify a person
o Yellow colour for resolutions sufficient to recognize a person
o Green colour for resolutions sufficient for monitoring purposes
In order to make recognition/identification areas large you can choose a video surveillance camera with higher resolution or a narrower view angle.
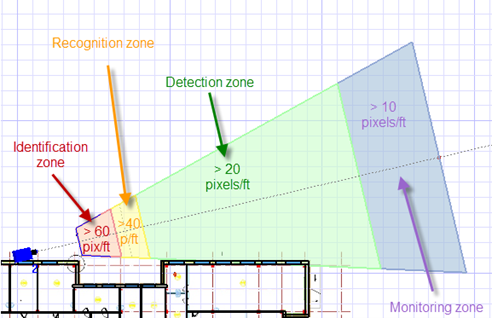
Please see the video guide for more details on these zones here.
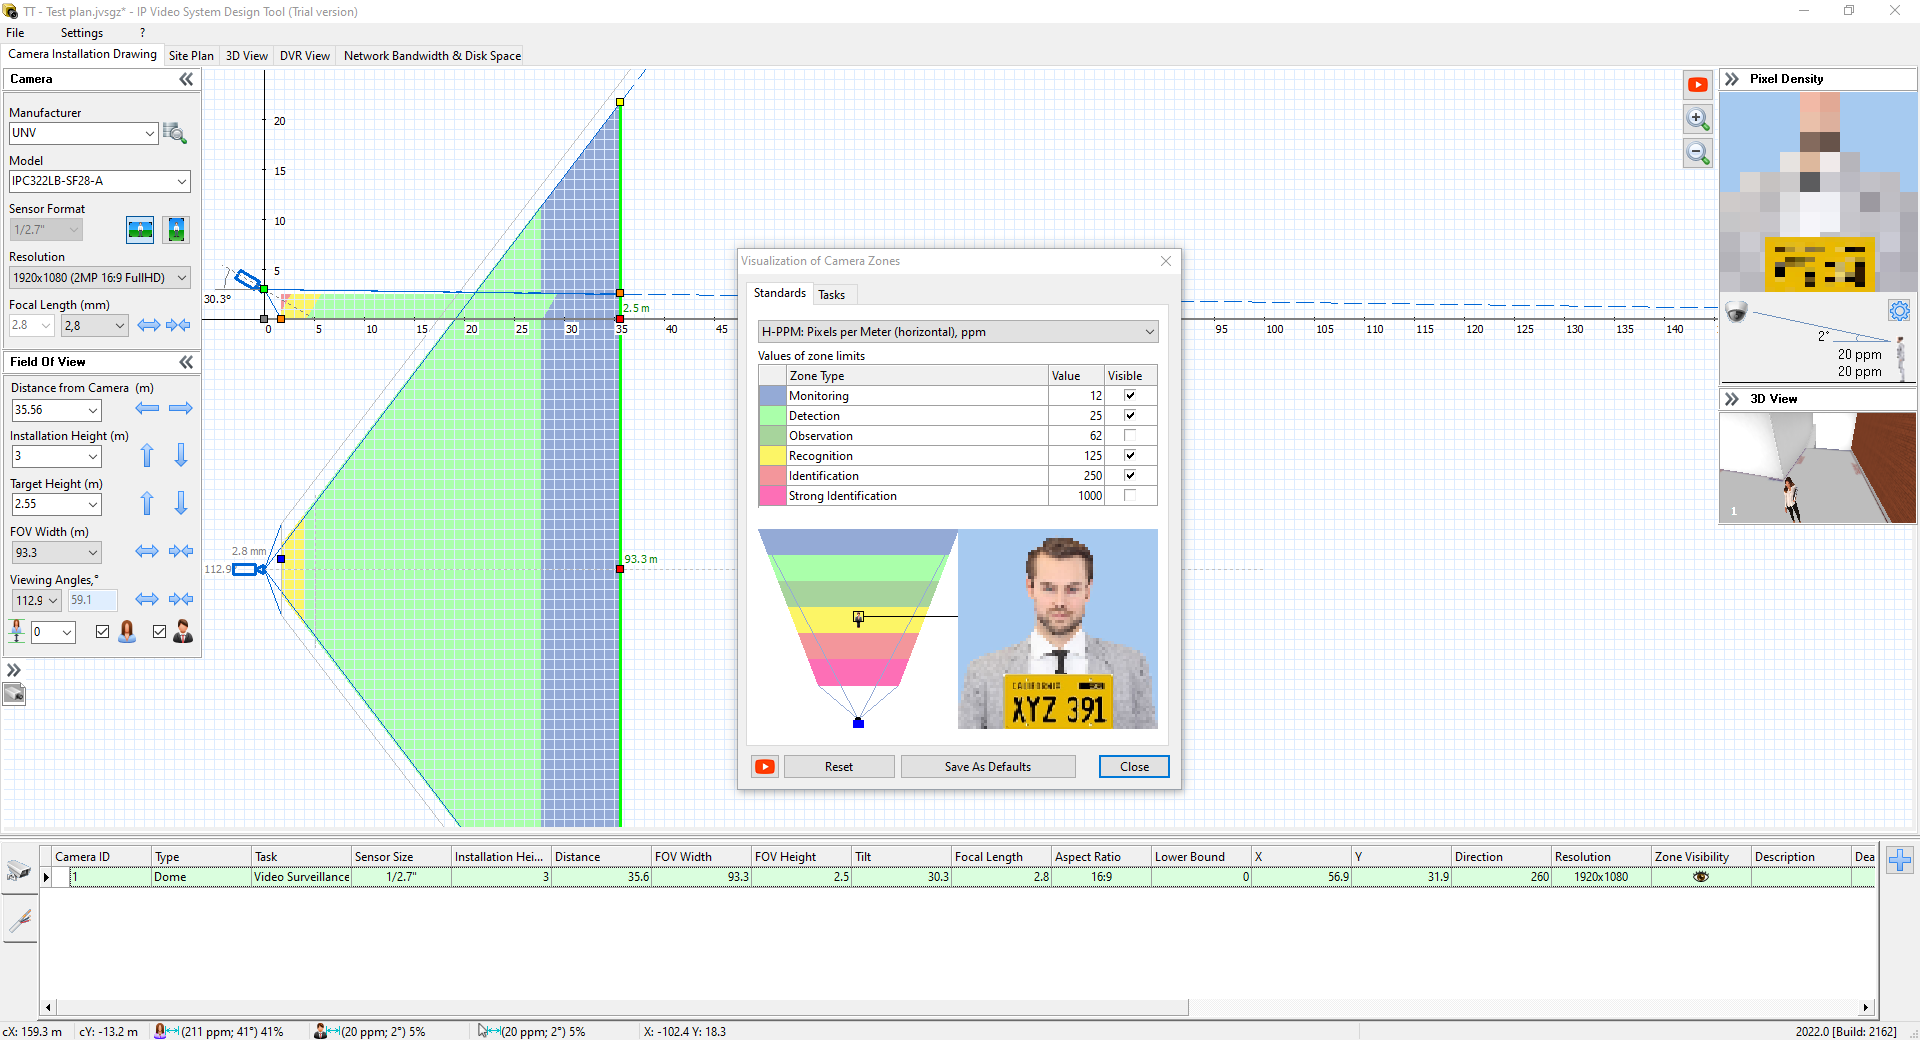
7. On the Camera Installation Drawing tab you can find projection from the side. On this view you can see vertical angle of view and tilt of the selected camera. To change camera tilt please modify FOV Height or Distance from Camera or just use mouse to drag the image up or down in the Camera 3D View window.
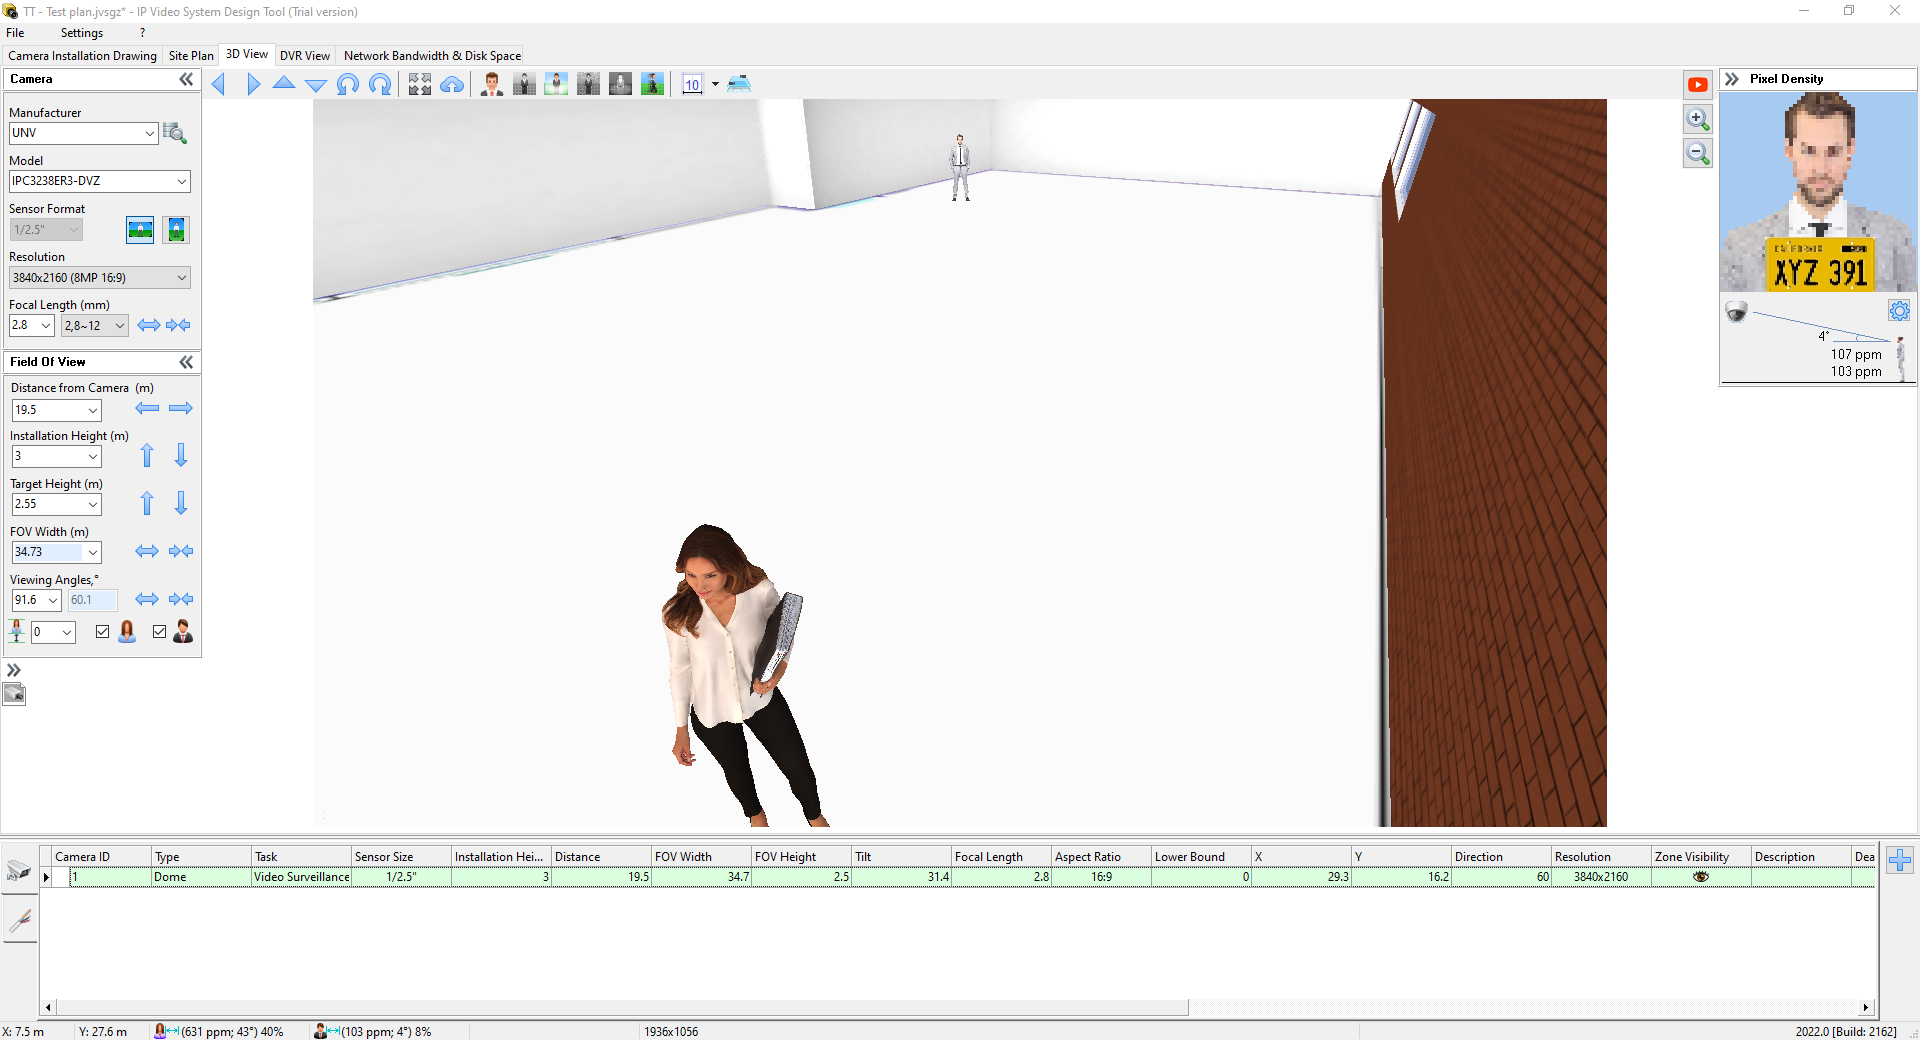
8. You can see enlarged view from the selected camera on the 3D View – See video. The program can explicitly display how the lower camera resolution can decrease the quality of the resulting image (you need to switch on Real Camera Resolution option by using right mouse click).
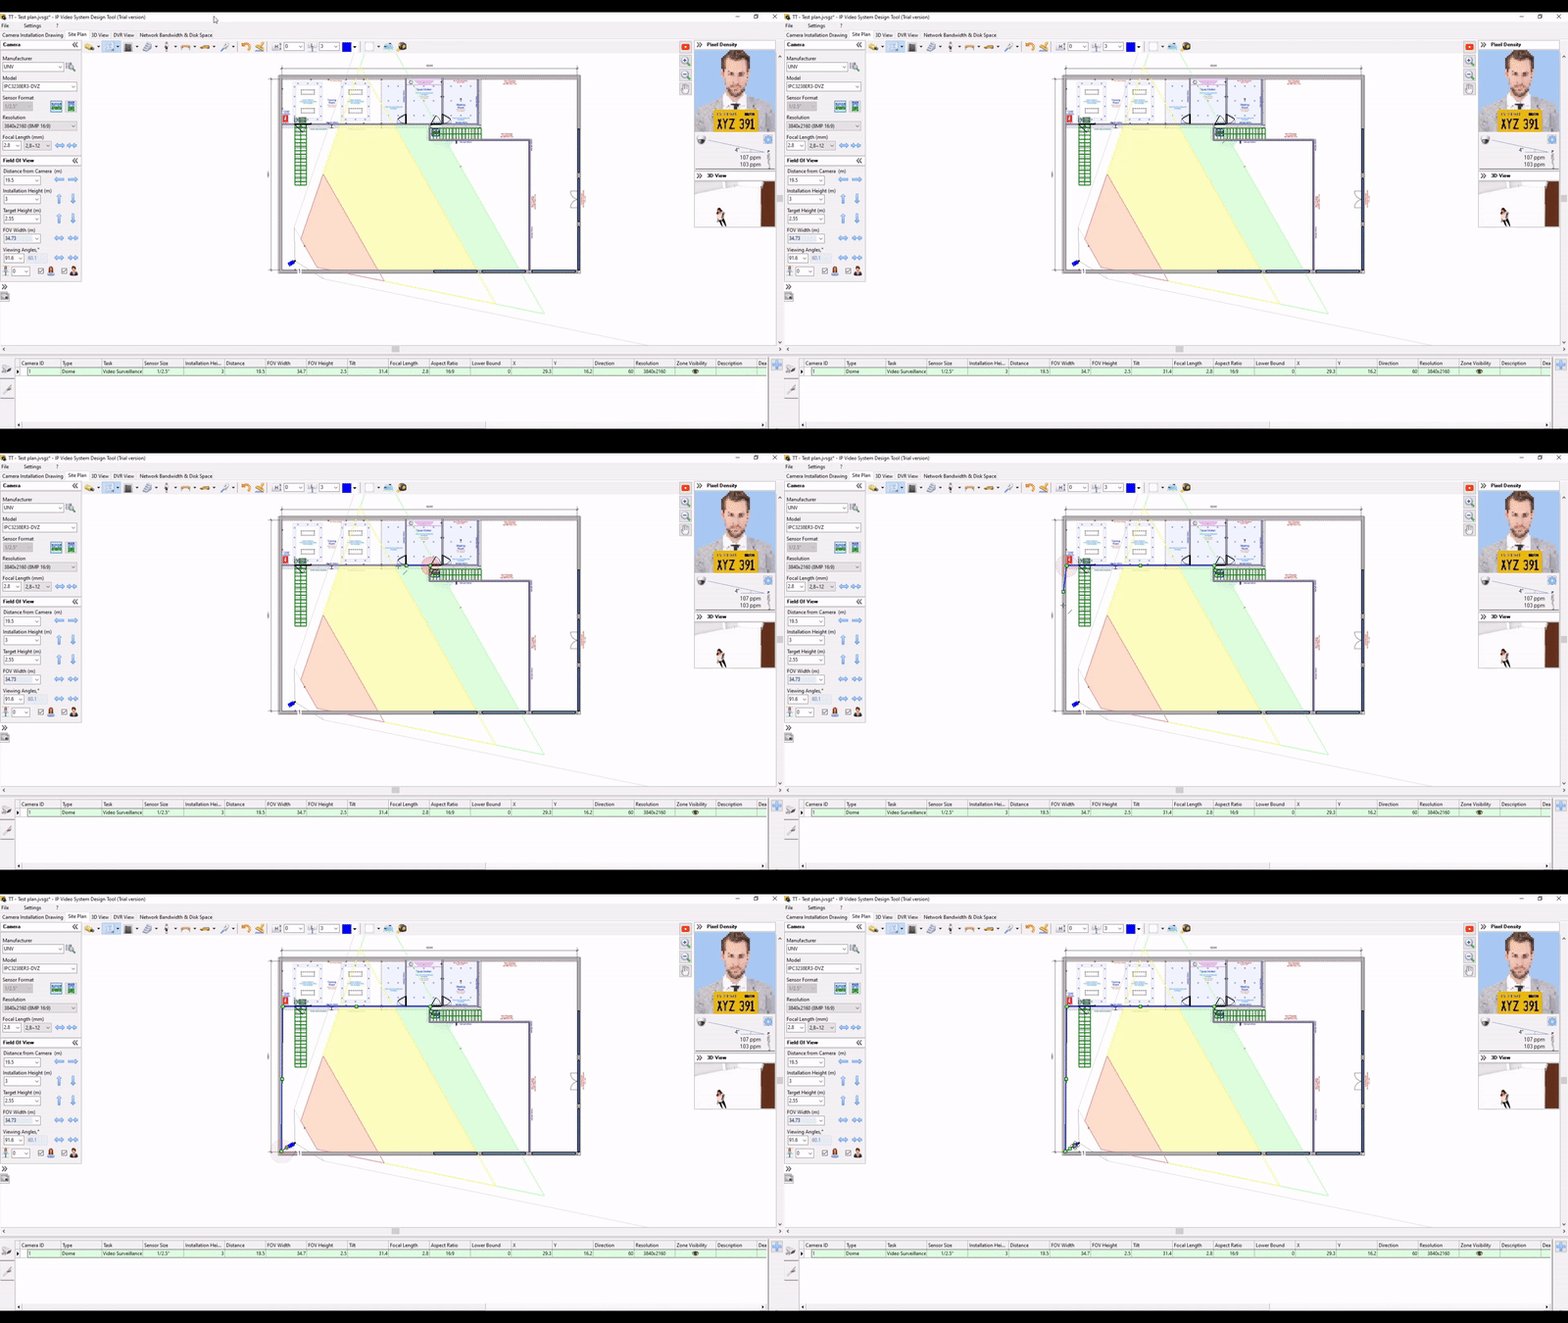
9. Add and place cameras on the site plan, change cameras field of view to achieve optimal camera coverage while taking into account the customer requirements. You can also place the NVR and cable runs to the cameras and NVR as required
Camera option A – Uniview UNV 2mp camera, short distance
.png)
Camera option A – Uniview UNV 2mp camera, long distance
.png)
Camera option B – Uniview UNV 8mp camera, short distance
.png)
Camera option B – Uniview UNV 8mp camera, medium distance
.png)
Camera option B – Uniview UNV 8mp camera, long distance
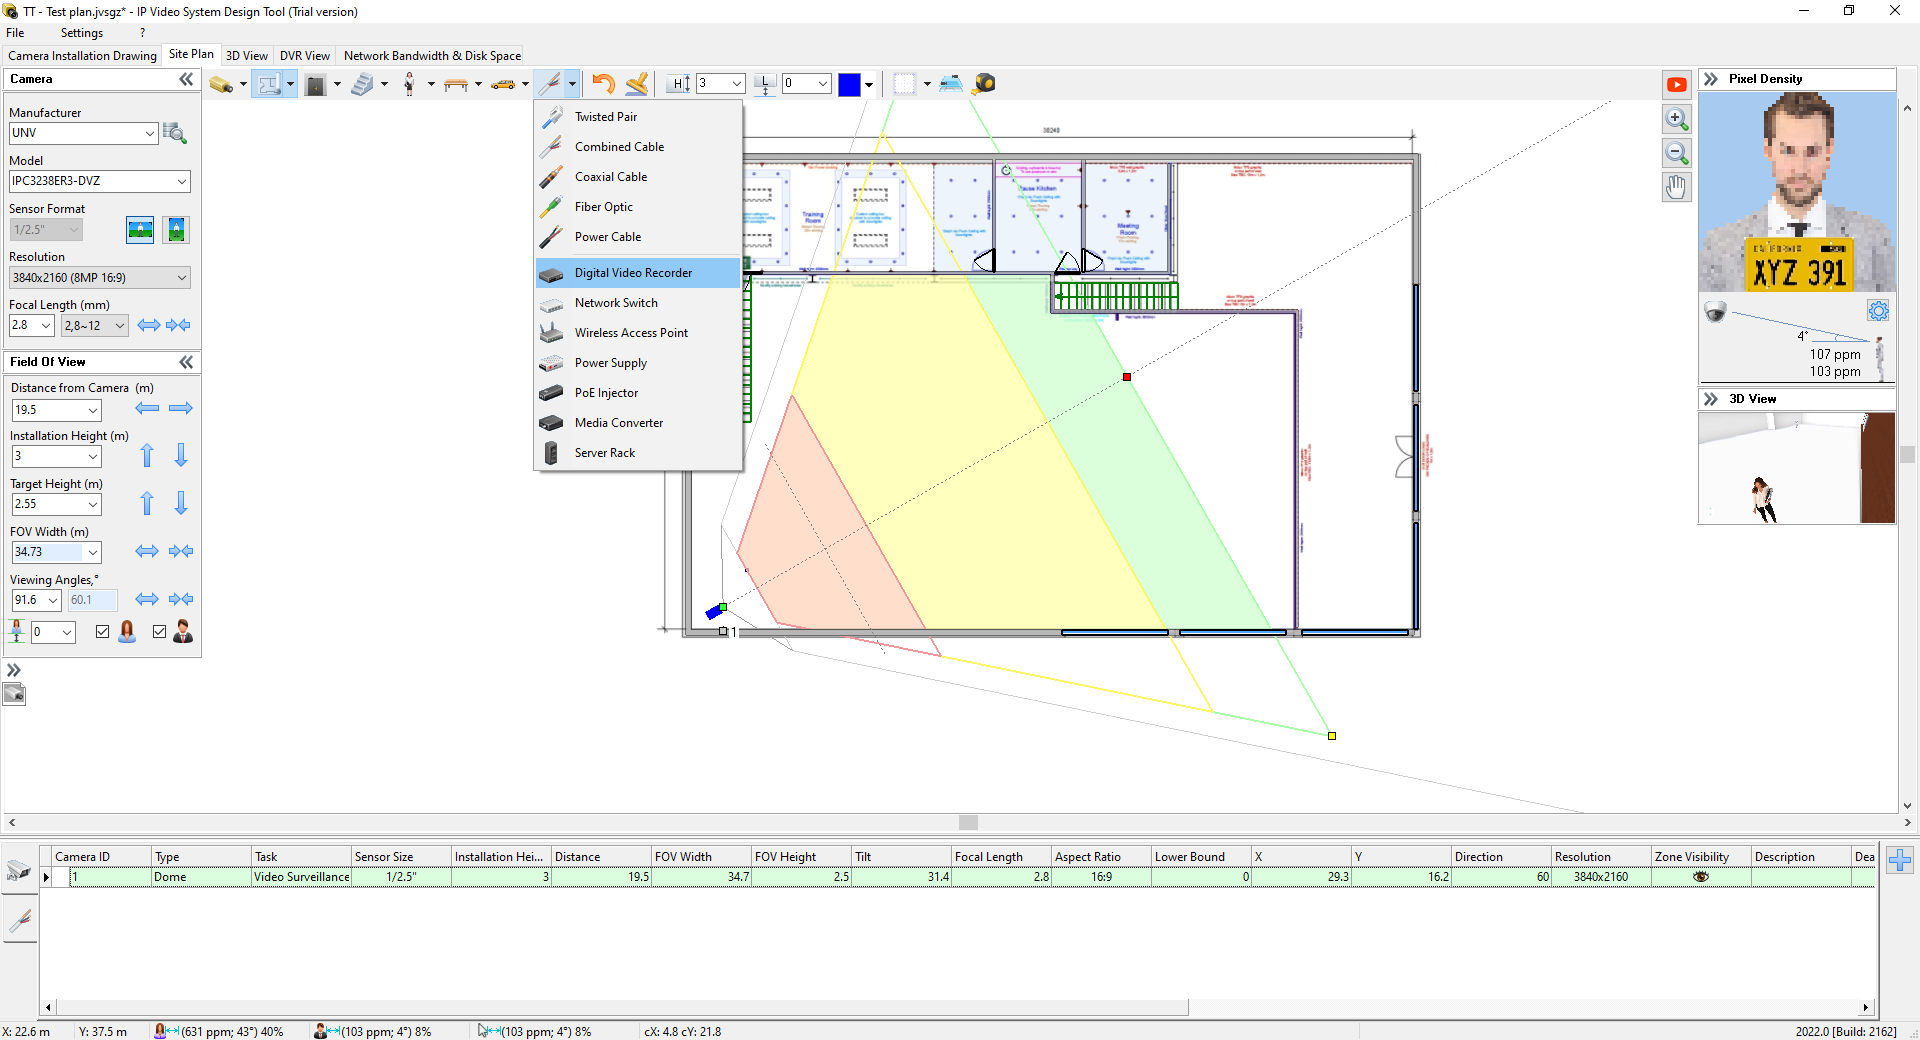
Place the Uniview UNV NVR
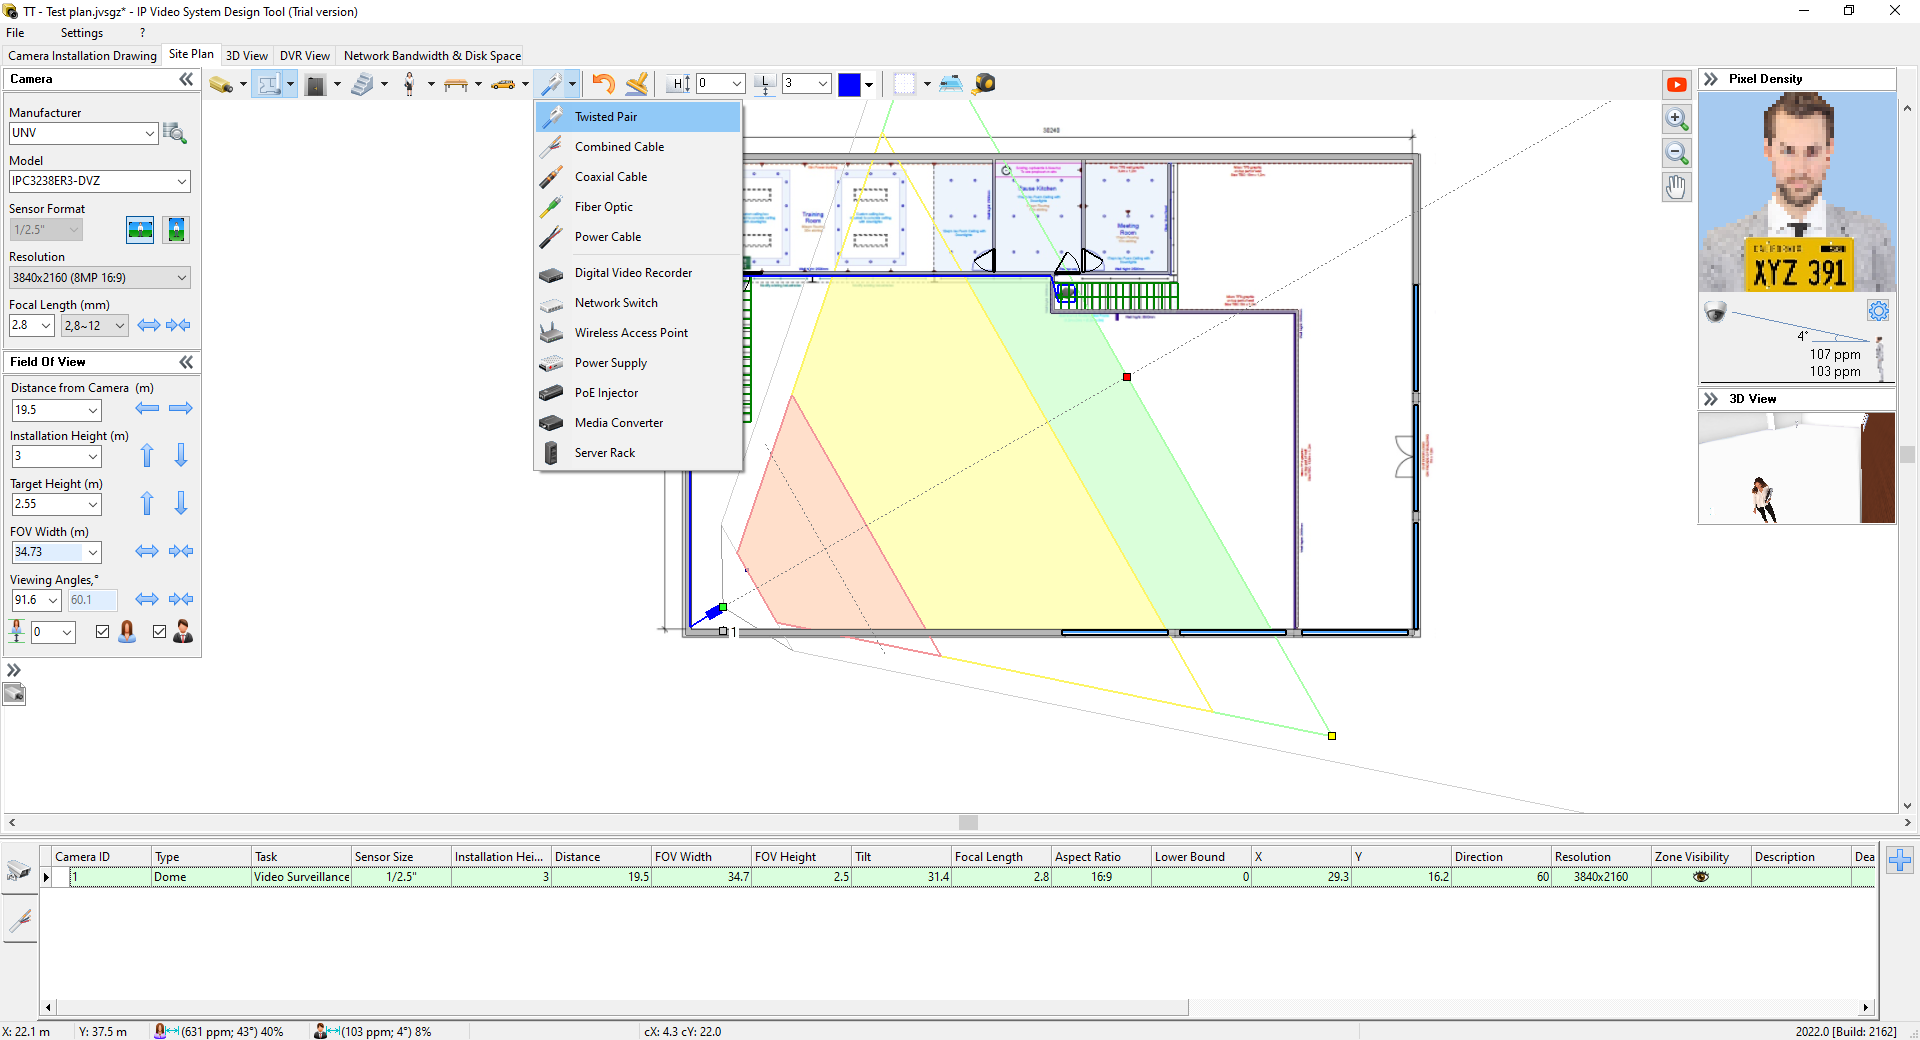
Route cables from NVR to cameras

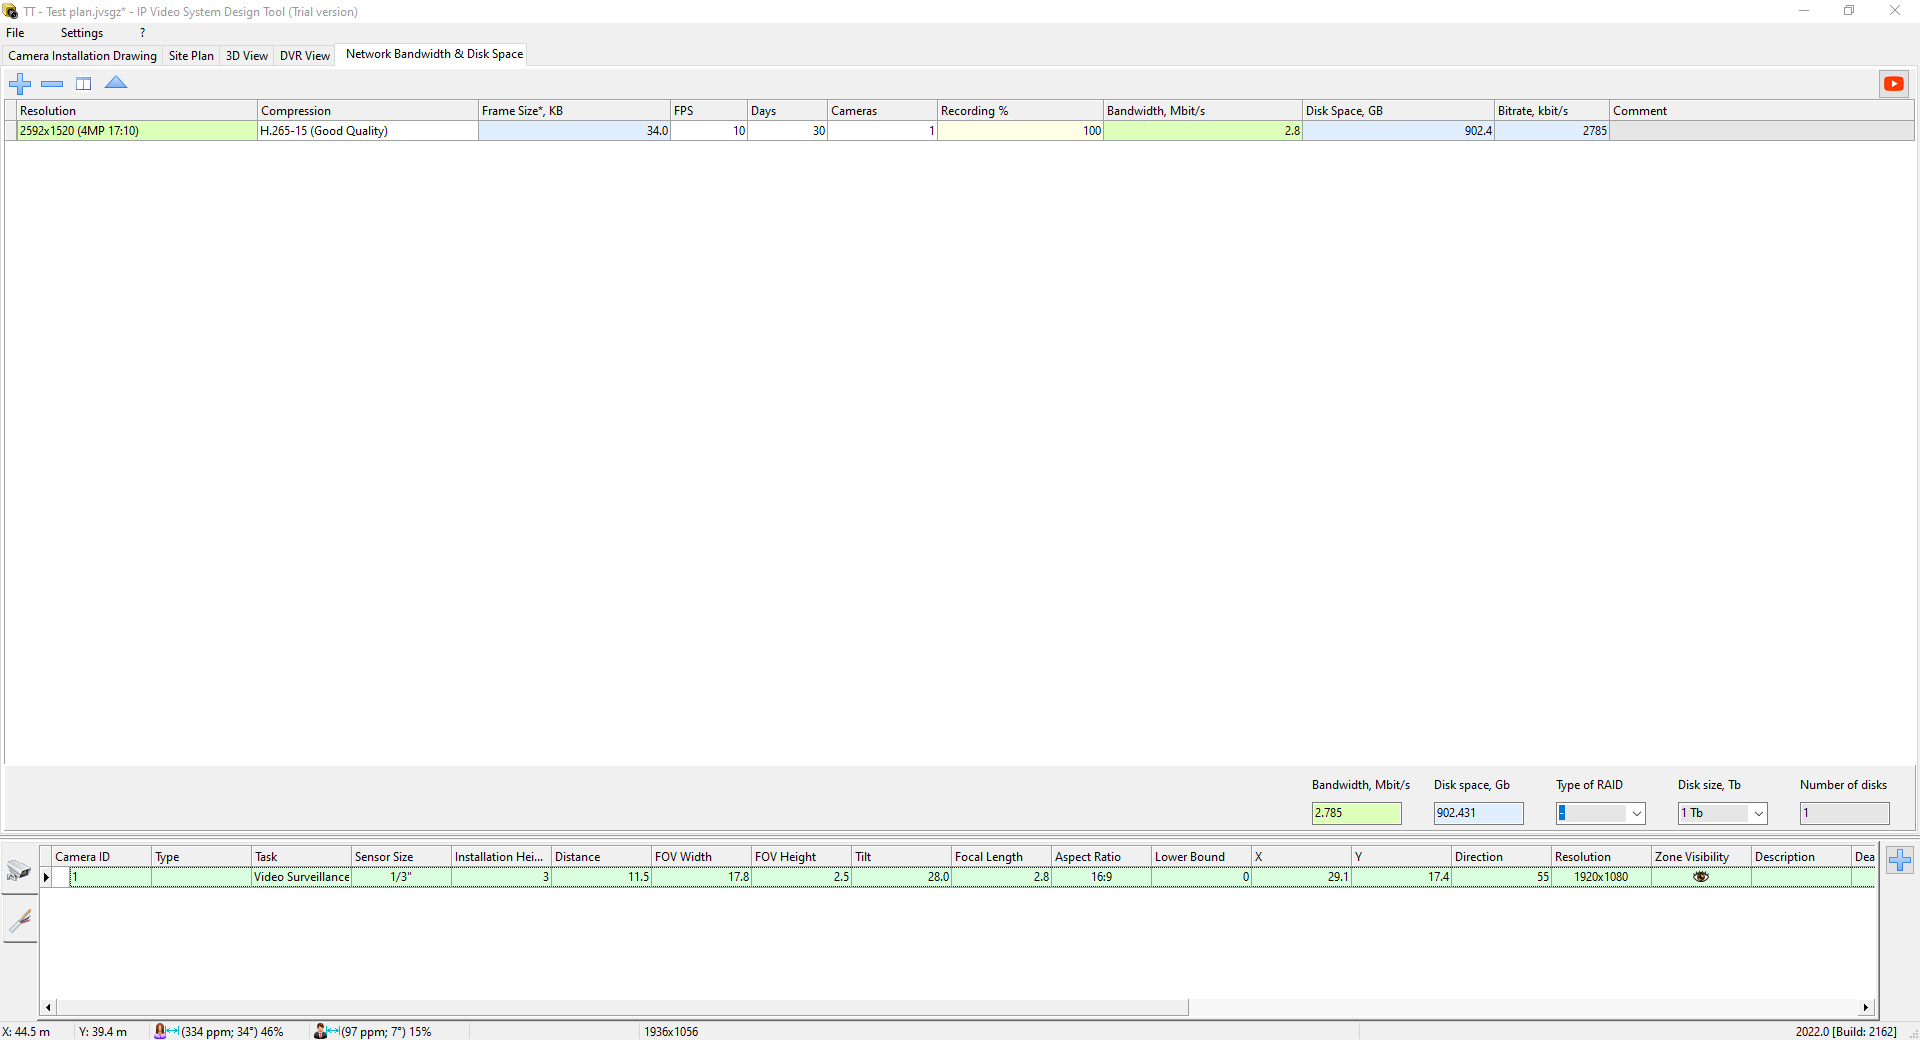
10. Calculate required disk storage space for video archive and estimate required network bandwidth (for network cameras) on Network Bandwidth & Disk Space tab. You will just need to specify Camera Resolution, Compression, desired number of frames per second (FPS column), and desired retention time in days (Days column).
Please contact MiRO for any additional questions that you might have regarding the software and its many uses for planning and installing your next Uniview installation.


Comments
View Comments