
Shopping Cart
There are no more items in your cart.png)
.png)
.png)
.png)
.png)
.png)
.png)
.png)

07|Networking|Routers|Grandstream
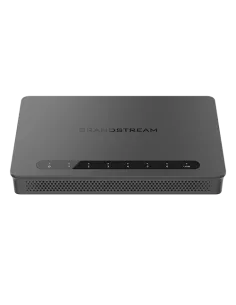
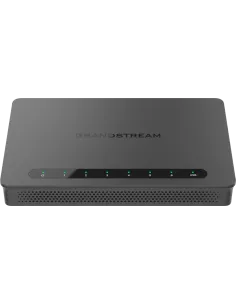
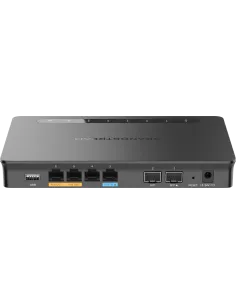
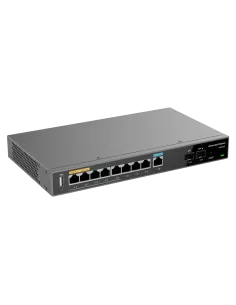
Grandstream Firewall VPN Router 6 GbE LAN / WAN | GWN7001

R1,116.65 (Incl. VAT)
JHB
This item is available for shipping or collection from our Centurion branch.
, CPT
This item is available for shipping or collection from our Cape Town branch.
, DBN
This item is available for shipping or collection from our Durban branch.
, NS
This item is available for shipping or collection from our Nelspruit branch.
.
This item is available for shipping or collection from our branch.
Comments
View Comments