
Shopping Cart
There are no more items in your cartHow to set up a Wi-Fi Guest Network and Captive Portal with Grandstream GDMS Cloud
- Ben Grobler
- Technical Tips & Guides
- 0 likes
- 7817 views
- 0 comments

The Grandstream GDMS Cloud is an enterprise-grade management platform designed for Grandstream’s GWN series of Wi-Fi Access Points, routers, and switches. It offers centralized network management, allowing administrators to configure, monitor, and troubleshoot their network infrastructure from anywhere via a web or mobile app. The platform supports unlimited scalability, making it ideal for managing multiple sites and large deployments efficiently.
In today’s guide, we will set up a GWN7002 router with VLANs, connected to a GWN7801P switch and a GWN7603 Access Point. It is assumed that you already have an internet connection to the GWN7002. For this guide, we will use a Dynamic IP from the provider.
Let’s start by logging into the GWN7002 and setting up VLANs. Navigate to Network Settings > LAN and click on Add VLAN.
Add VLAN ID 10
Let’s name it Admin.
Add your desired IPv4 Address and Subnet Mask.
Enable the DHCP Service and enter your desired DHCP range.
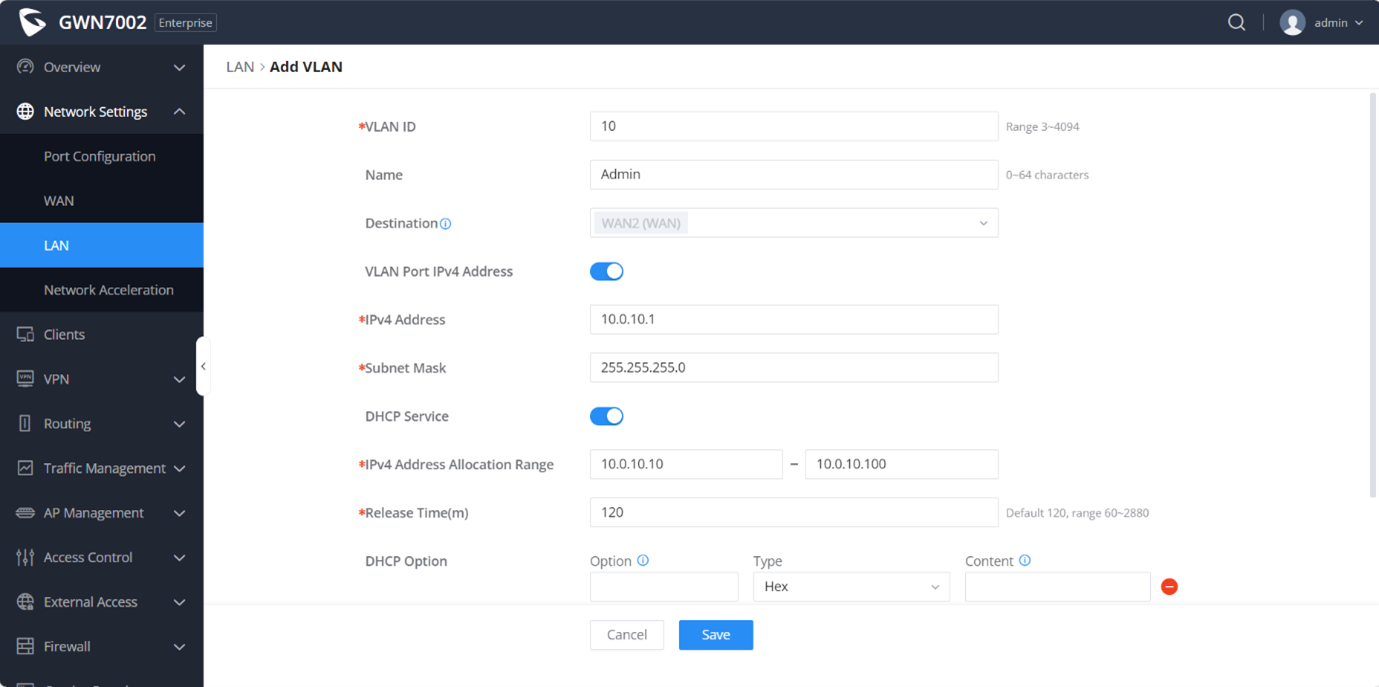
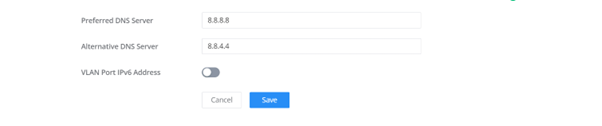
Finally, enter your preferred DNS Servers and click on Save:

Now that we have configured VLAN 10 for the Admin network, let’s create another VLAN for the Guest network:
Add VLAN ID 20
Let’s name it Guest
Add your desired IPv4 Address and Subnet Mask.
Enable the DHCP Service and enter your desired DHCP range.

Finally, enter your preferred DNS Servers and click on Save:
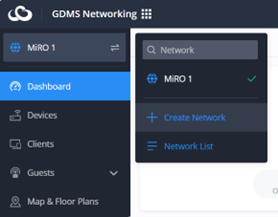
Now that we have created the VLANs. Let’s adopt the router, switch, and Access Point to the GDMS cloud. Once logged into the cloud, let’s create a new network. On the dashboard, click on the networks icon and Create Network:
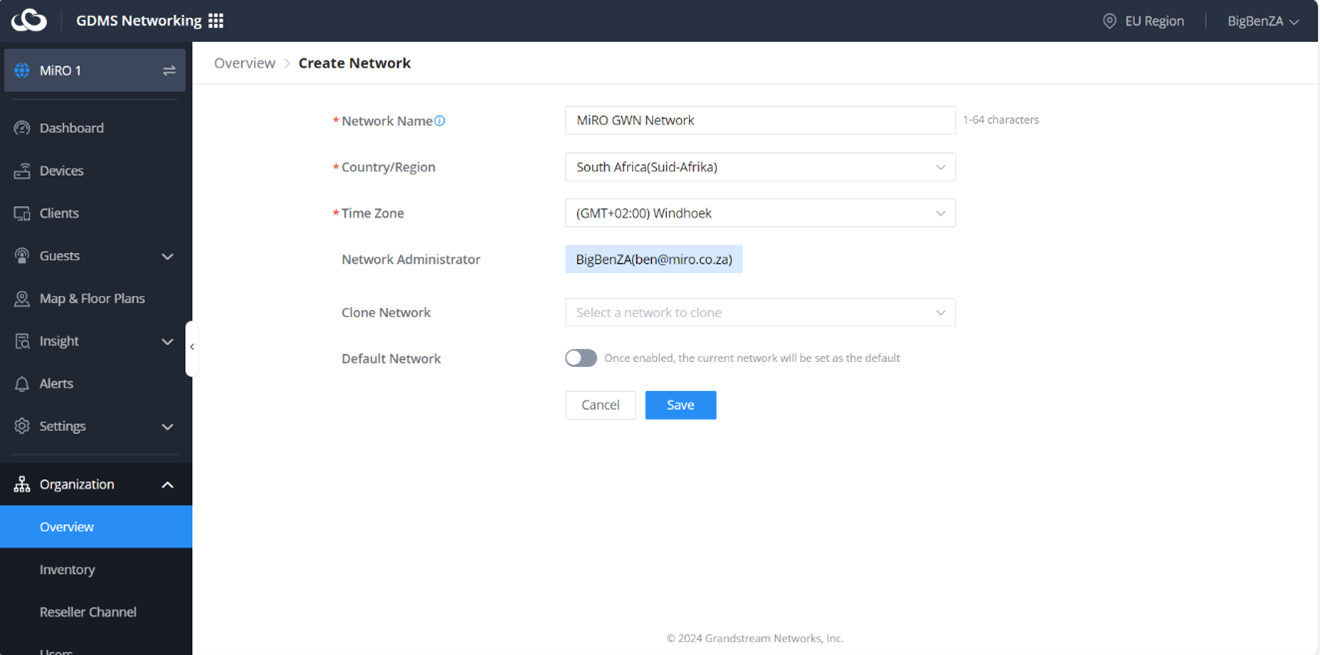
Create a new network with your preferred name and settings and click on Save:
Head back to the networks icon and select your new network:

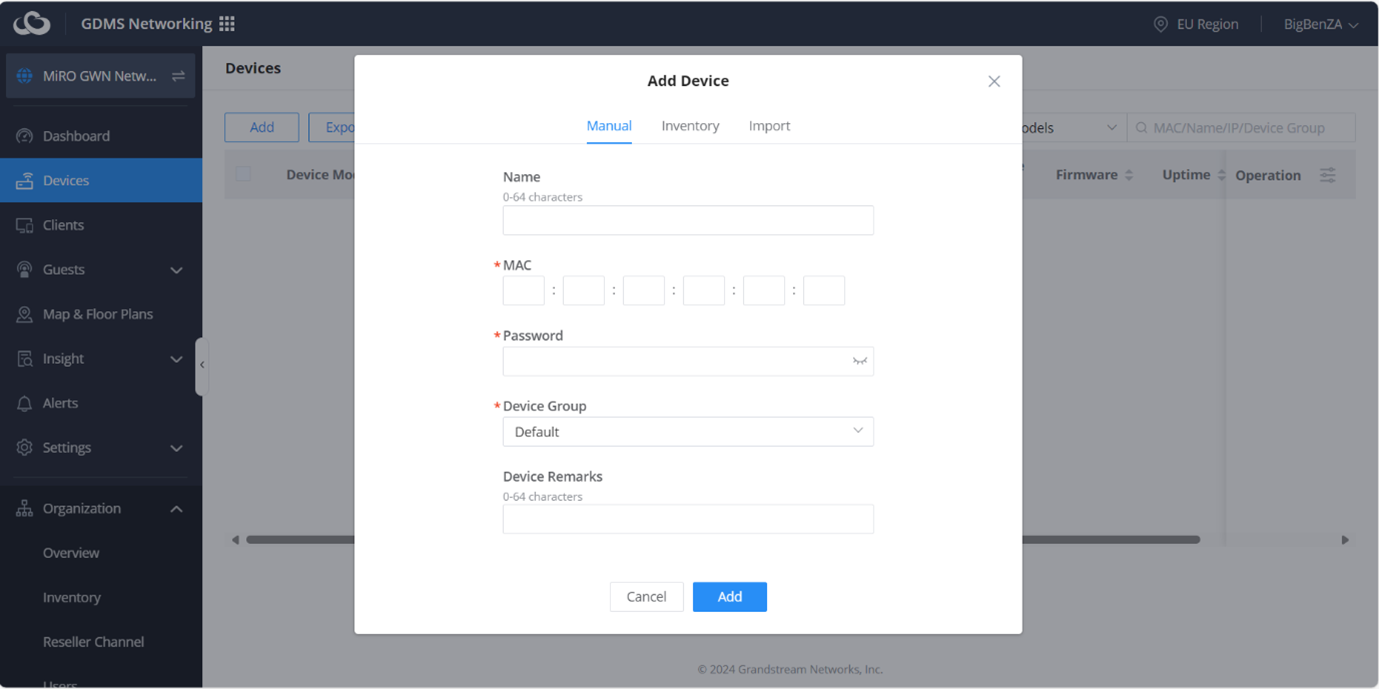
Now that we have our new network, navigate to Devices and click on Add. Ensure that you have the MAC addresses and Passwords of the devices.
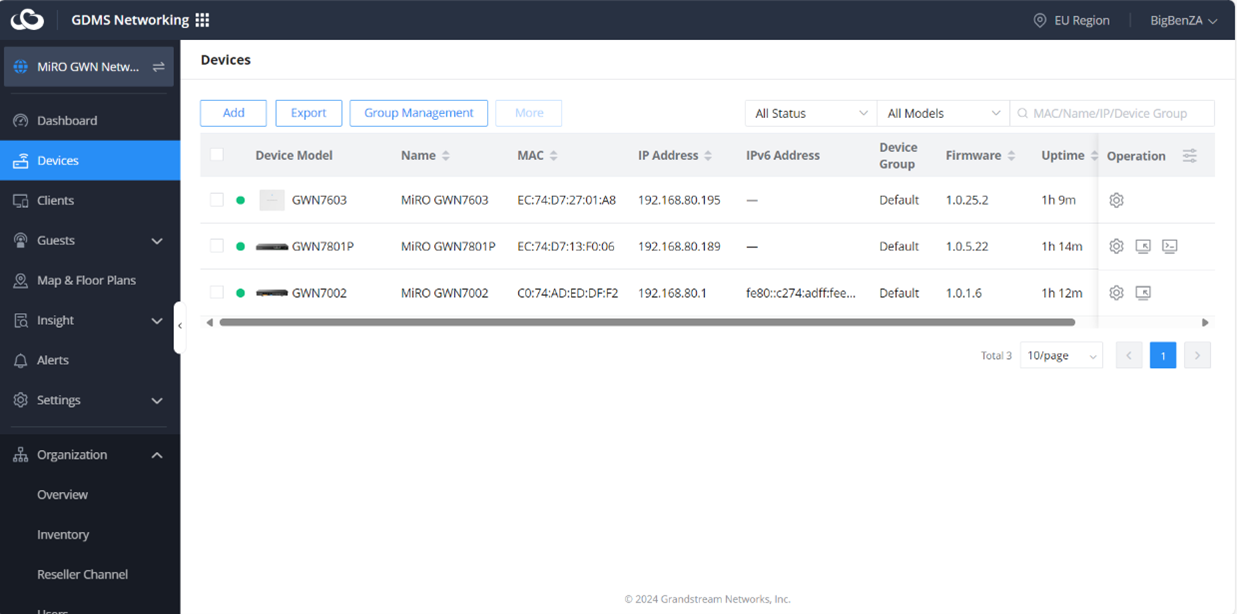
Once all your devices have been added, you will see them under Devices:
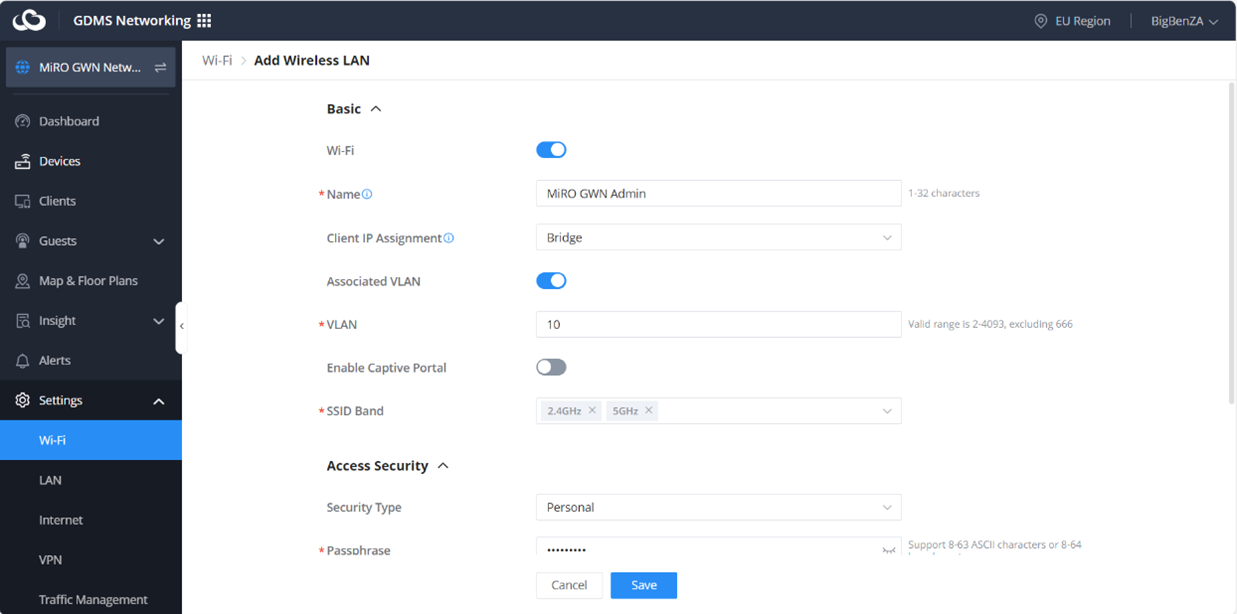
Let's start by creating a Wi-Fi Network. Navigate to Settings > Wi-Fi and click on Add. First, we’ll create the Admin SSID for VLAN 10. Once finished, click on Save:
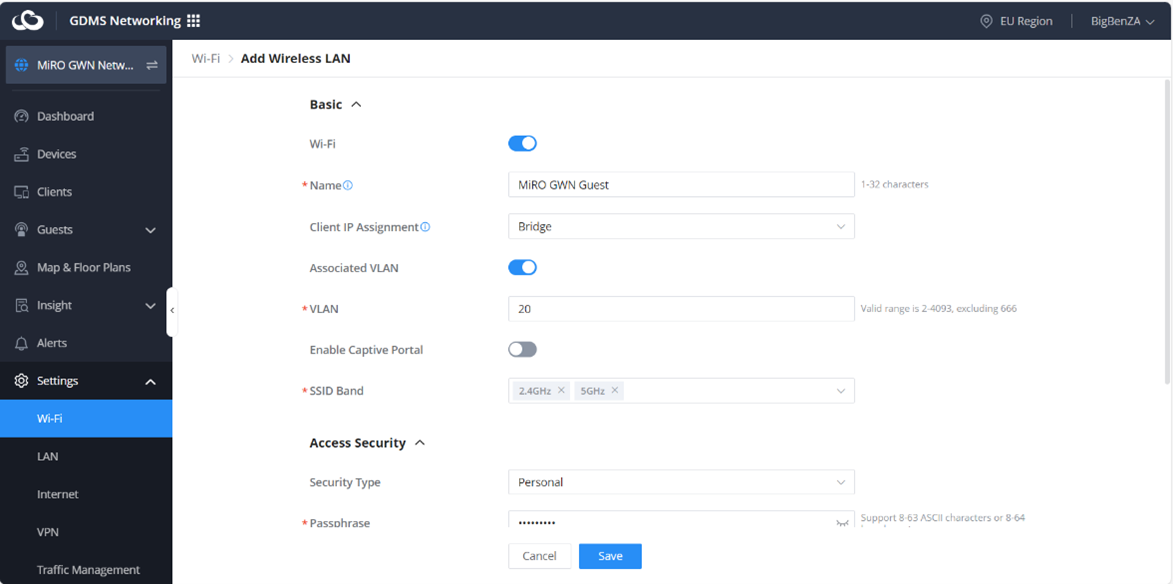
Next, let’s create another Wi-Fi network for the Guest network using VLAN 20:
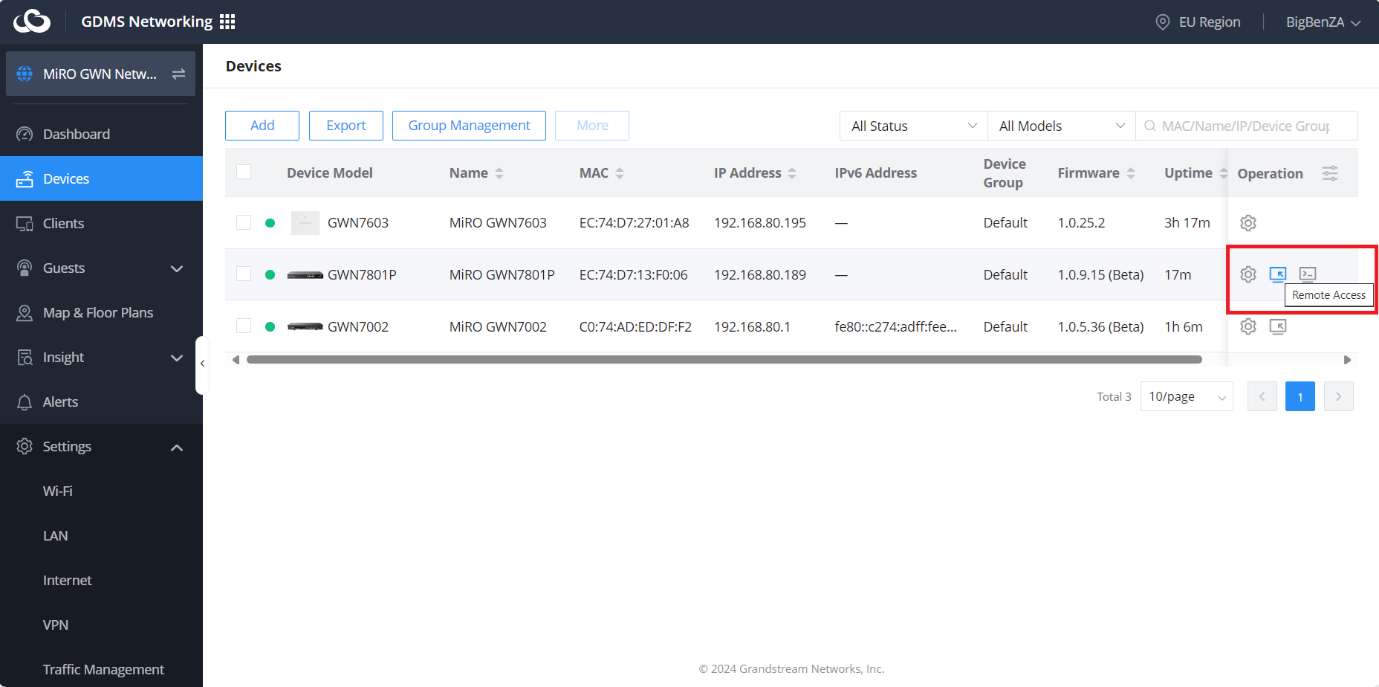
Now that the Wi-Fi and VLANs are added, we have to inform the switch of the VLAN changes. Navigate back to Devices, under Operation of the switch, and click on Remote Access.
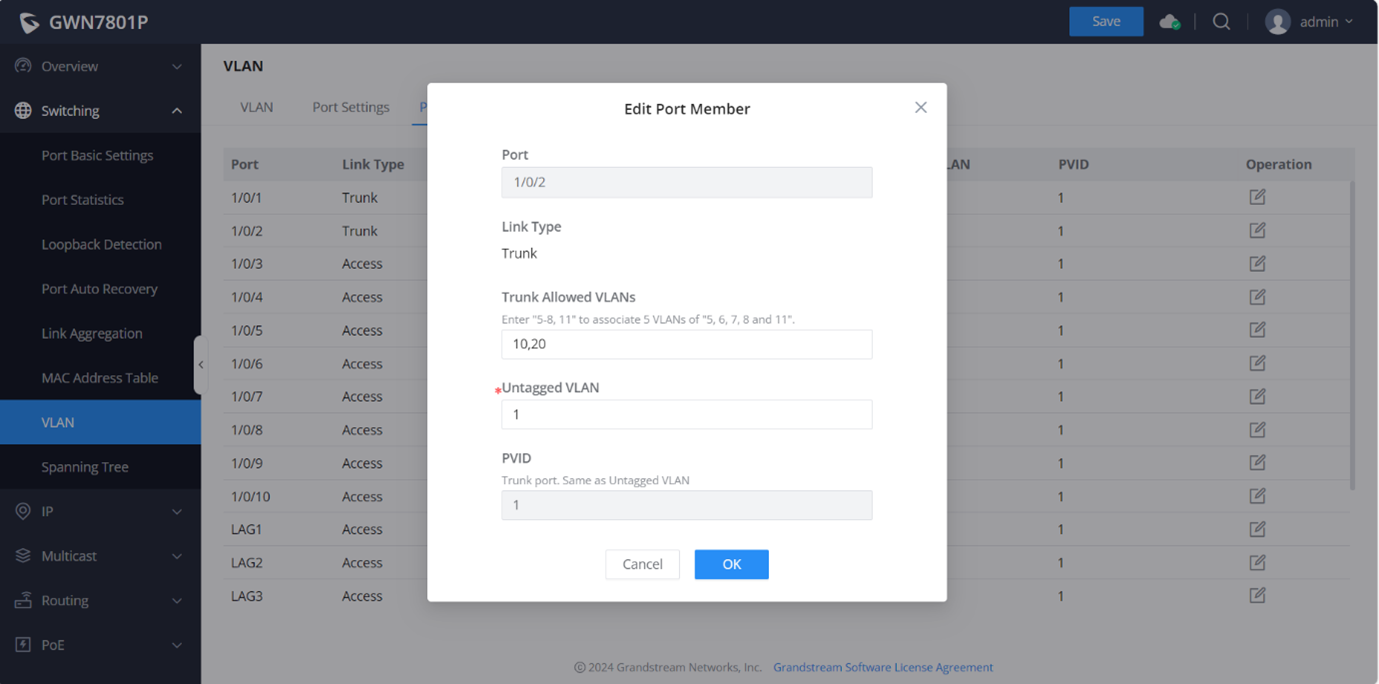
Log in to the switch with the username and password. Once logged in, navigate to Switching > VLANs and click on Port Members. Edit the port where the Access Point I connected and enter the Trunk Allowed VLANs. In our case, 10,20:
Now that the switch port is configured, let's connect to the SSIDs and see what IPs we get:
Admin
Guest
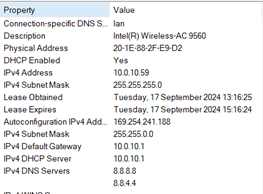
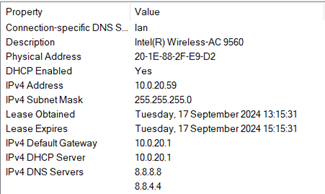
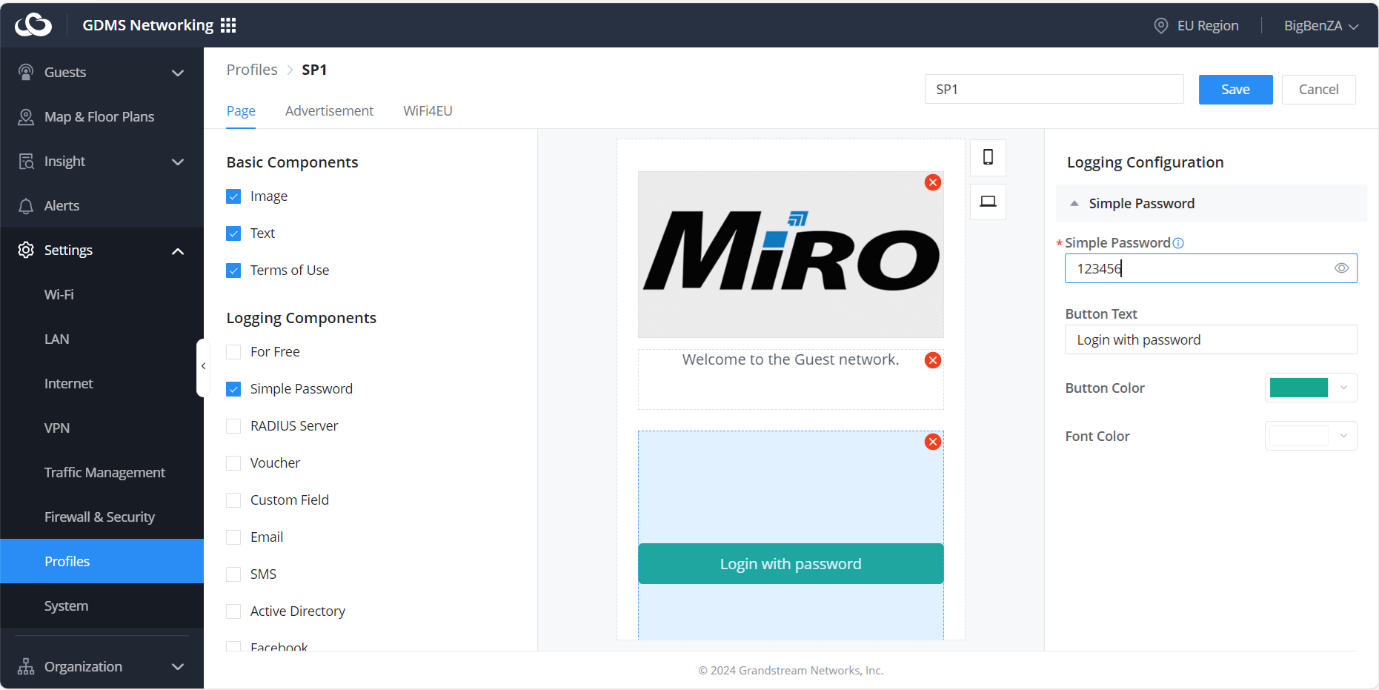
Great, we have our wireless networks set up correctly and we receive the correct IP addresses. Lastly, we can configure a guest portal for the Guest SSID. Navigate to Settings > Profiles and create a new Splash Page. Once finished, click on Add.
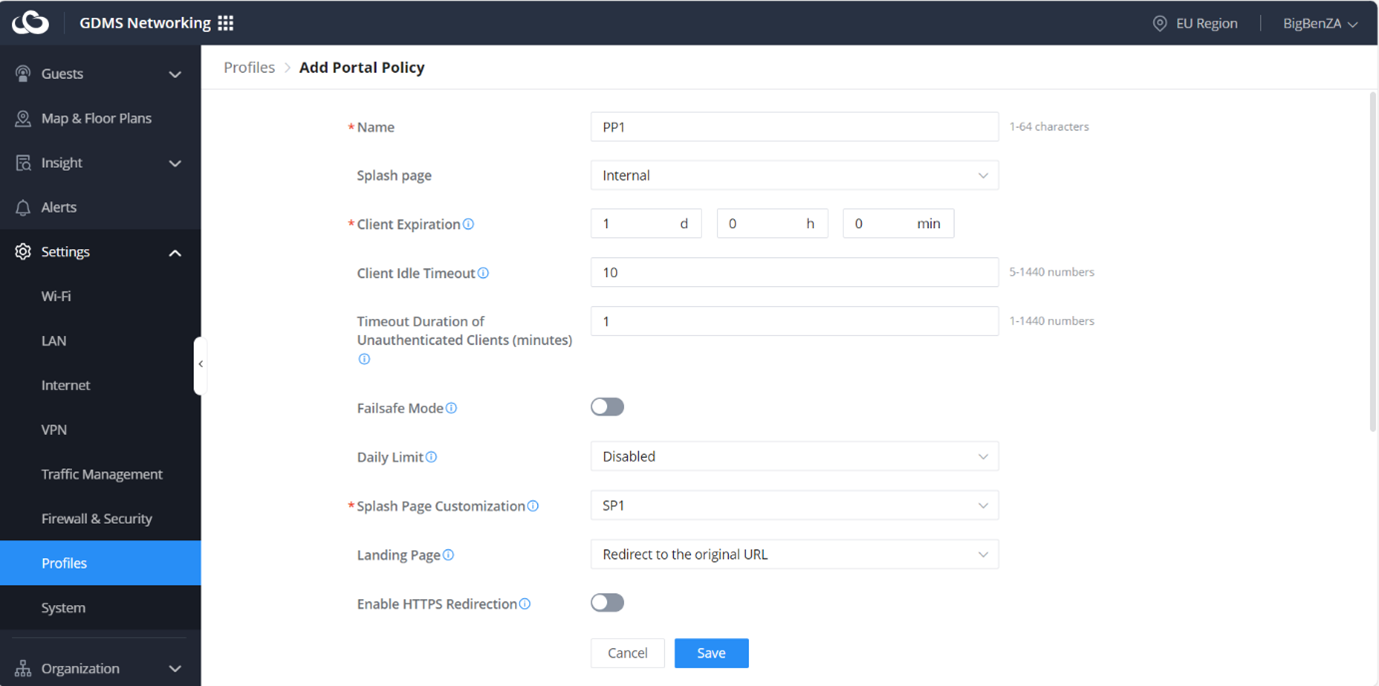
Next, let’s create a Portal Policy. Navigate back to Settings > Profiles and add a new Portal Policy. Remember to select your created Splash Page:
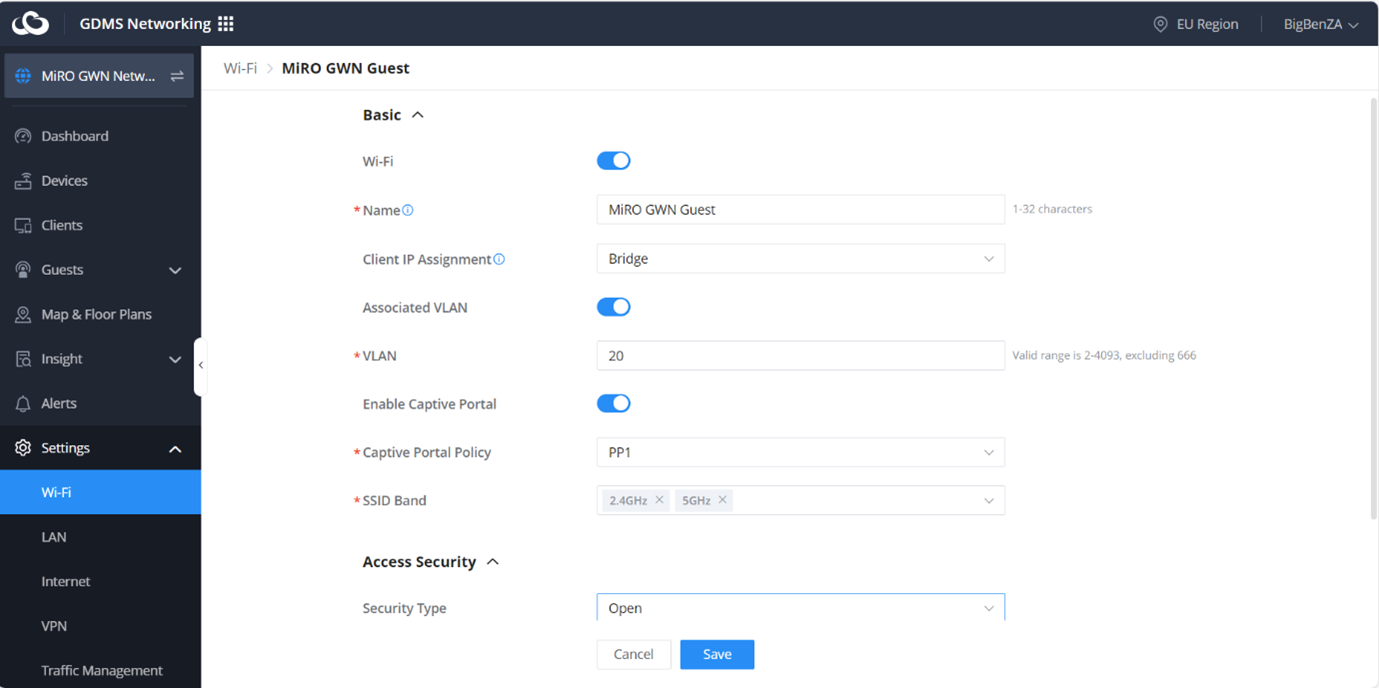
Next, navigate to Settings > Wi-Fi and edit the Guest SSID to use the portal. Remember to remove the Wi-Fi password if your setup uses a Simple Password or Voucher
Lastly, let’s connect to the Guest Wi-Fi and see if we are redirected to the new Splash Page:
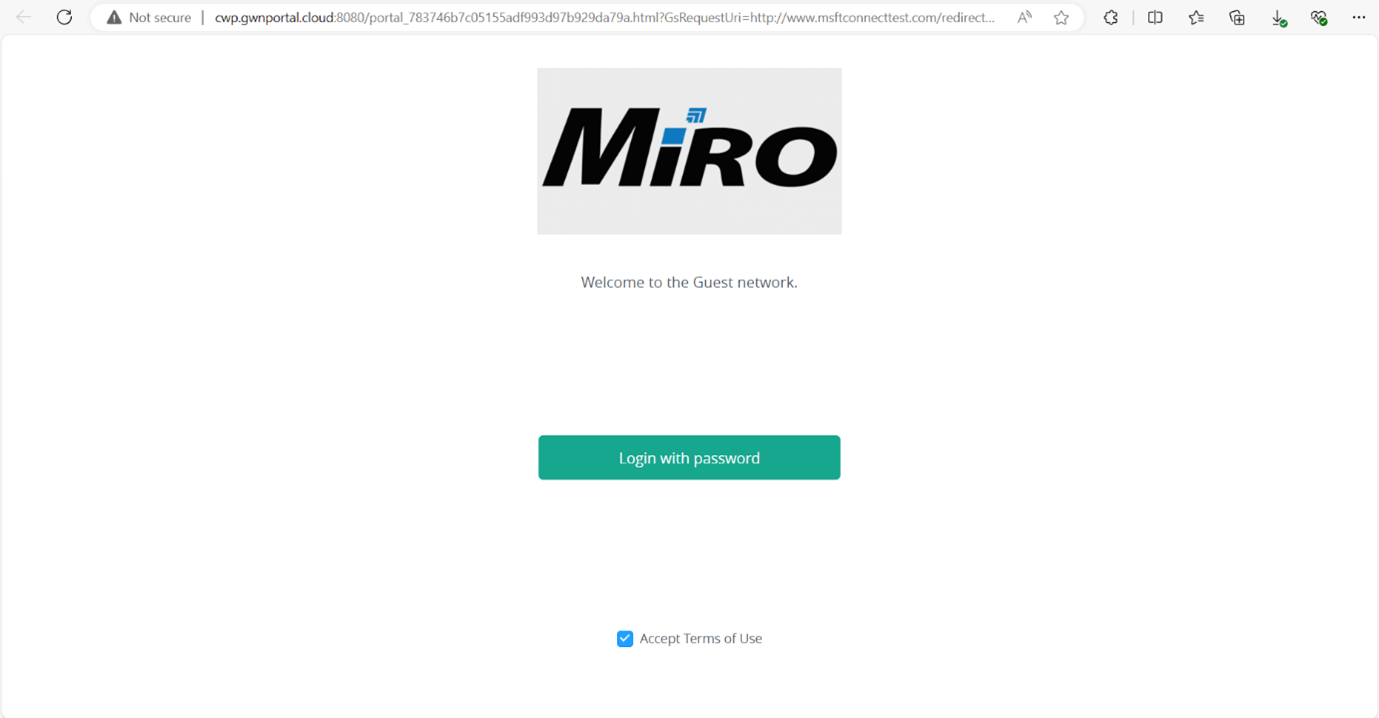
That’s it! We have successfully connected to our new Guest network and can now log in with the Simple password as set up on the Splash Page.
If you require any assistance with your Grandstream configuration or would like to have a setup like this, you can reach out to our support team at support@miro.co.za or give us a call at 012 657 0960.
Comments
View Comments