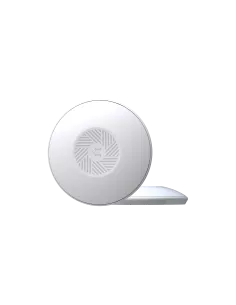
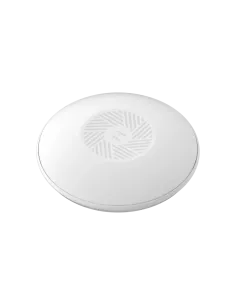
How to set up your Teltonika Access Point
- Johan Koekemoer
- Technical Tips & Guides
- 1 likes
- 2559 views
- 0 comments
Connect the Access Point to your network using a 48V PoE adaptor or a 48V capable PoE switch. By default, the Access Point will receive an IP from the DHCP server. Navigate to your preferred web browser and enter the IP that the Access Point received. You will be presented with the login screen.

You will find the default username and password at the bottom of the Access Point.

Once you have entered the username and password you will be prompted to change the password to your preferred password.

Once you have changed the password, you will be presented with the dashboard.

We can start by ensuring the firmware is on the latest version by navigating to the top right corner and clicking on View Settings.

Once the firmware page is open, click on 'Update from' and select Server.

It will start downloading the latest firmware from the Teltonika server and verify the download once done.

Once the download is complete, make sure that all checks have passed and Proceed.

Once the upgrade is complete, the Access Point will reboot and you will be presented with the login screen again. Remember to enter your new password.

Now that the upgrade is done, we can start with the wireless configuration.
On the overview page, you will see two wireless profiles. Click on the small gear next to the 2.4GHz profile to edit it. Alternatively, you can use the menu on the left to edit the wireless settings.

Now let’s start setting up a basic 2.4GHz wireless Access Point.

Once complete, click on Save & Apply. You will be returned to the wireless page. Here we can edit the 5GHz Access Point.

Again, let’s set up a basic 5GHz Access Point.

Once complete, click on Save & Apply. Now we have successfully configured the Access Points and we can scan to search for them and as we can see, they are available for connectivity.

If you would like to set up a static IP Address for the Access Point, navigate to the menu on the left, select Network and then click on IP Settings.

Once the page is open, change the Mode to Static and enter your preferred IP settings. Once complete, click on Save & Apply.

Once the device has rebooted, you can access the Access Point by navigating to the new IP Address.
If you would like to manage the Access Point via the Teltonika RMS platform, you can do so by going to your Teltonika RMS account and under Devices clicking on Add.

You will be asked to enter the Access Point details along with the new password that you have set. Once you are ready, click on Submit.

You will be taken through a few pages while the RMS server is contacting the Access Point. On this page, click on Next.

And here we have confirmation that the Access Point has successfully been added to our RMS.

As simple as that, we have upgraded the firmware, configured the wireless Access Points, set up a static IP and added the device to the RMS platform. Once on RMS, you will be able to access and change settings on the Access Point remotely.


Comments
View Comments