
Shopping Cart
There are no more items in your cart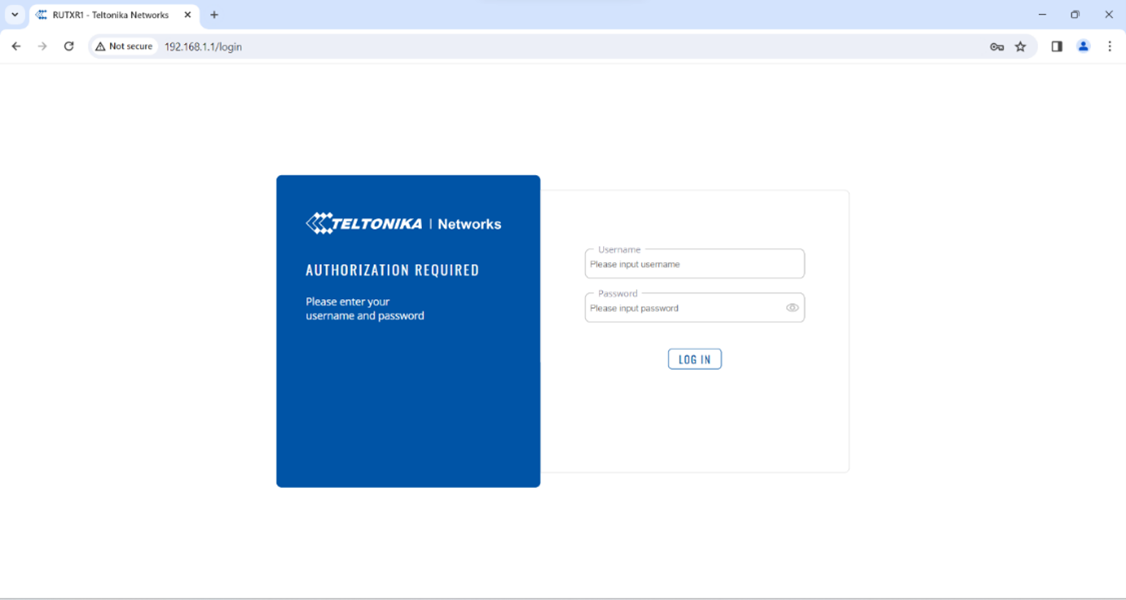


Last items in stock
01|Wi-Fi|Teltonika|3G / LTE
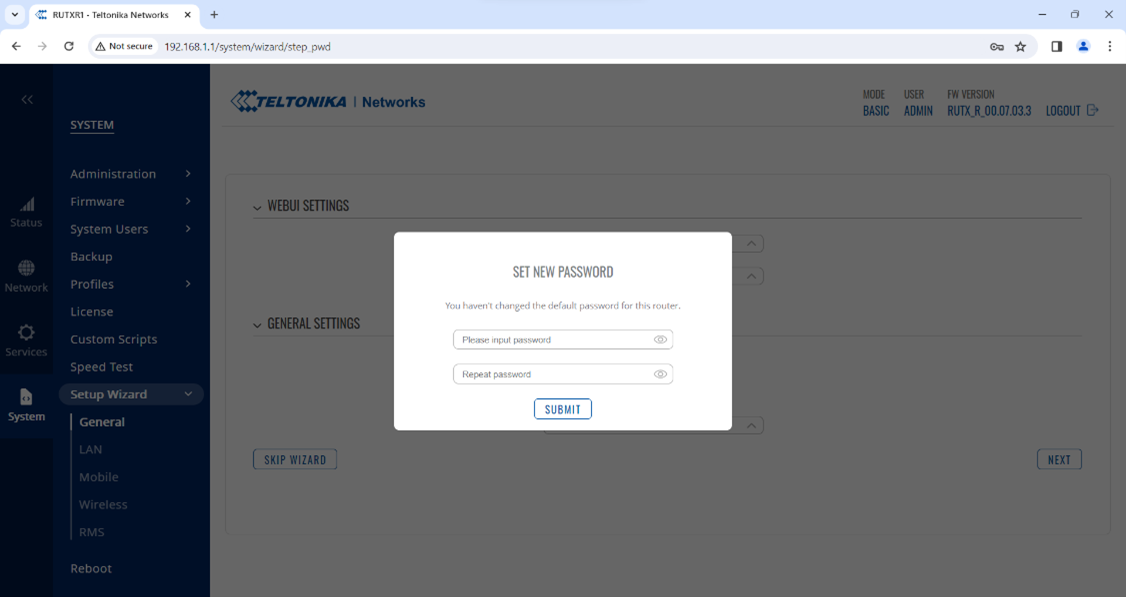
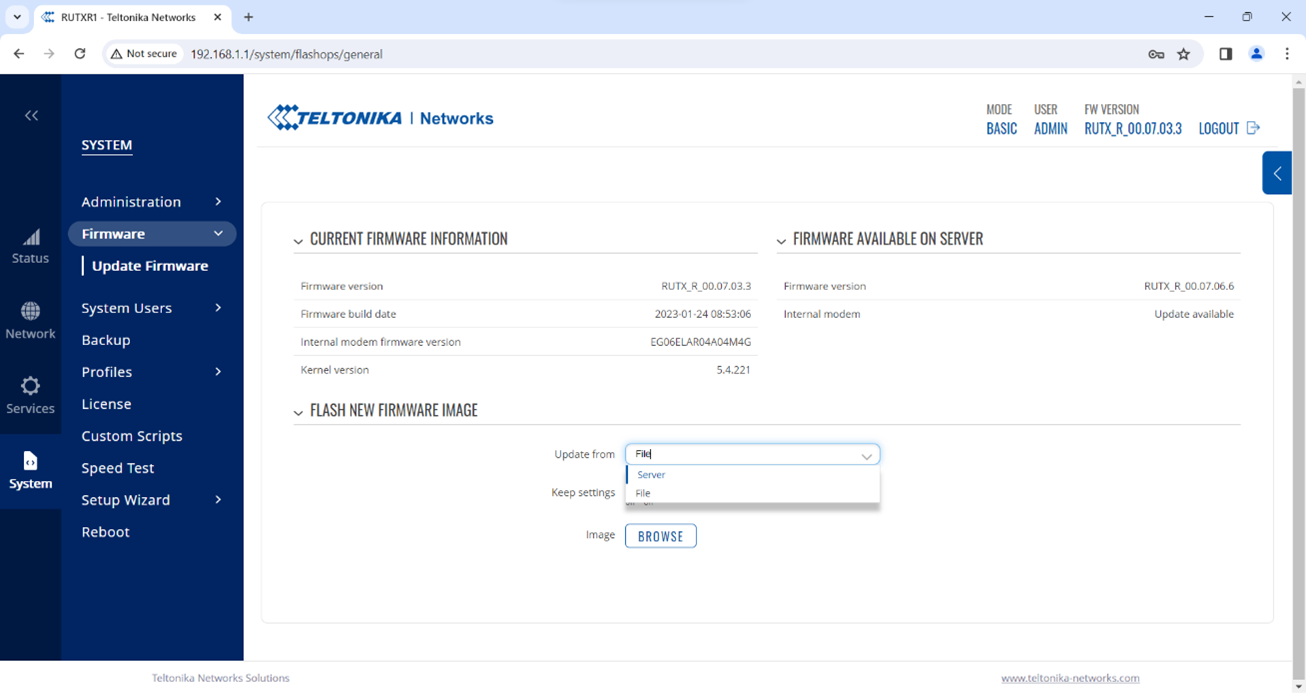
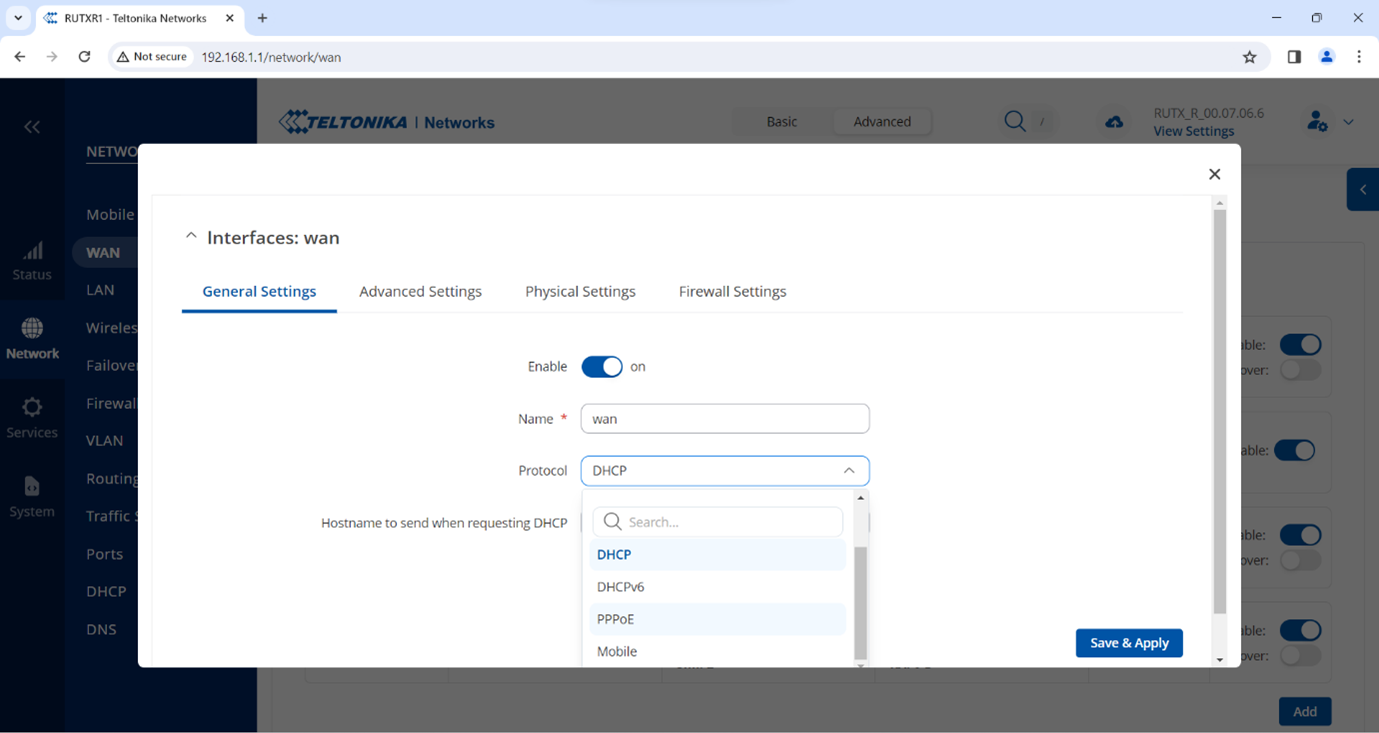
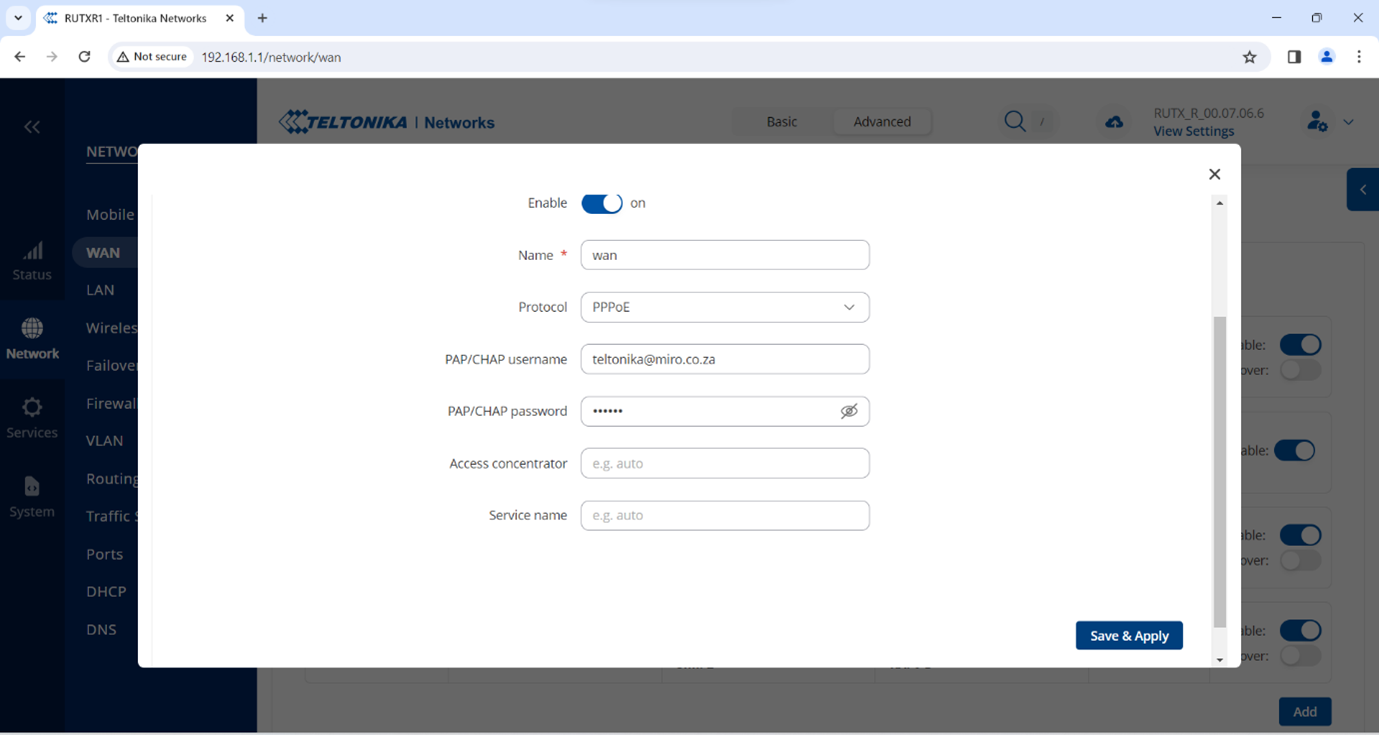
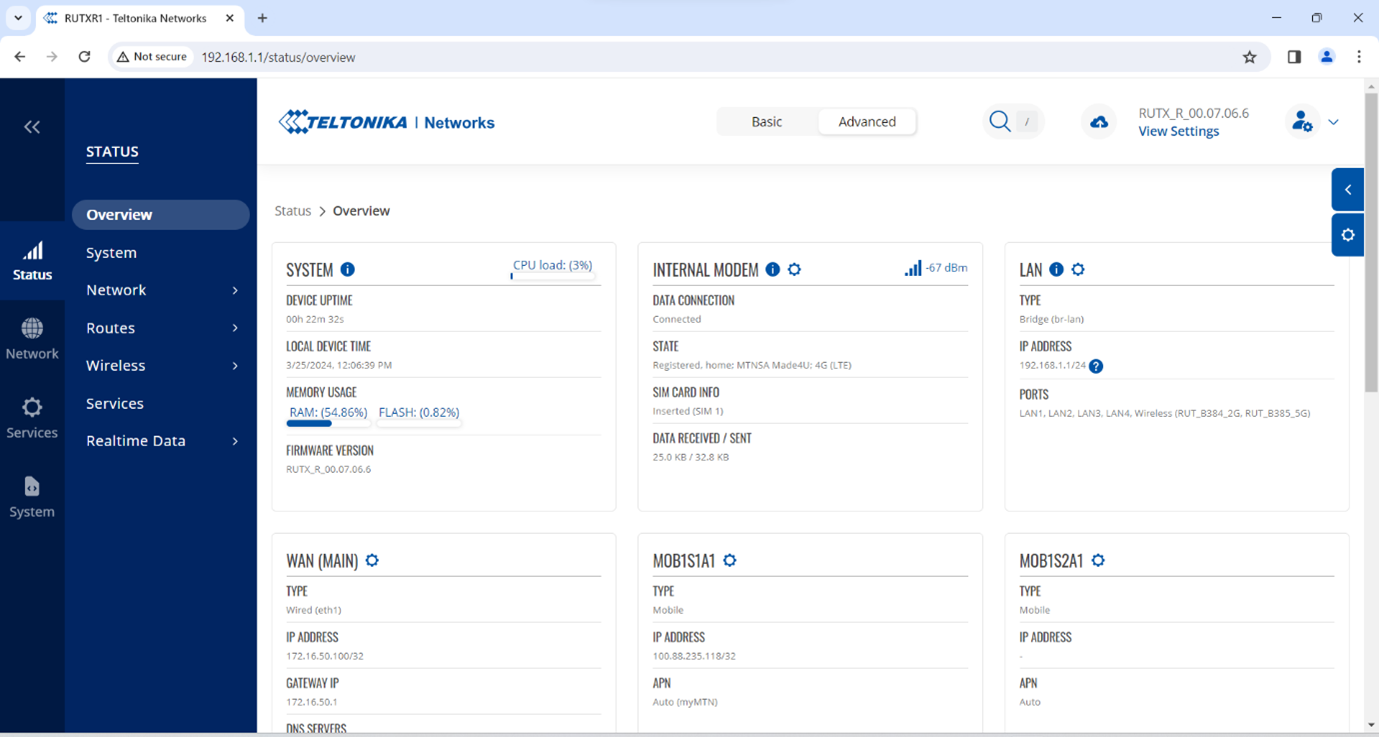
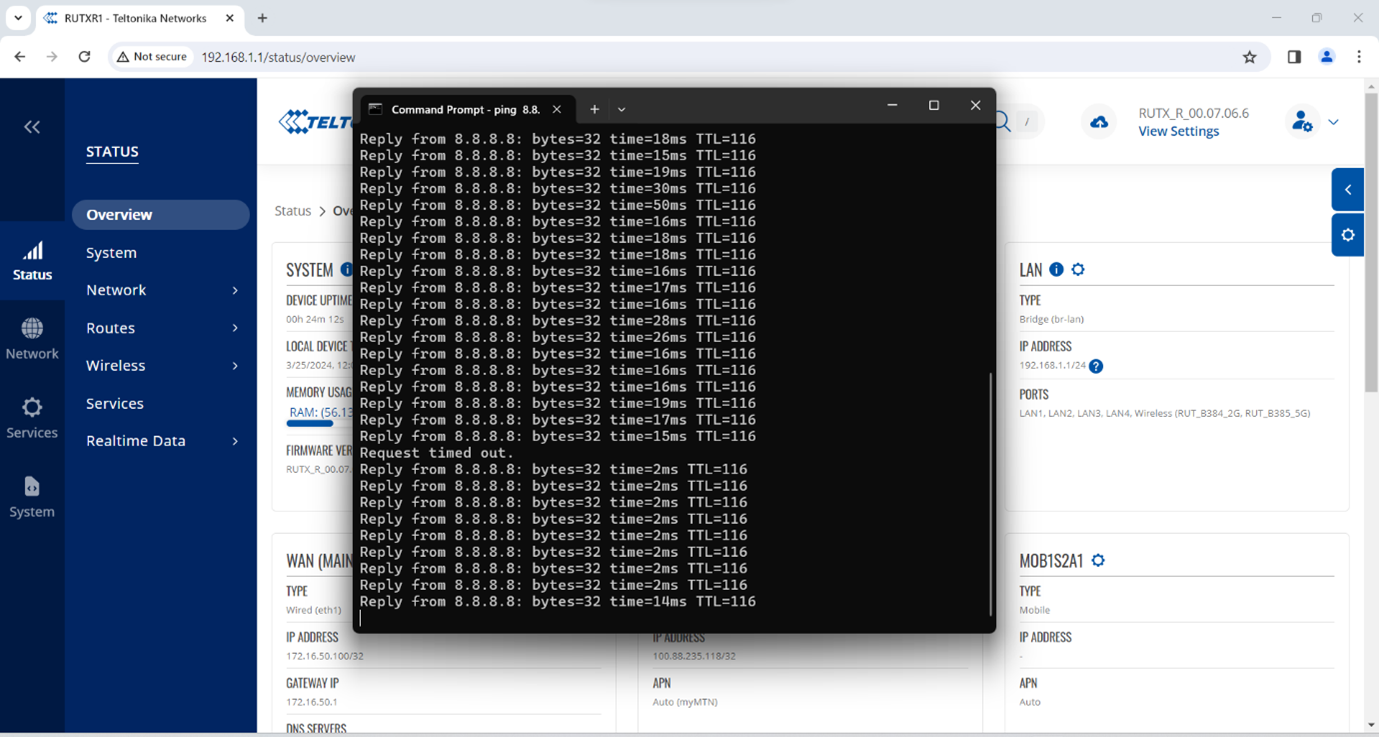
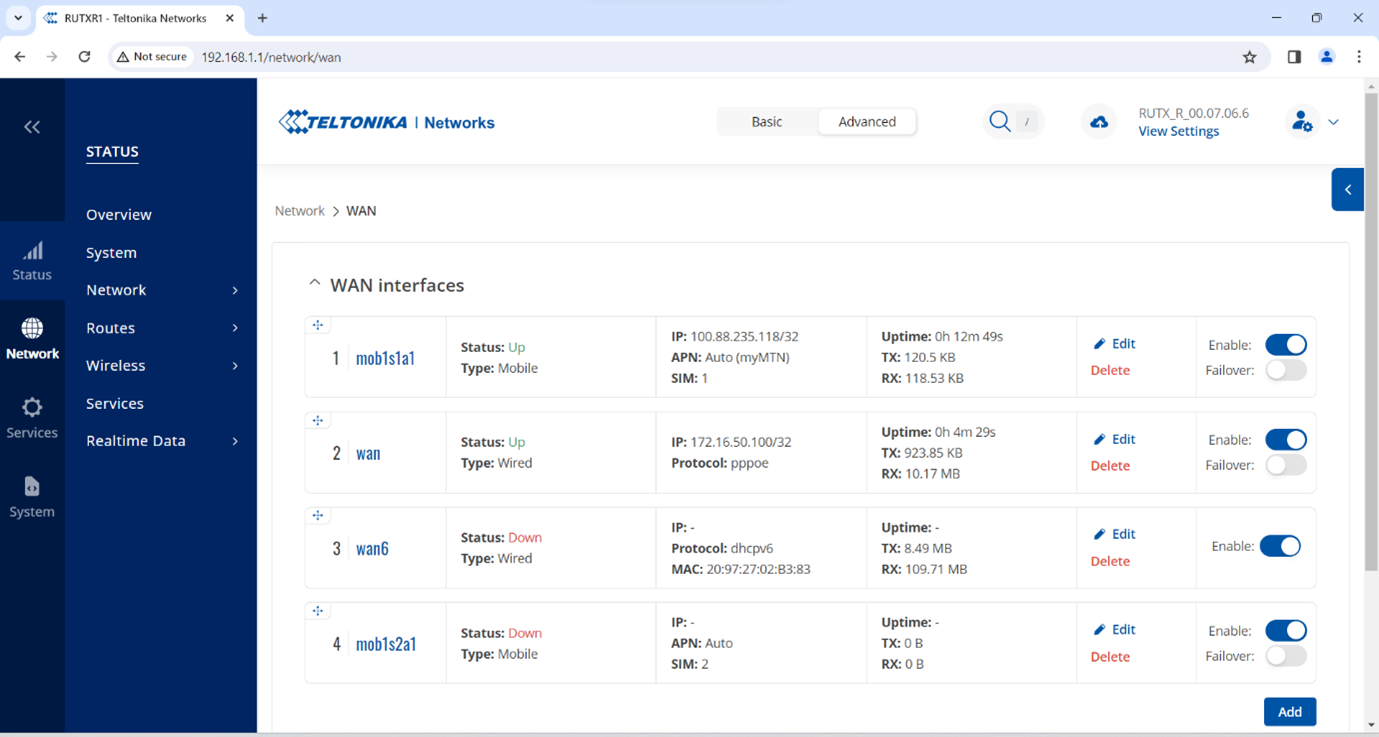
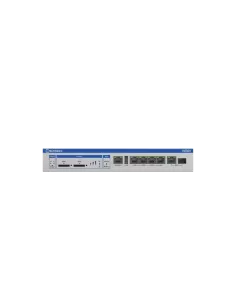
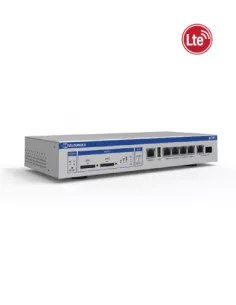
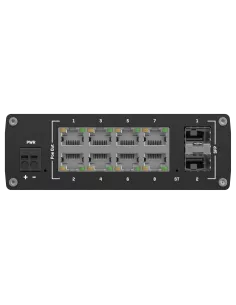
Teltonika WiFi 5 Enterprise Rack-Mountable SFP/LTE Router | RUTXR1

R9,152.85 (Incl. VAT)
JHB
This item is available for shipping or collection from our Centurion branch.
.
This item is available for shipping or collection from our branch.


Comments
View Comments