
Shopping Cart
There are no more items in your cartInstalling or upgrading a self-hosted UniFi Network Application server on Windows
- Johan Koekemoer
- Technical Tips & Guides
- 2 likes
- 15538 views
- 0 comments
In the past, Windows-based UniFi servers were easy to install. You only needed to download the UniFi Network Application, install it, and it worked out of the box.
With the latest release of Ubiquiti’s UniFi Network server, Java versions 8 (UniFi v7.2) and 11 (UniFi v7.3) no longer support Access Points operating on the latest firmware. This means that your new UAP-U6-LR can’t be adopted onto your outdated controller. You will need to upgrade your controller to adopt the access point.
Installing or upgrading your UniFi controller has changed since the latest firmware and a 3rd party Java (Adoptium) needs to be installed. Below are the steps we recommend on how to install or upgrade your controller. Before starting the installation, remember to enable TCP Port 8080, TCP Port 8843, UDP Port 10001, and UDP Port 3478 on any local firewall (including Windows Defender) or antivirus software.
New Installation
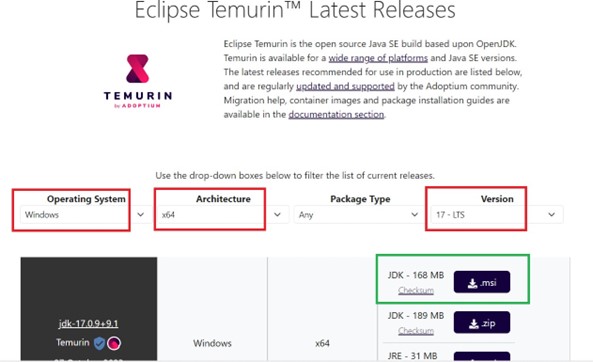
Step 1: Navigate to https://adoptium.net/en-GB/temurin/releases/?version=17&os=windows&arch=x64
Ensure the correct Operating System, Architecture and Java version is selected. Once selected, download the .msi installer.
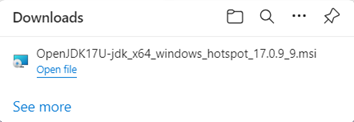
Once the installer has been downloaded, you should see the downloaded file in your browser’s downloads. If not, navigate to your downloads folder and double click on the installer to start the installation process:
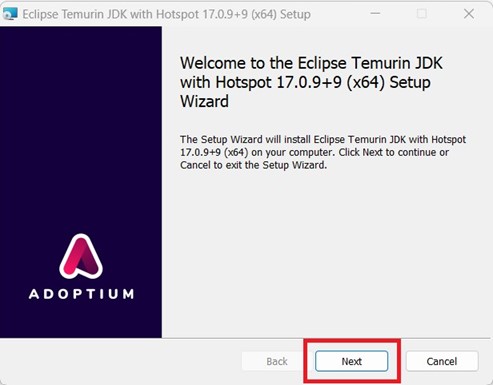
Once you have started the installation process, you will be presented with the screen below. Click on Next:
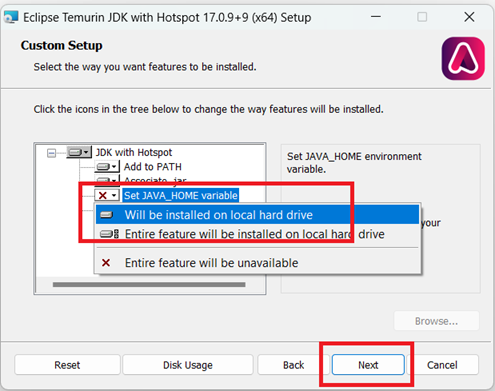
On the next screen, click on "Set JAVA_HOME variable" and ensure that "Will be installed on local hard drive" is selected, then click on Next:
Now you are ready to start the installation process. Click on Install:
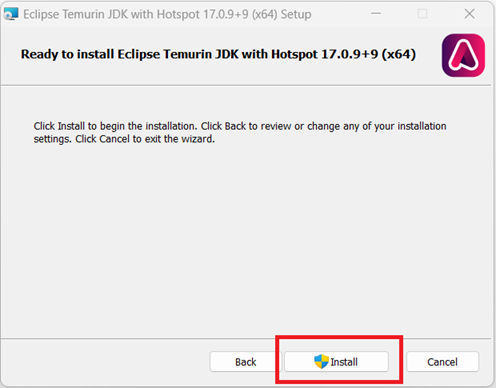
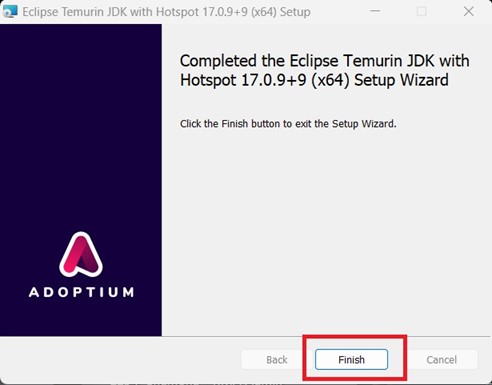
Great! You have successfully installed Java 17. Click on Finish:
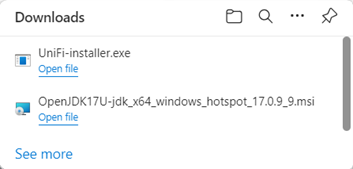
Step 2: Navigate to https://www.ui.com/download and download the latest version of UniFi installer. For this lab, we are going to download v8.0.7 from this link: https://dl.ui.com/UniFi/8.0.7/UniFi- installer.exe
Once the installer has finished downloading, you will see it in your browser’s downloads. If you do not see it in your browser, navigate to your downloads folder and double click on the UniFi-installer.exe
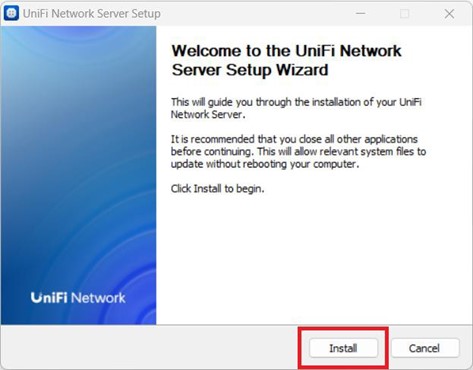
Once you have opened the UniFi installer, you will be presented with the below screen. Click on Install:

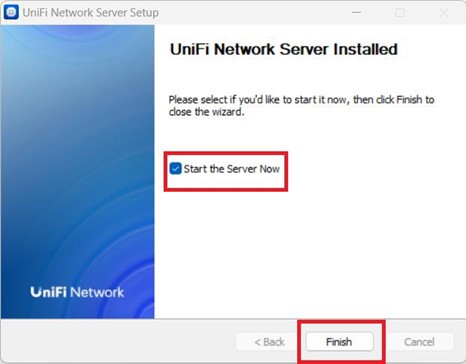
Once the installation is finished you can decide to Start the Server Now or later and click on Finish:
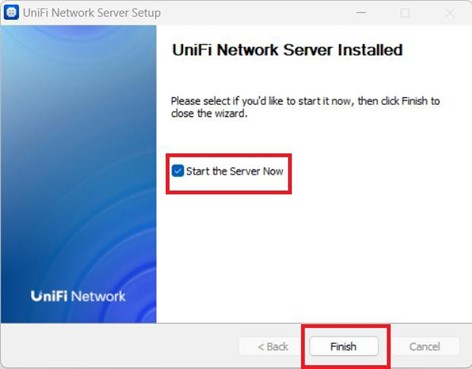
You have successfully installed Java 17 and the latest UniFi Server. The installation will create a UniFi shortcut on your desktop. If you did not select Start the Server Now in the previous step, you can start the server by double clicking on the UniFi icon on your desktop.

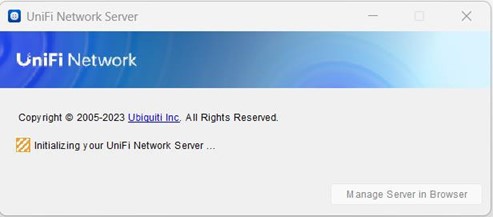
Once you have clicked on the icon, the server will start initialising:
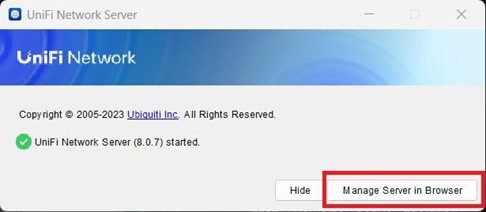
Once the server started successfully, you can open the server or open your browser and type http://127.0.0.1:8080
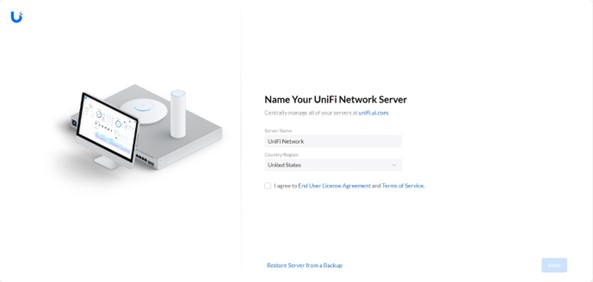
Once you have opened the UniFi server you can continue the UniFi setup with all your desired details and UniFi logins.
Upgrading an existing UniFi server
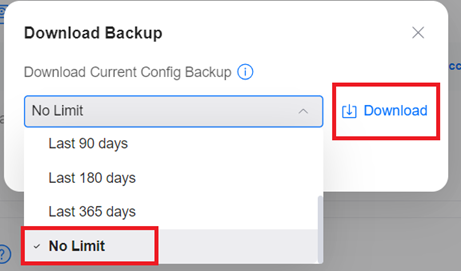
Before starting the upgrade process, login to your existing UniFi controller and navigate to Settings > System > Backups and click on Download. In the Download pop up window, select No Limit to ensure you don’t lose any sites, access points or settings and then click on Download:
Once you have downloaded the Backup file, close your UniFi server so that it is not running while attempting to do the upgrade. This requires you to close the browser and the UniFi Application.
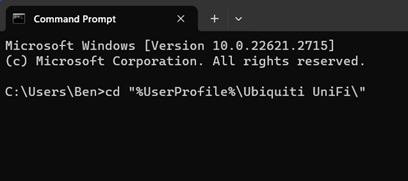
Open CMD (Command Prompt) and navigate to your UniFi installation folder by typing the below command in and press enter:
cd "%UserProfile%\Ubiquiti UniFi\"
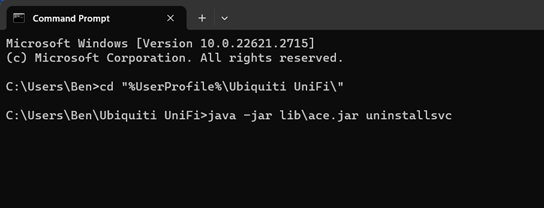
Once you are inside the installation folder of your UniFi controller, type the below command and press enter:
java -jar lib\ace.jar uninstallsvc
If you did not receive any errors, then a new blank command line should be created which means the command was successful.
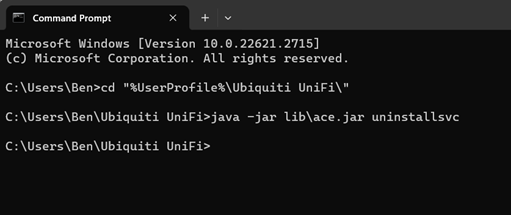
Now that we have removed the currently installed Java version inside the UniFi installation directory, you can follow the steps in the above New Installation section to install an upgraded version of the UniFi server.
Navigate to your Downloads directory and double click on the UniFi-installer.exe file. Once the installer has opened, click on Next:
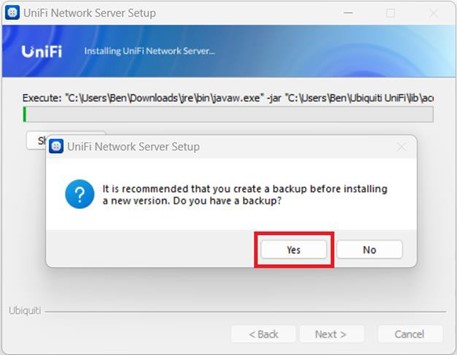
You will be prompted that the server will upgrade to the new version, click on OK:

Remember we created the backup file before we started with the upgrade process, if you have not made a backup, it is recommended to do so before starting the upgrade process. If you have created a backup, you may proceed by selecting Yes.
Once the installation is finished you can decide to Start the Server Now or Later and click on Finish.
By following these steps, you have successfully upgraded your UniFi server. For any additional assistance, get in touch with us at support@miro.co.za or by phoning 012 657 0960 Option 2 for telephonic technical support.
Comments
View Comments