
Shopping Cart
There are no more items in your cart
.png)
.png)
.png)
.jpg)
.png)
.png)
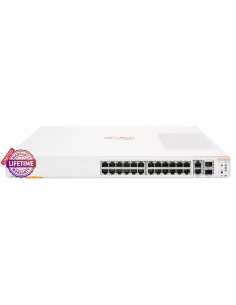
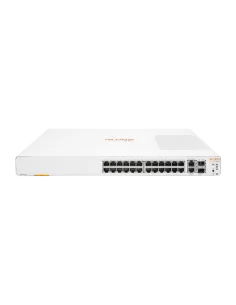
HPE Networking Instant On 1960 2SFP+ 24 Port 370W Switch |ARU-IO-SW196024G-370W

R18,304.55 (Incl. VAT)
JHB
This item is available for shipping or collection from our Centurion branch.
.
This item is available for shipping or collection from our branch.
Comments
View Comments